First few bits go on. The alloy bits have been vapour blasted, I built a vapour blasting cabinet last year and the alloy bits will all get this treatment. The relays have been stripped and re-plated along with the oil pressure gauge pipe, I could have bought new but this will keep the car almost OE and as it left the factory. There will be additional relays for lighting etc but these will be incorporated into the loom and hidden from main view, this will be covered in the fit up later. Rad fan motor brackets, horn brackets etc and all of the small items have all been plated to add to the protection and finish of all the painted items.


The pedal box was given several coats of satin gloss, hi gloss finish on the engine bay bits I don’t think looks right and I’m not even sure if correct, I’m not a lover of powder coat as if this stuff chips moisture can get underneath and lift it, and you won’t know until it starts to rust. At least with 2k it should anything get chipped it can at least be touched up without any issues. The brake and clutch master cylinders were treated to a complete set of new seals, and again all plated along with the bolts, washers etc, and new seals to the bulkhead. This should all be good for another 45 years. The heater and other bits will get a coat of satin matt black, this will have slightly less gloss than the pedal box, and again I think looks better in an engine bay. The 10-32 screws are all stainless, the old ones not worth saving.

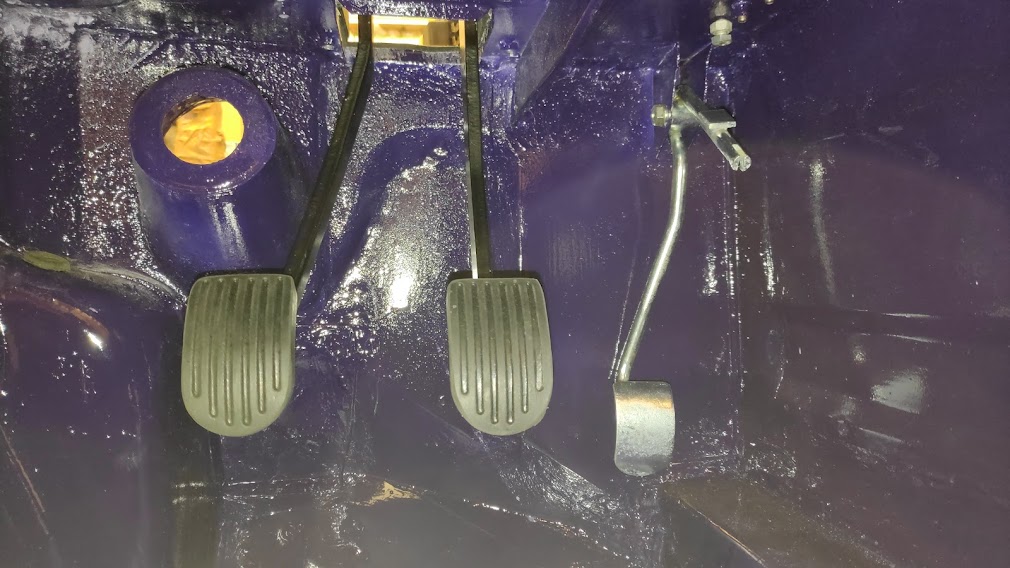
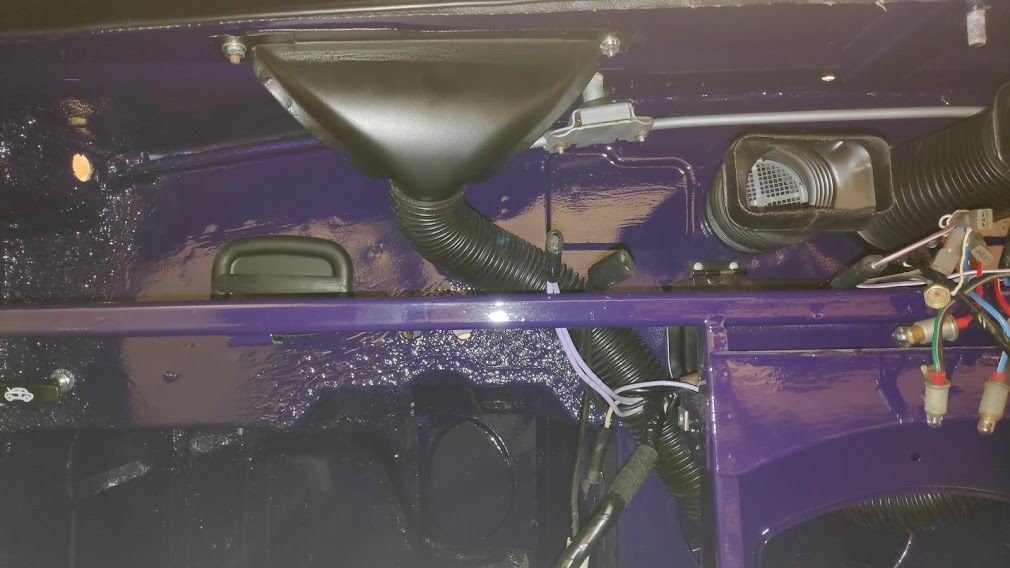
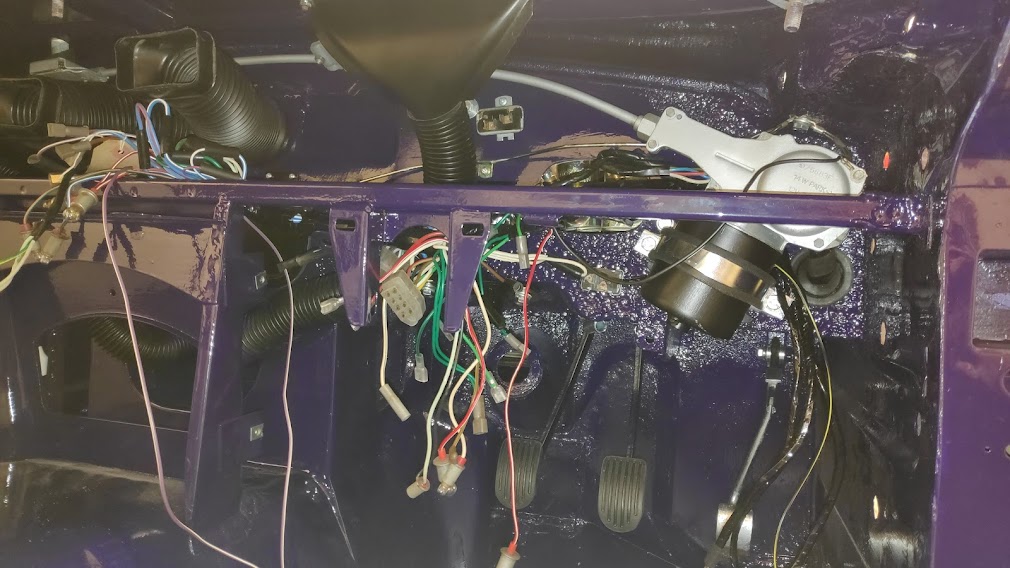
Quick couple of under the dash, pedals painted and treated to new rubbers, throttle pedal plated etc, and detailed down to the spring roller catch plated and freed for the fresh air vent, flasher relay holder plated, not that these will ever get seen, at least I know its done.
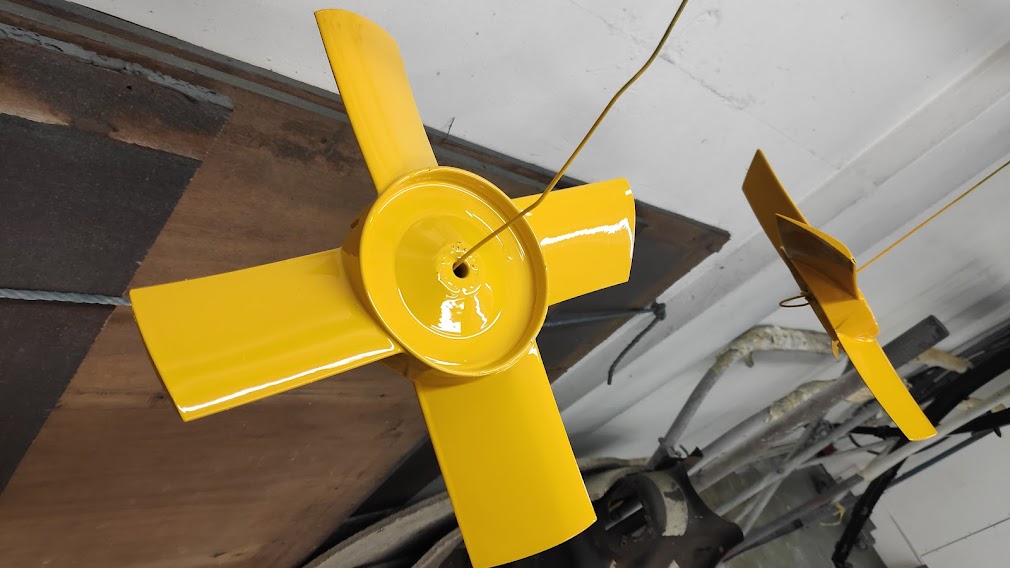
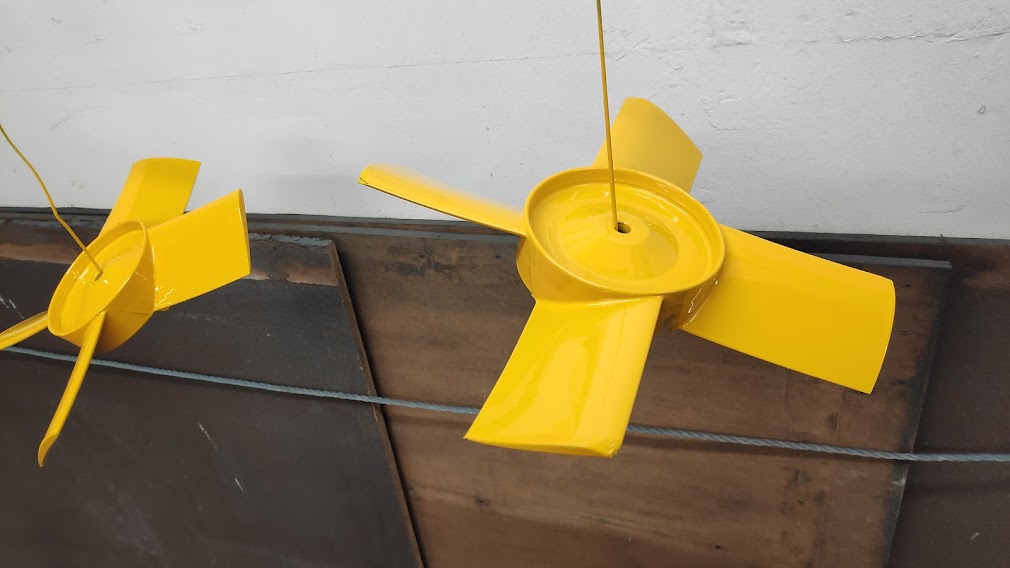
A few more of new bits being trialled fitted and fitted for good. New fan motors, with an exception to OE I have fitted waterproof electrical connectors, as they are not seen I don’t mind the deviation.
The fan blades were in poor condition, stained and un-cleanable to an acceptable condition, so having a bit of spare Atacama yellow, a test yellow for a motorbike tank colour; these were given a coat of epoxy sealer and then several coats of yellow. Saves spending best part of £100 for a pair of fans.

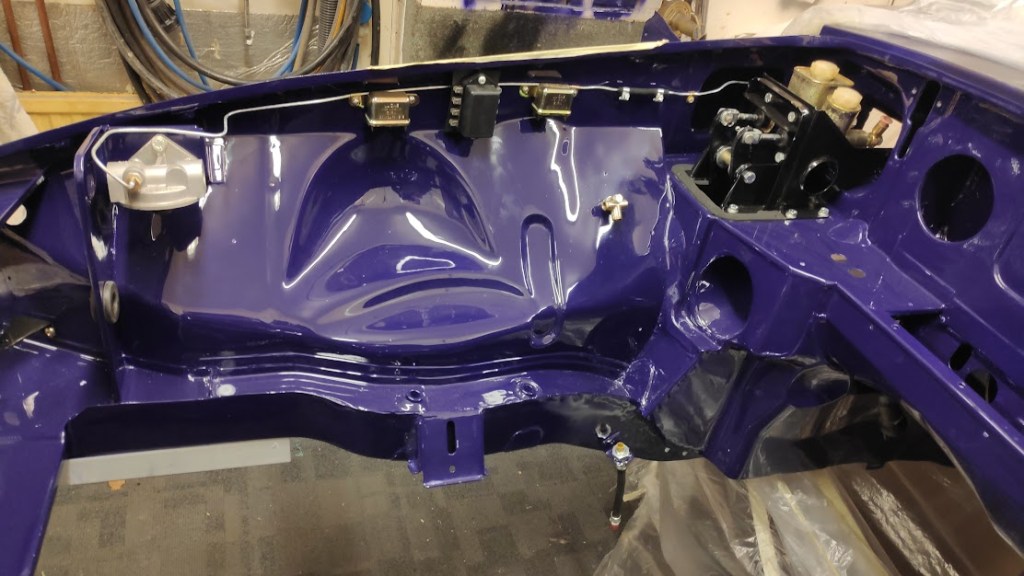
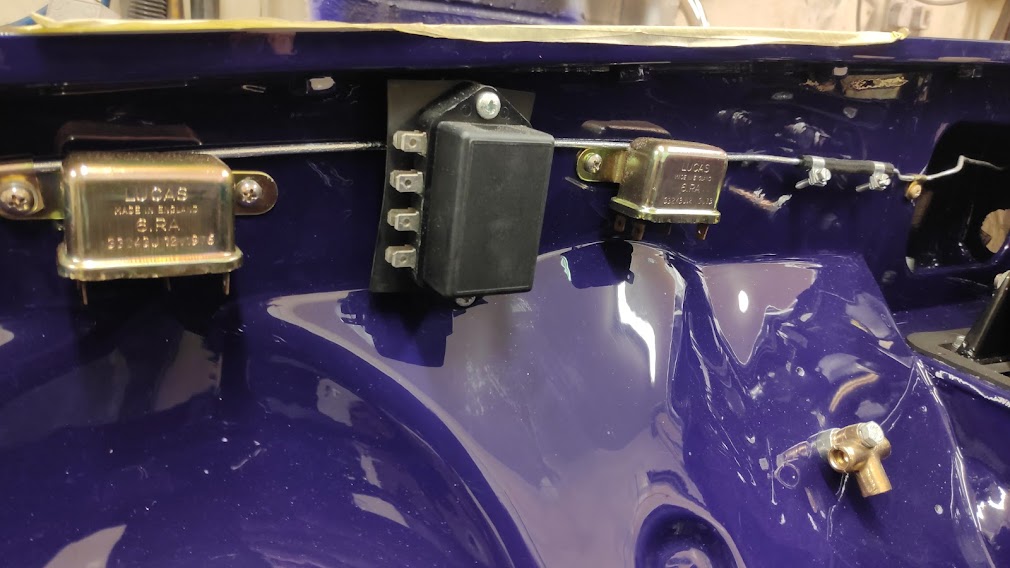
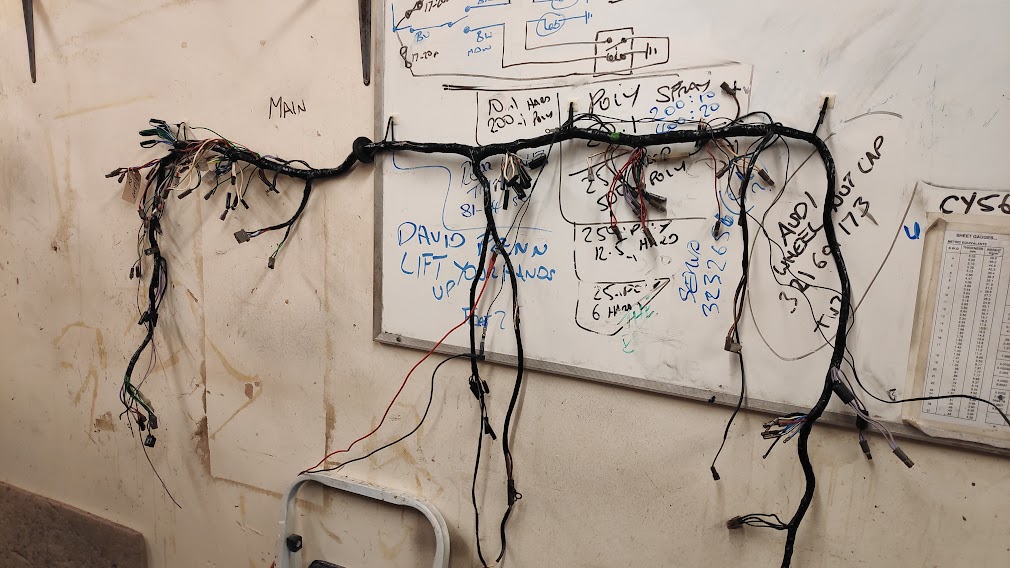
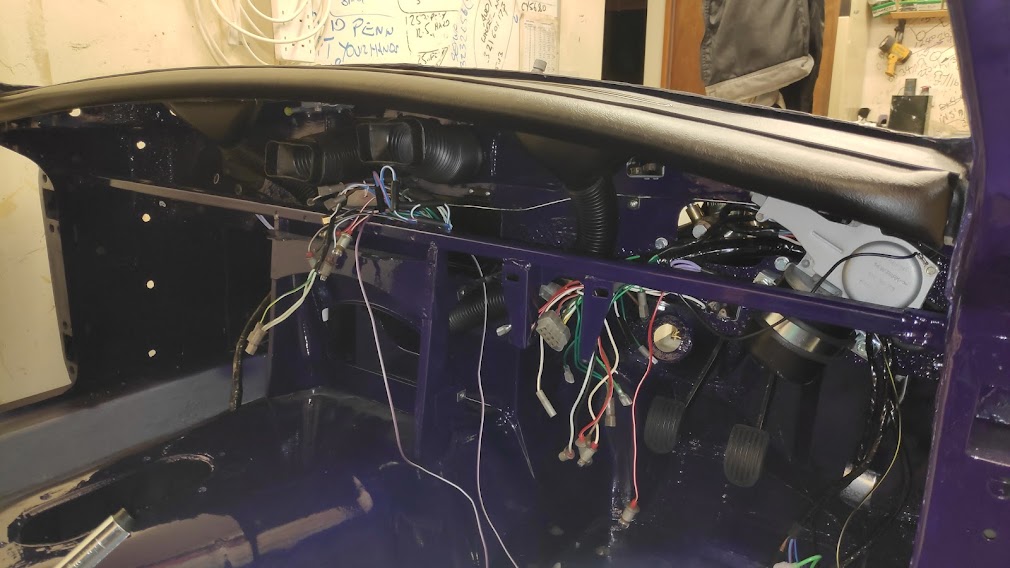
The loom was in fairly good condition and these early looms are so easy to work on it wasn’t even worth considering a new one. Hung on the white board in roughly the right configuration the loom was cleaned of 40 years or underseal and paint. While at this stage the loom tape was cut back and I added new power supplies incorporating relays and independent fuses for the head lamp main dip and beam circuits. This means the dash light switch switches the side lights and then sends the power for main and dip thru the column switch as normal, but this then only operates relays for dip and main, the supply fed separately, keeping the actual load out of the dash switch. Additionally I added a separate relay controlled supply for fog or spot lights at the front. So if anyone who buys the car wants to fit a set of period spots or fogs then the wiring is there, in the correct colours, and doesn’t have the horrible bits of wiring thru the engine bay. The loom was re-wrapped with the correct non sticky loom tape completely. The ends of each run were finished with a wrap of cloth loom tape. This improves the look and helps to stop the ends unwrapping in the heat, and looks nice. The relays will be mounted inside the car, under the dash in an accessible position, so the loom and electrics will all look completely OE and standard.

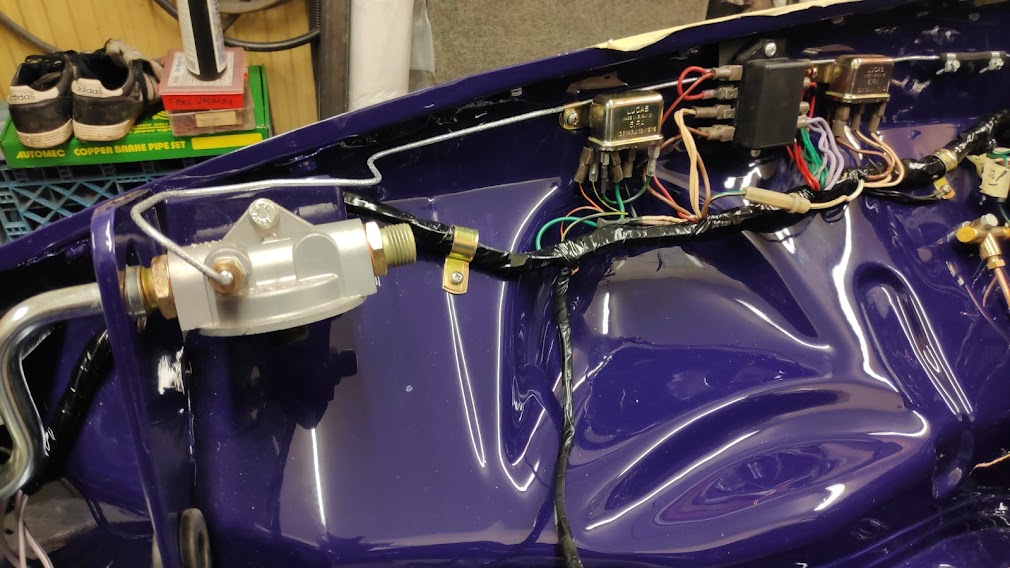
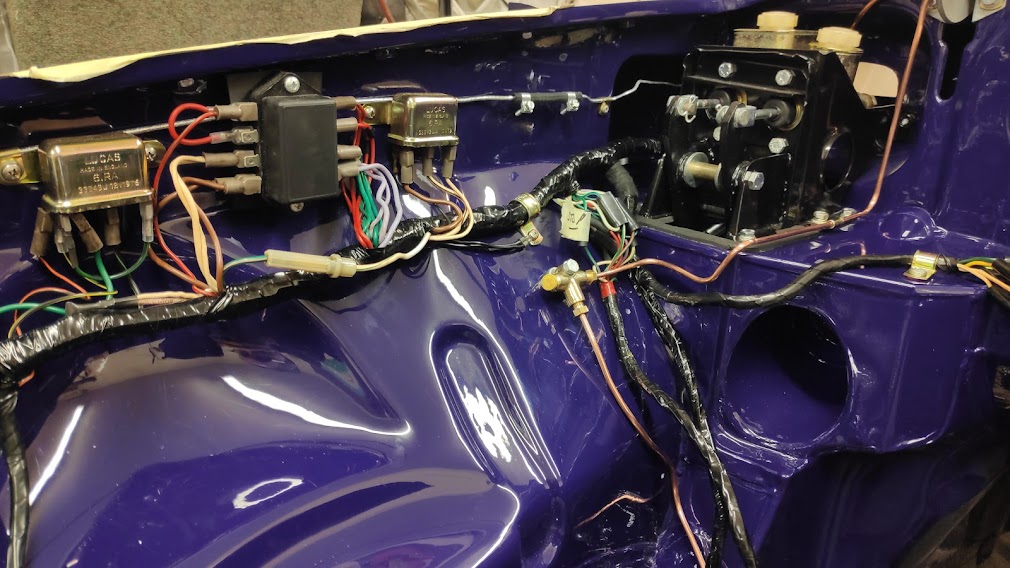
The fuse box was beyond saving so had no choice but to fit a new one, but to keep the engine bay OE the relays were stripped and checked for operation and the steel casings re-plated, these look so much nicer than the new ones available and worth the effort. New plated steel clips fitted to keep the look and new S/S 10-32 screws to finish.
As this is a restoration I wanted to re-use as much as possible, anyone can buy new bits, but there is something about salvaging the original bits and cleaning them, then reusing them. They may not be brand new but refurbished then actually look better than brand new I think. So the dash pad and top was cleaned and checked, the heater dash vents were cleaned, prepped and given a coat of satin matt, and then the loom installed under the dash.

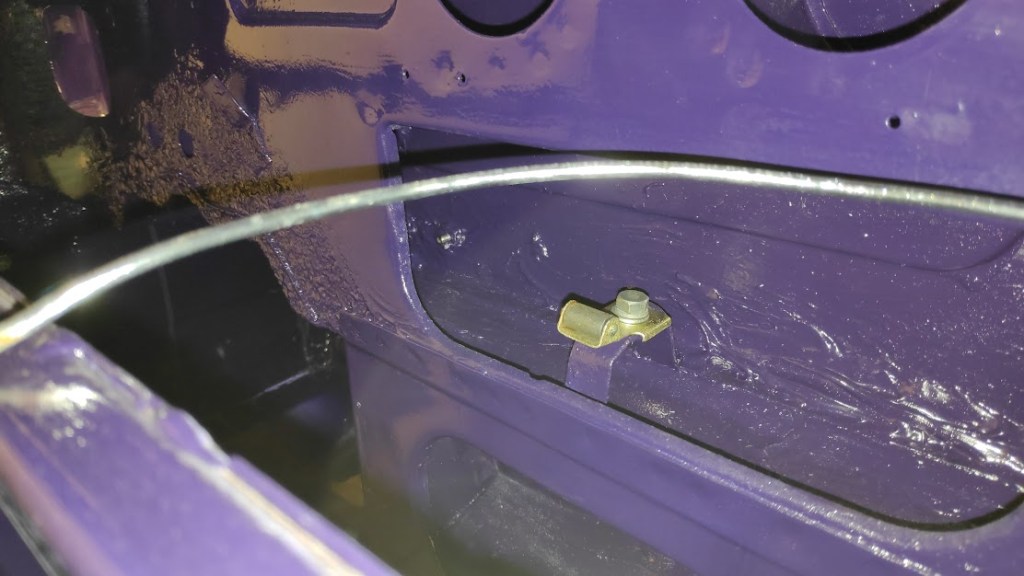
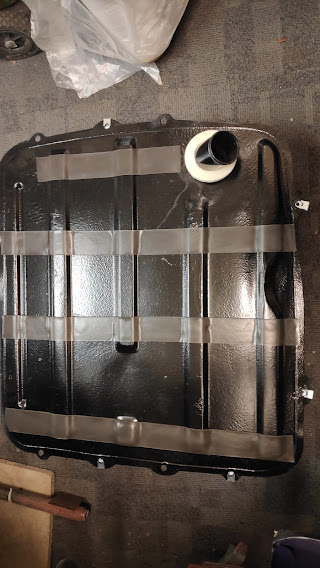
Finally the fuel tank was given the same treatment, cleaned, epoxy, 2k satin matt. Stone chip on the top and new rubbers, fitting kit, sender etc. The main battery cable stud plate finished and fitted. And we are almost ready to get the car off the rotisserie for the final time.


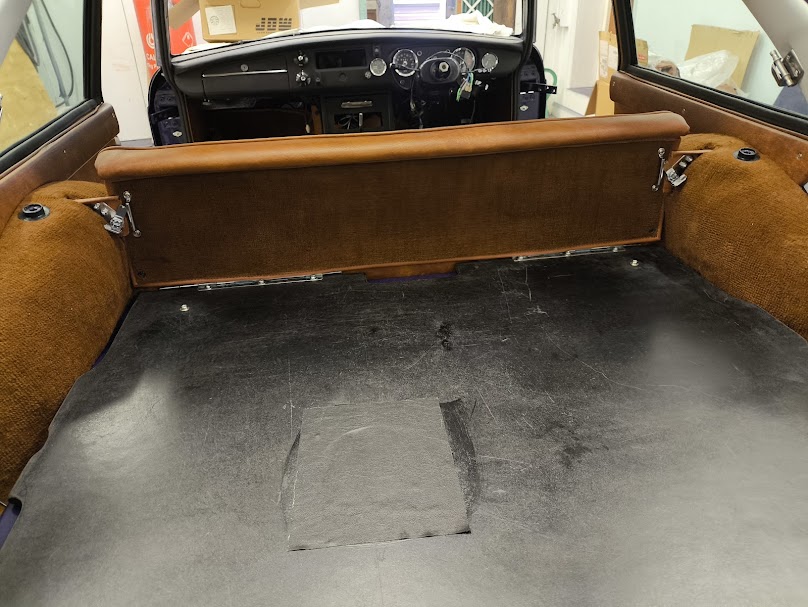
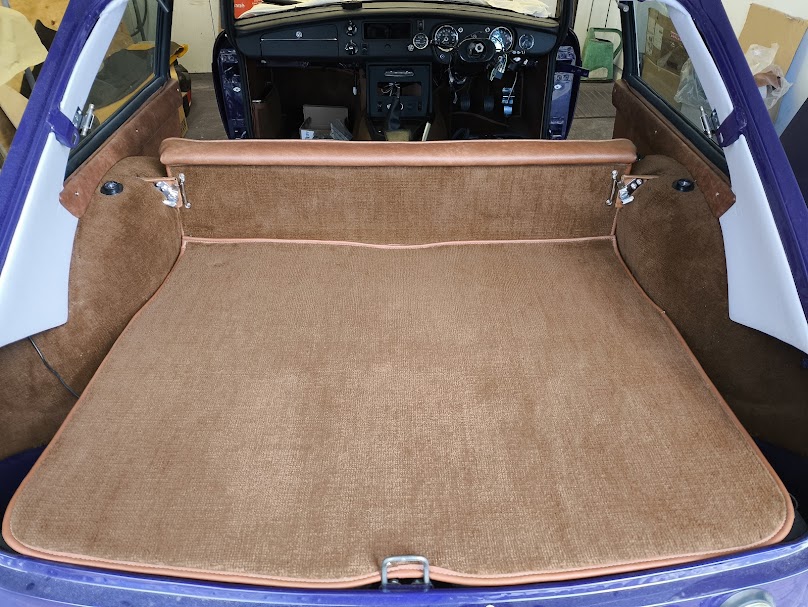
And probably much to the horror of many I’m returning the car to as near as it left the factory as possible, including the Autumn Leaf interior. The panels have all arrived, all new foams; moulded carpet set is on order etc. Only 2 things have beaten me so far, the sill matts in rubber, absolutely no where can I get a second hand set at all, so carpet it will have to be. Then there are the door and rear quarter light window seals, these should be autumn leaf, but again NLA. I have looked at many second hand ones and they were not good enough. However we may not be beaten here. Many years ago I had to paint a special for a chap, and one thing he wanted was all of the rubber surrounds of the hand brake, gear lever etc to match the body finish. So a careful degrease and prep of the rubber gaiters, adhesion promoter and then a flexible additive added to the finish before application, applied very thinly and slowly until covered, and it only worked and didn’t crack. So this may be something I might try, bit of an epic masking job on the door rubbers, but we shall see how it looks on completion.

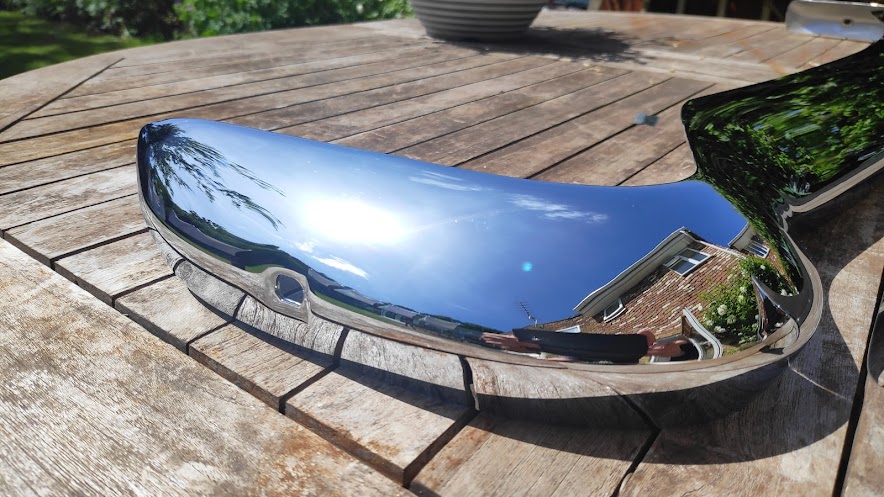
Got an early shout from the chrome platers that the bumpers were ready. I went for a strip and new chrome on the original bumpers, I looked at some brand new repo ones at the NEC in March time, you could see polishing and marks under the chrome, there were blemishes under the plating, the edges of the steel you could have shaved with. £220 for a front bumper, and if it had had been a poor quality item being sold cheap it didn’t look it as it was still wrapped up tight in what looked like the factory paper etc. so I guess it was the norm for these. I did look at stainless steel items but the platers, who I have used many times before, said they have had in the past S/S bumpers brought in as they had pitting and rust marks in them, They did say the quality of the stainless used, despite its claims was dubious as to what went into the melting pot, and the cost to chrome plate these was very expensive. So at £300 each to have the OE bumper re-plated, and guaranteed, and knowing they are a fairly good fit, it was a no brainer. Unfortunately the over riders were beyond saving so I have no choice when time comes to use pattern items.


Heater finally cleaned and assembled with new foam seals and control cables. Just the stickers to fit.
Also correct period plates, if you are going to do a resto it has to be correct, not silver and black, or the wipe clean smooth plastic things, good old fashioned pressed alloy surrounds and raised letters.


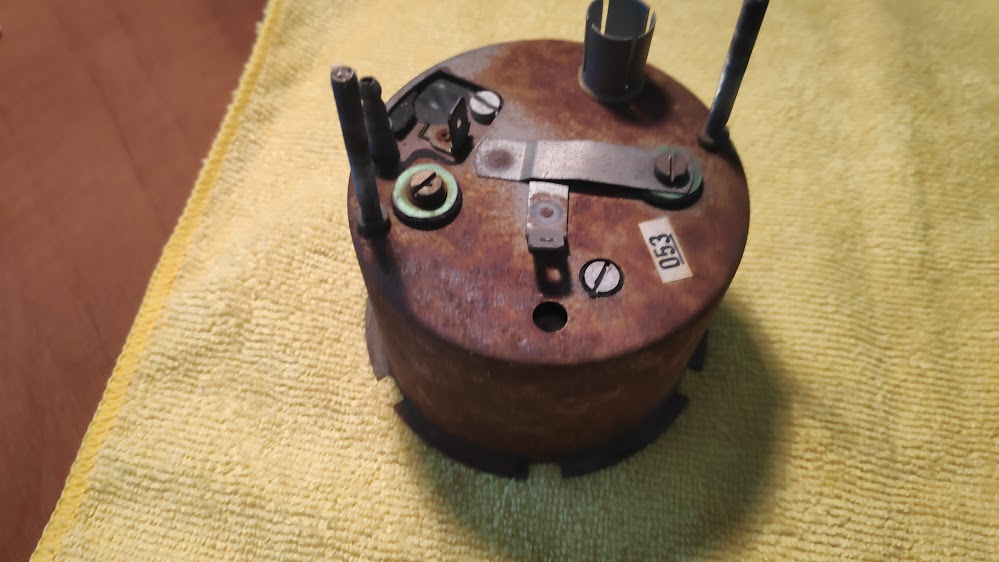
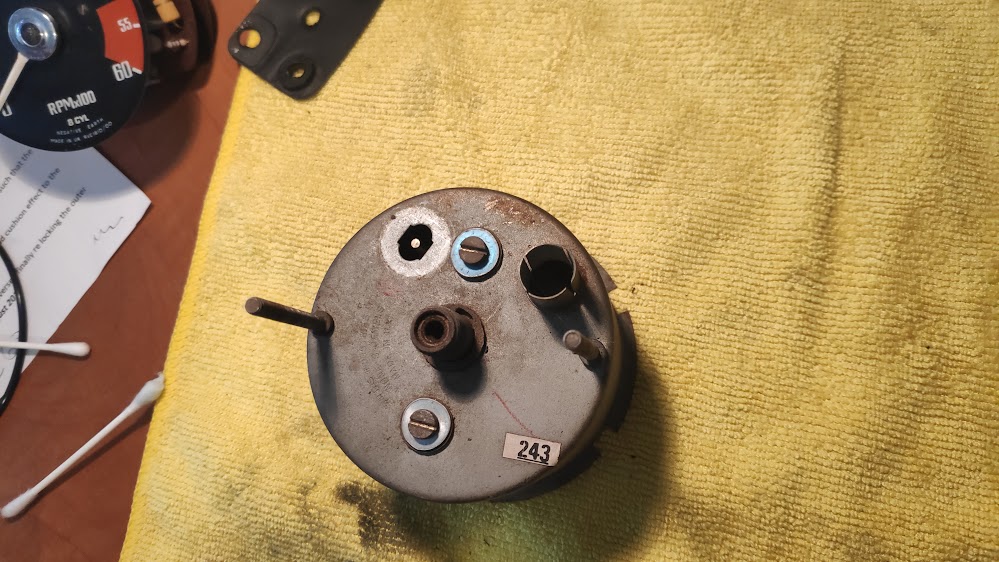
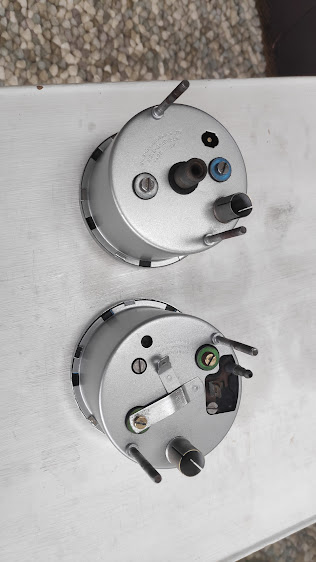
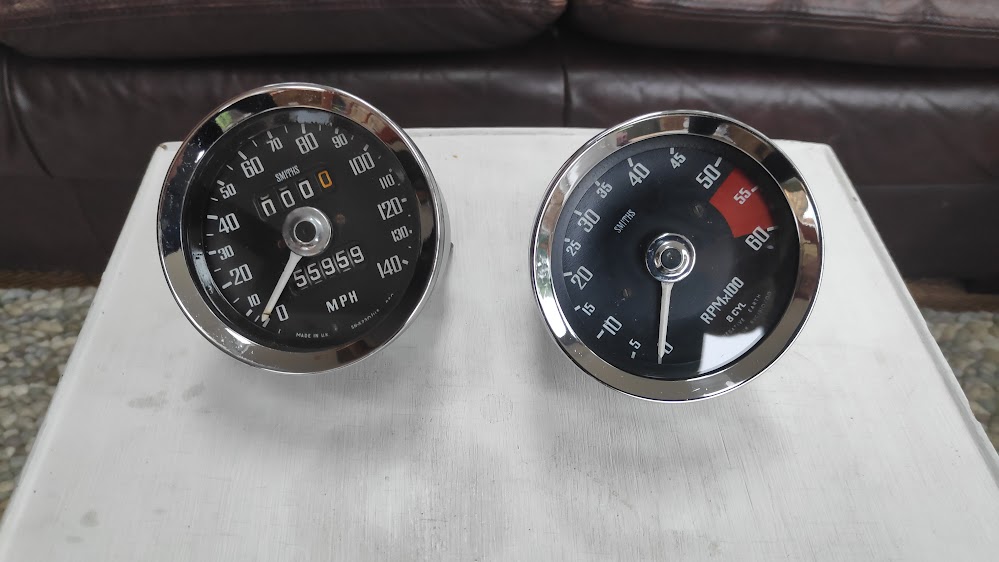
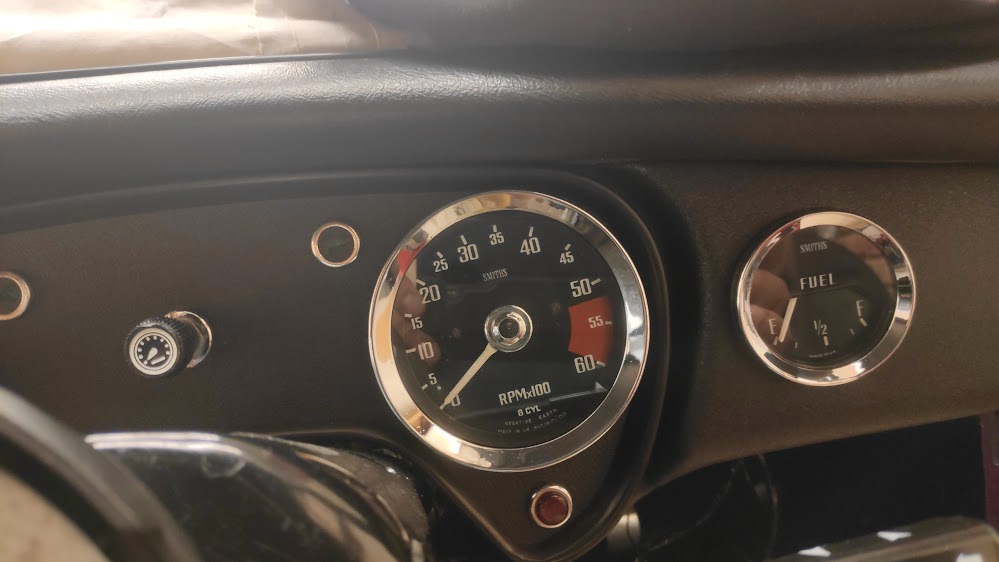
Again pictures say it all really, speedo, rev counter and fuel gauge were stripped down, cleaned and cases zinc coated. New glass seals fitted and dash to gauge seals installed. LED lamps throughout, apart from the ign warning light. LEDs can cause issues here so I have stuck with a std filament type. A new Oil/Water gauge was purchased, the old one was working but the capillaries are so difficult to clean I gave in and paid the price for this unit.
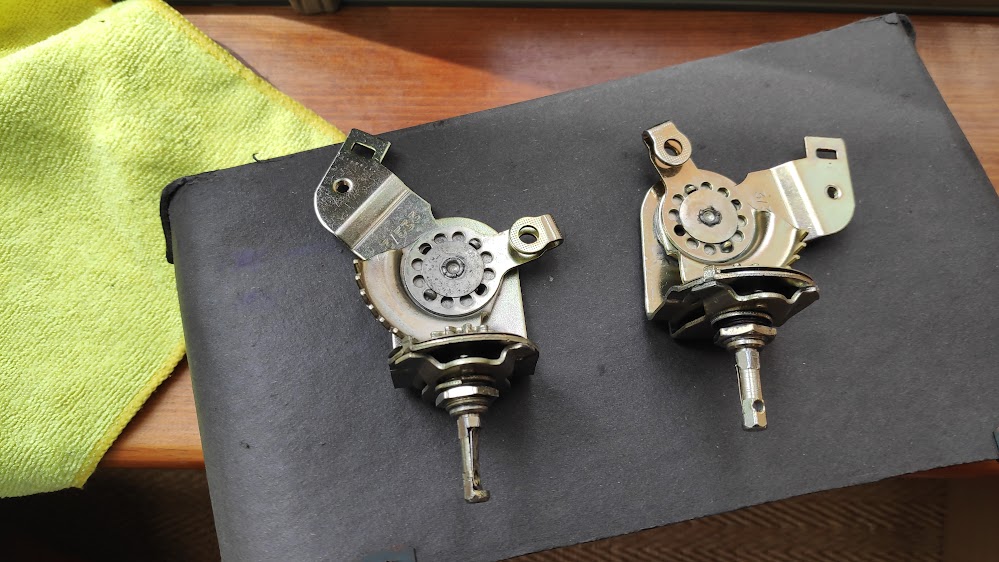
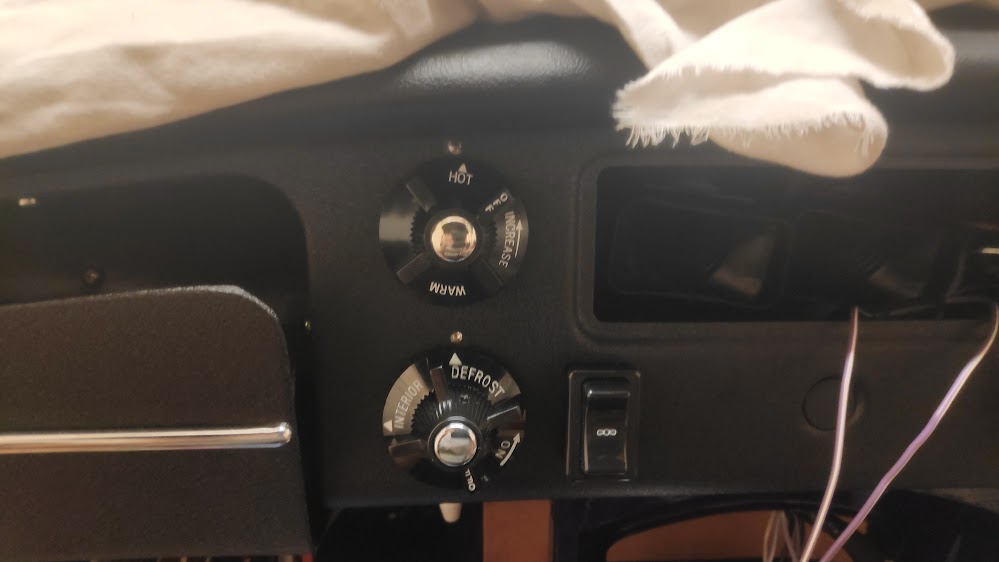
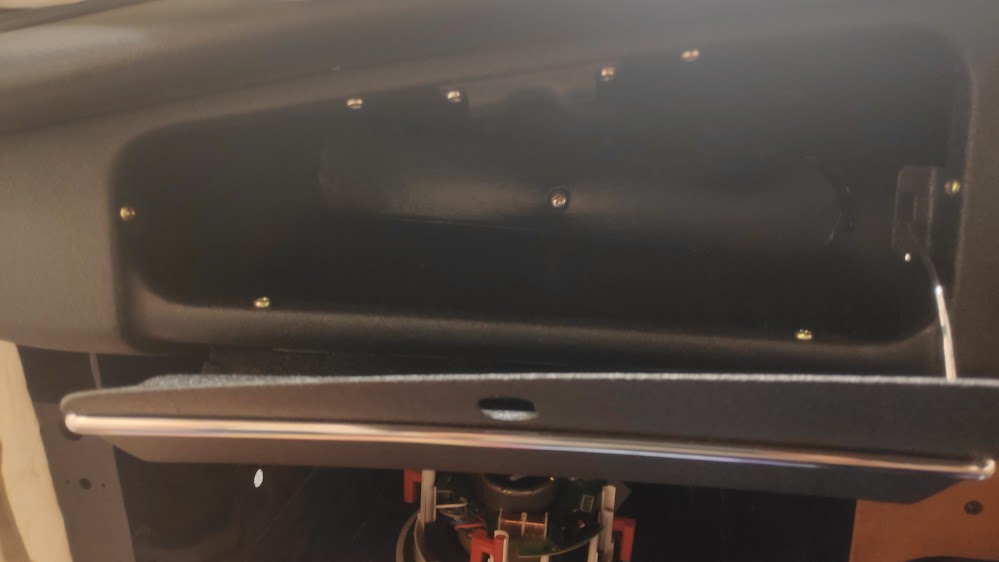
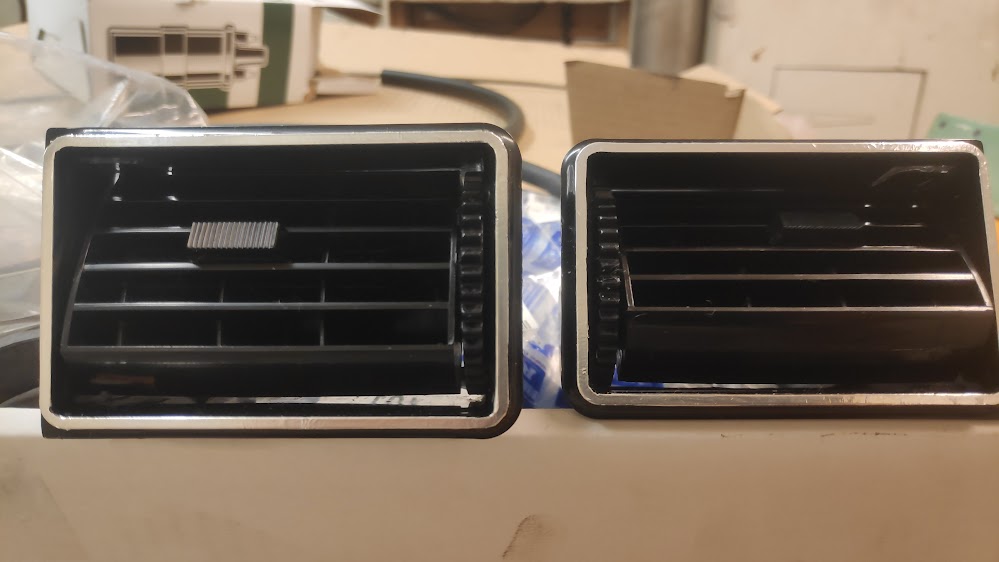
Heater controls had been plated, new correct knobs fitted, glove box refurbed. The top vent outlest were cleaned and new chrome film applied, this actually came out better than I hoped for, but took a couple of goes.
I had purchased new switches as a few of the old ones felt rough, however after opening the new ones from a selection of our reputable supplies these got launched across the garage and the old ones refurbed as far as possible and reused. I will have to touch up the white logs on the switches later on, and find NOS if possible or good second hand ones for the old one that couldn’t be repaired. The lads that refinish the dash locally make a fantastic job of the wrinkle finish. The gauges and switchgear has not been fixed in place permanently yet. Once a live electrical check has been completed and the engine run up then I’ll finish the dash.


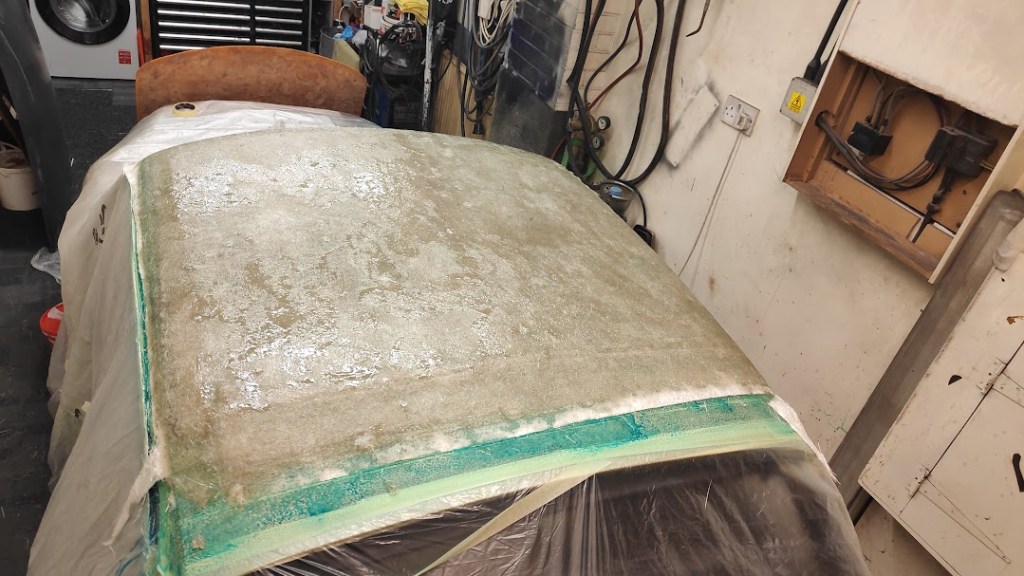
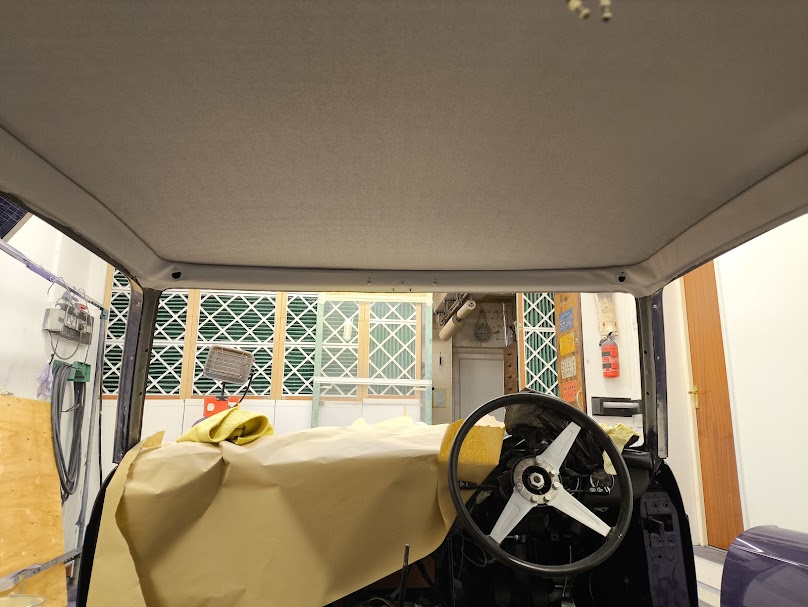
One job I had been putting off was the headlining, the old soft fibre board had the material pulled off it sometime in the past and the corners were beginning to break up. I had seen some videos about making a GRP solid board and covering that, so I thought I would give it a go. How to protect the roof though as I didn’t want the primer to get contaminated and have to sand off GRP resin, so I took the chance with 2” masking tape, which worked almost perfectly.


The videos said they used 3 layers of matting, in reality could have got away with 2 layers. The masking tape was sealed with heavy duty wax and then a light spray of releasing agent. I didn’t bother with a gel coat as the finish was having roof lining material stuck to it, so would have been a waste of money.


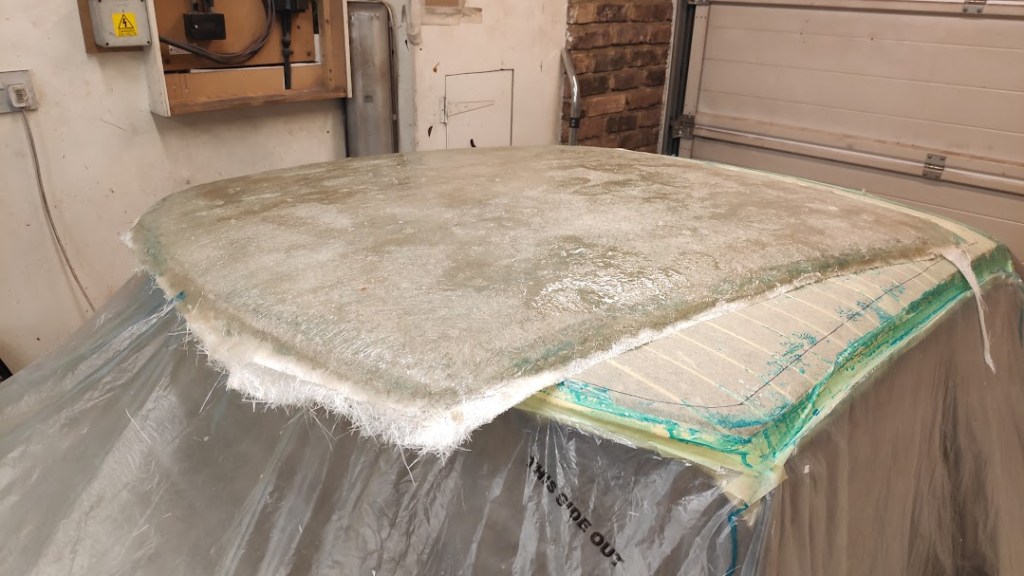
The masking tape left fine ridge lines which I sanded off while trimming the board to size. The ridge lines were only very faint but I didn’t want to take the chance they would show thru the headlining material.

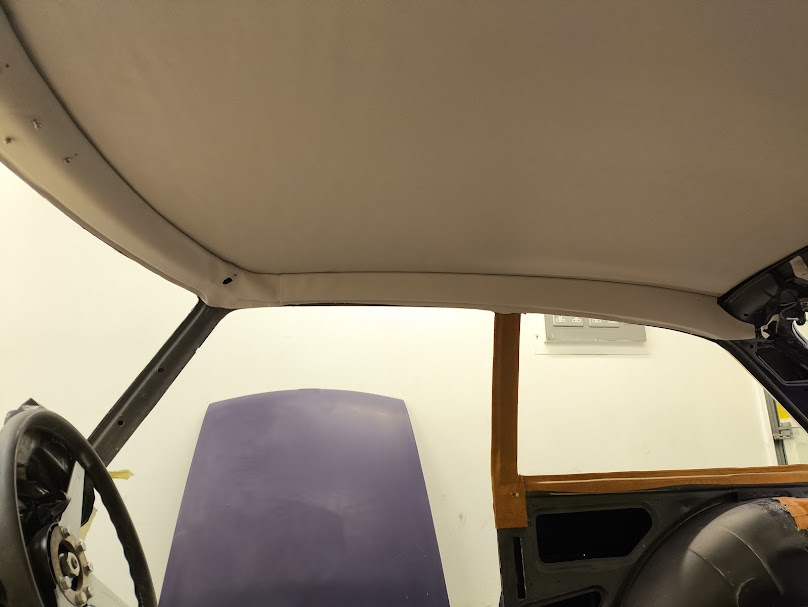
Pictures show the cant rail covers covered with matching material. The old plastic covers had a few twists and refused to lay completely flat against the roof despite heavy duty glue. However in the car they don’t look too bad and hopefully will be pulled in a little bit by the sun visor fixings.

Bumper fixtures and fittings were painted 2k satin and all other bits zinc plated. Chrome work was carried out by Silvabronz who do a fantastic job, given they were OE bumpers from the car I knew they fitted, proper old school plating. When I was in there was a chap asking if they could plate a set of the stainless steel bumpers that are being produced in Asia somewhere, the bumpers had rust spots coming thru, obviously high quality stainless steel, you pays your price.

OE door and tail gate light switches re-plated, correct rear light fixings and fixing bracket re-plated.

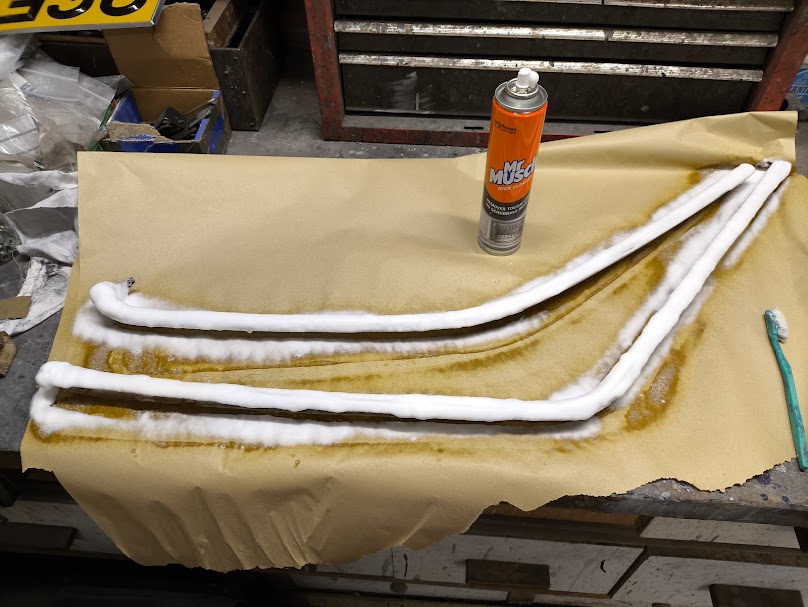
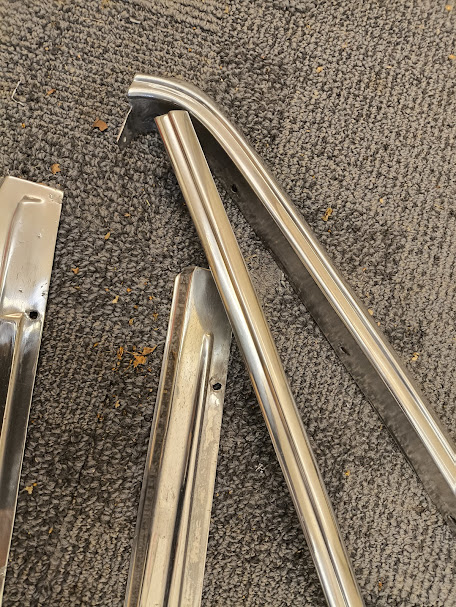
The gutter finishers, rear ¼ light finishers etc were all badly scratched and the anodizing was showing signs of discolouration, so rather than buy the new rubbish that is about I decided to strip the anodizing off and polish the items best they would. In case you don’t know Mr Muscle oven cleaner contains Caustic soda with will after a few applications strip the anodizing off. Several hours on the buffing wheel and the items are presentable.

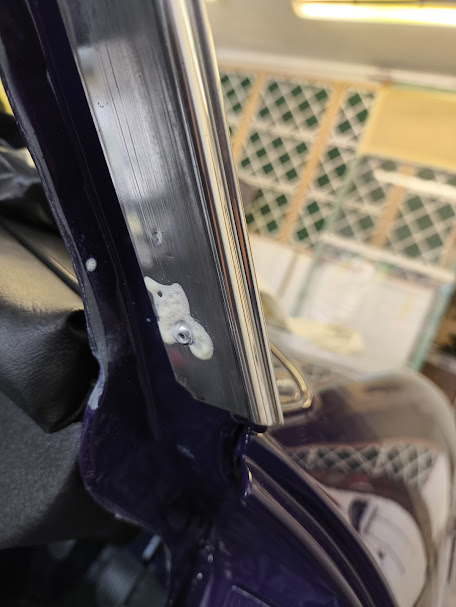
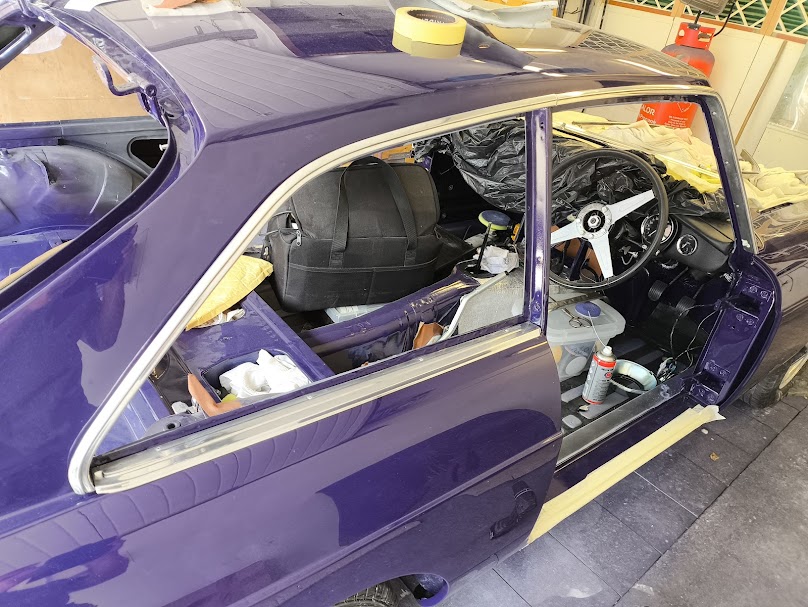
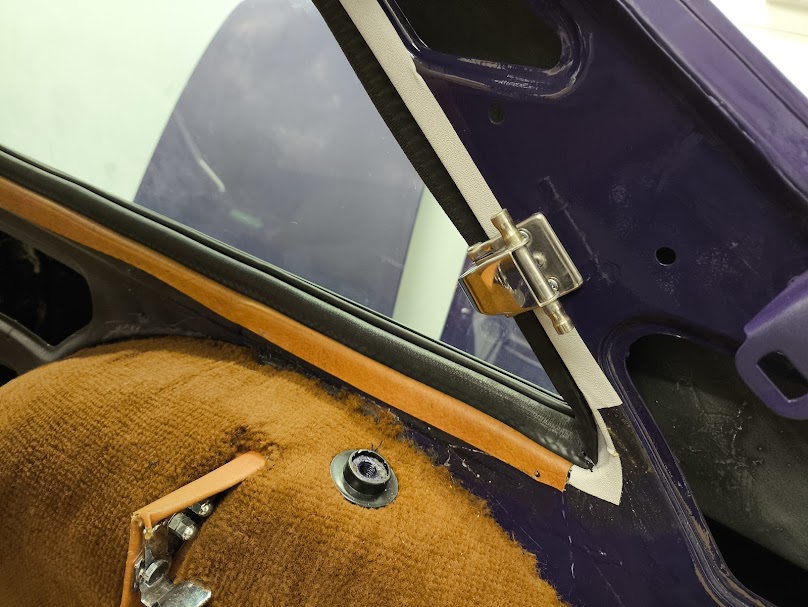
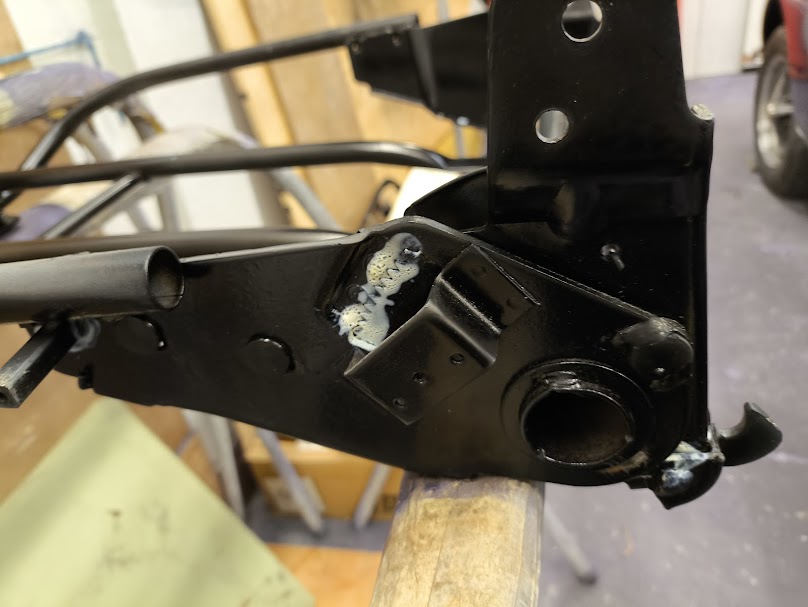
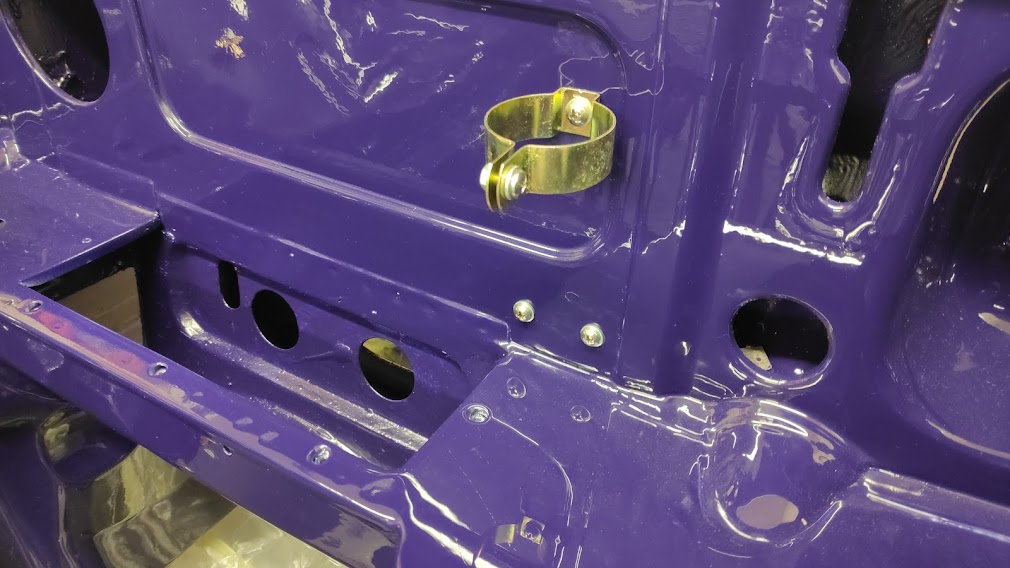
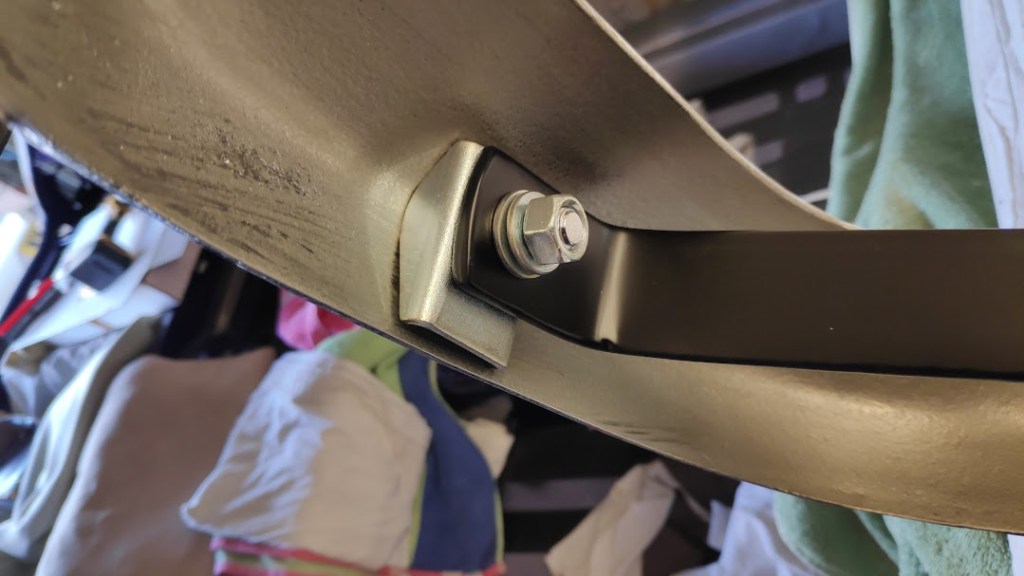
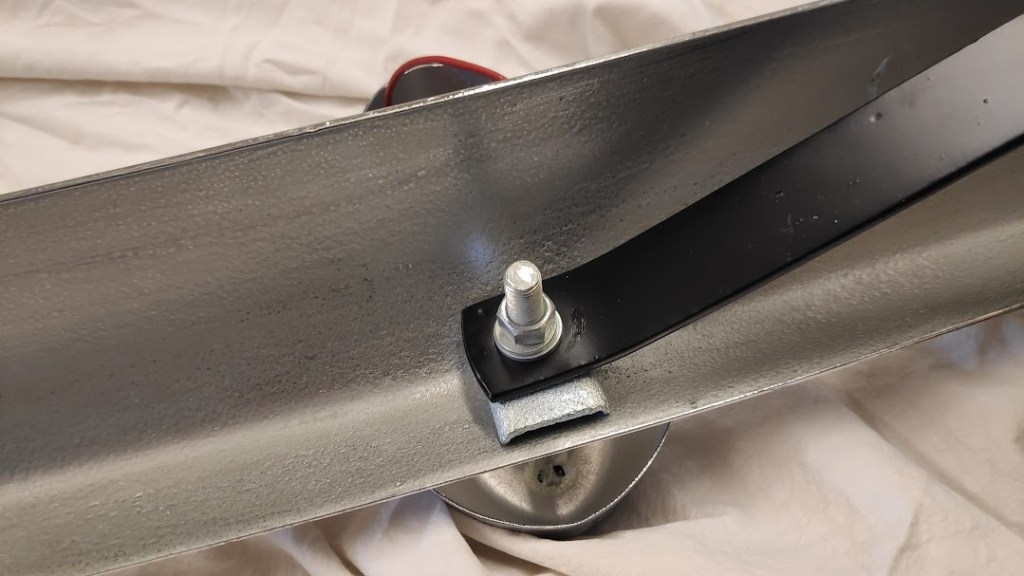
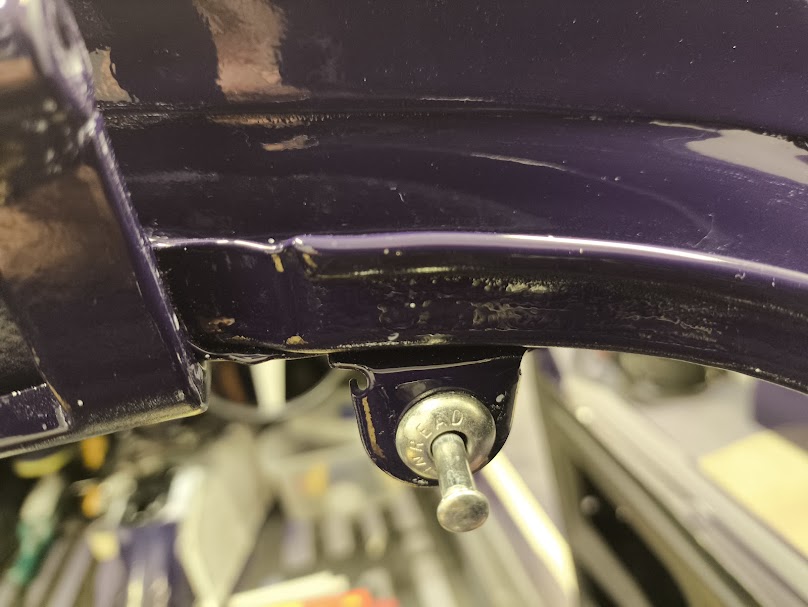
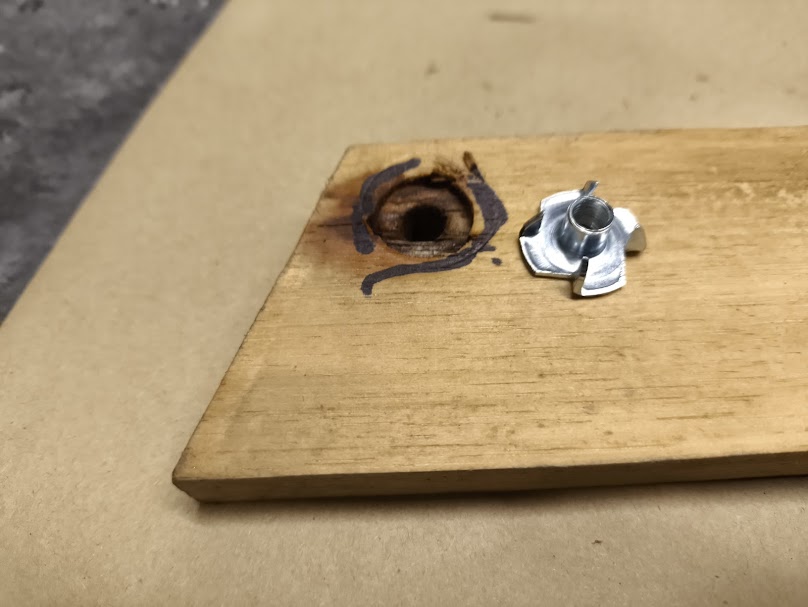
Windows and trim starting to go in. While the wings were off I spot welded another plate behind where the rear quarter light self-tappers screw in. Not only does this support that area where there is significant tension on the hinge screws due to the over centre catches and new rubbers that have to be compressed, self-tappers pulling out here is a coming issue. You can’t see it but I know its there.
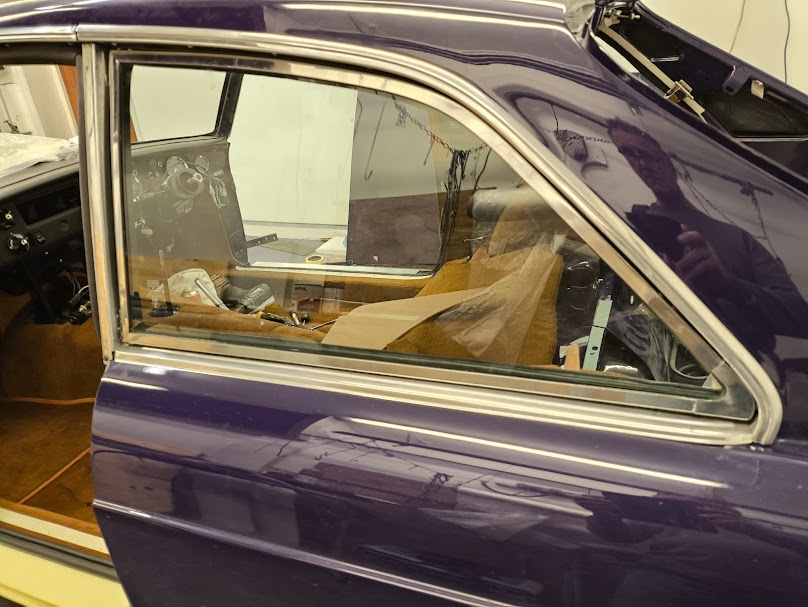
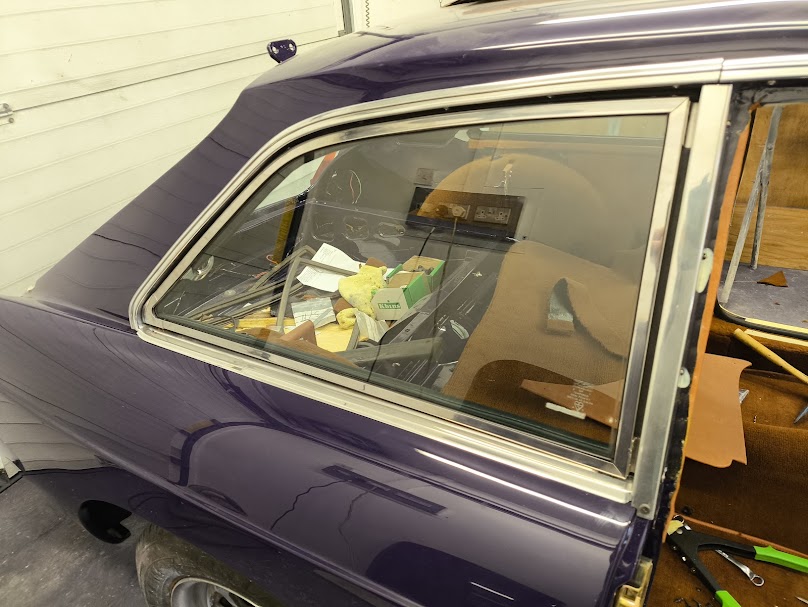
One area I had to concede failure in finding the right parts was the Autumn Leaf rear quarter seals and door seals. No one makes them, mine are just not good enough for this resto and second hand stuff in any good order is more or less no existent. I have painted hard rubber and plastic where the vehicle demanded that level of finish, it’s not easy but with the correct adhesion promoters and added soft face to the paint you can do it and it lasts well, however the MG as much as I would like isn’t at that level or value, so black it was.
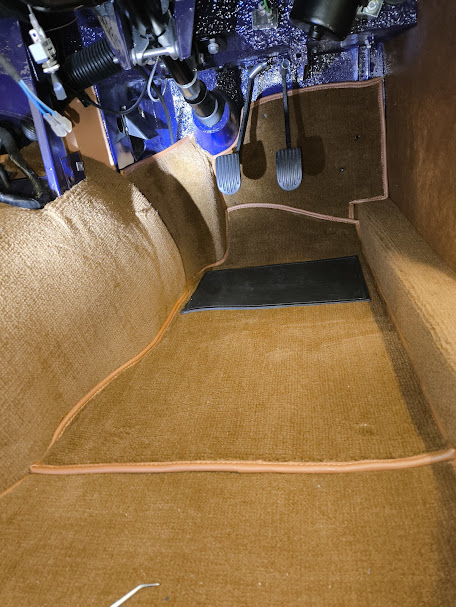


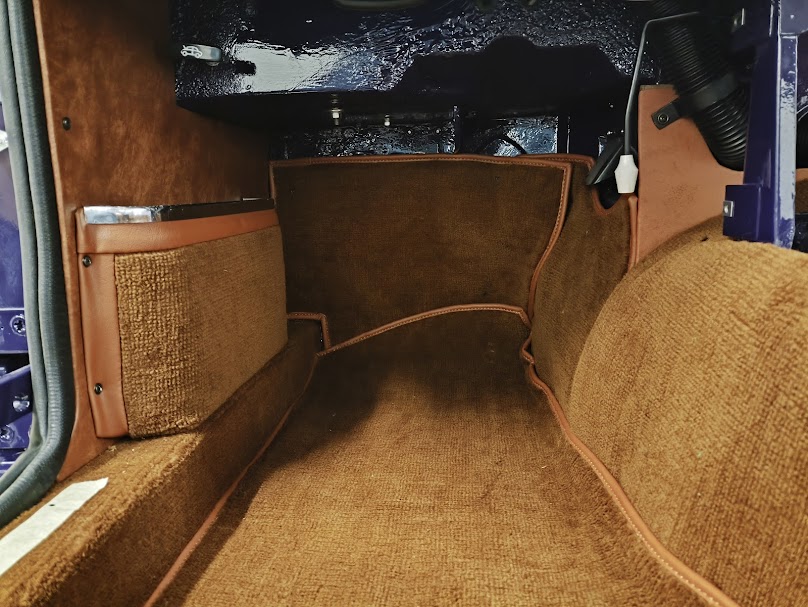
Rear quarter trim panels wheel arch radius was wrong and left gaps and the fit from sill to rear bulkhead was wrong. These had to have the covering pulled back and the hardboard trimmed so they fitted. Same for the foot well ones, they just wouldn’t fit square or neat, material removed and the board trimmed so they fitted.

Correct ( well patterned alloy and not those S/S mirror things ) sill threshold plates fitted, tried to fit the lower door seal retaining strips, dreadful fit, a good 5-6mm gap where the curvature was meant to fit the door seal, crap again, may leave these off for the new owner to decide if they want to fit them. One area I’m still not sure of is the sill carpets; they came with the kit so to waste them seems pointless, given the cost of a moulded carpet set. You can get the rubber sill covers but only in black. I’m not sure of the fit or quality of these so I’m reluctant to buy a set as I could paint these in an AL shade. Again adhesion promoter and soft face in the paint will make them useable, but it’s another unwanted cost at the moment.
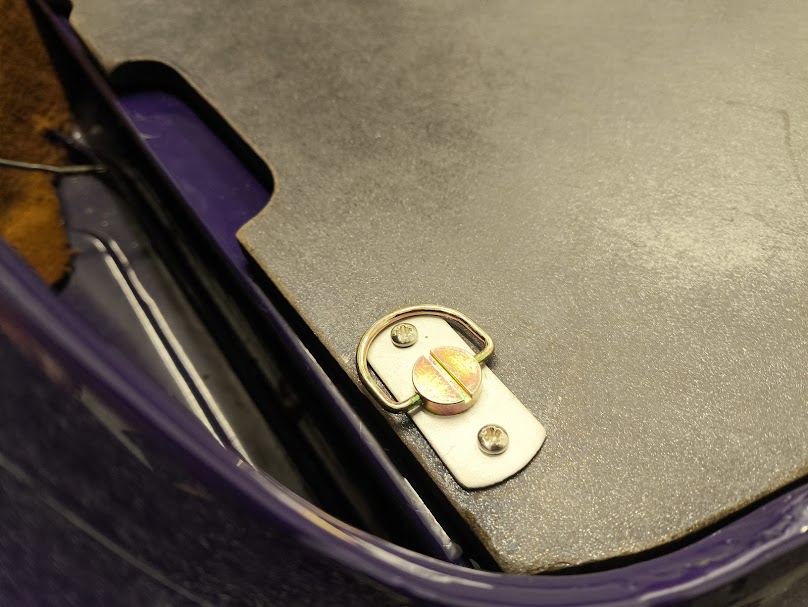
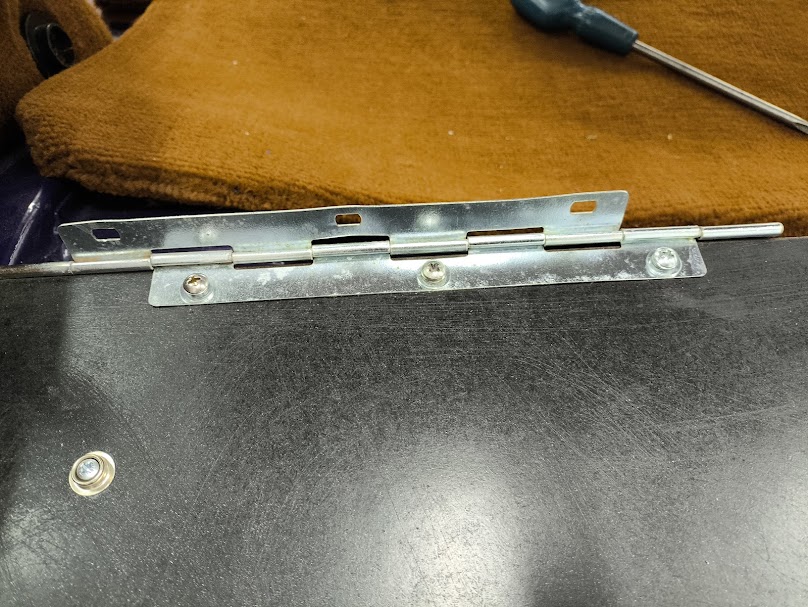

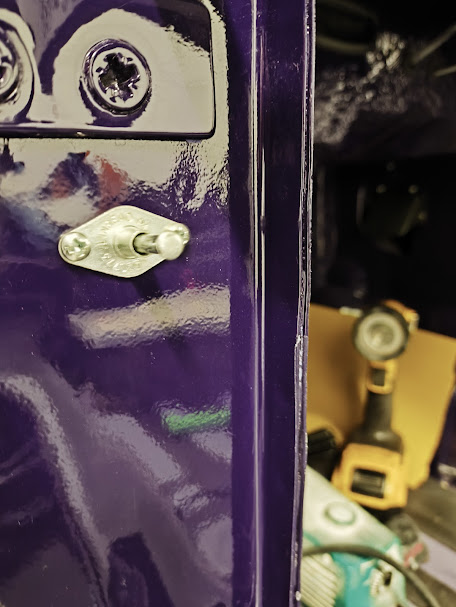
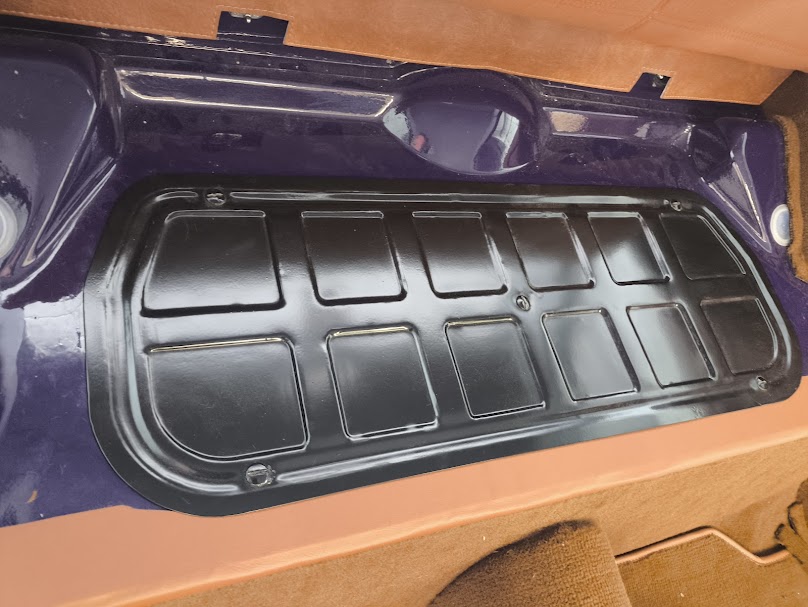
Just small details, new and plated Dzus fasteners and plates, rear seat back hinges plated and correct round battery cover rubber seal


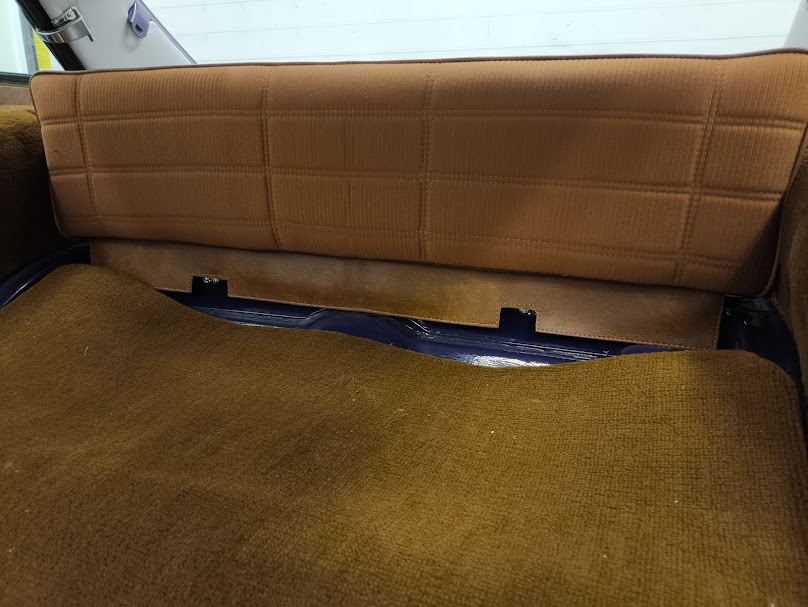
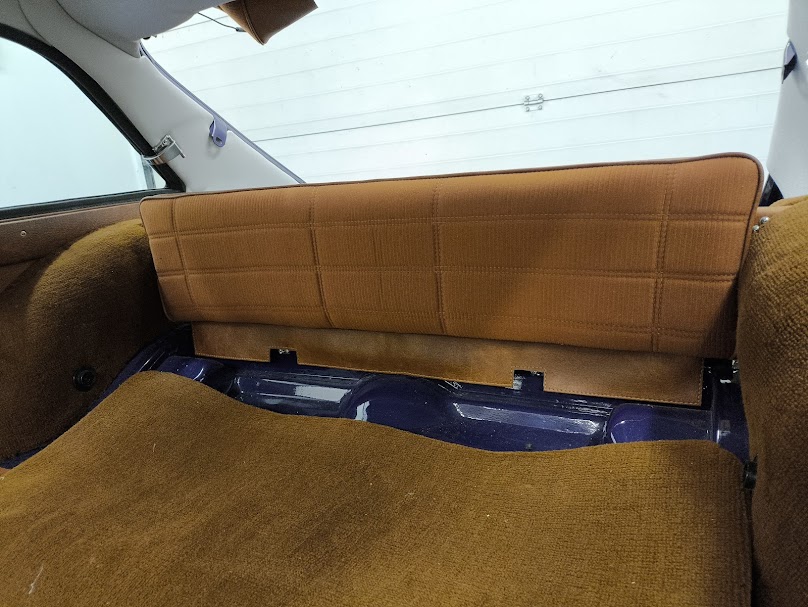
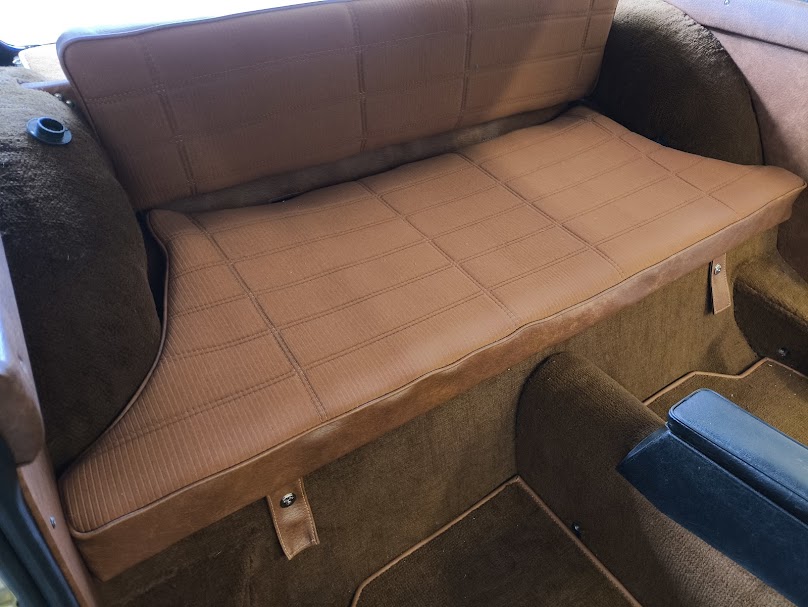
Rear seat base was rotten so made a new one from 9mm ply and refurbed the return rail. Also replace the old soft foam with block foam, didn’t get a pic of it, although no one is going to sit on it, it just makes for a nicer finish and holds the seat shape better. New backed felt stapled underneath. Only one issue with the rear seat cover is that where the beading has been stitched to the 2 base and face the seamstress has pulled the material too tight and cause a small pucker in the face. I’m hoping as the seat base settles this will stretch out. It will be hidden by the seats anyway as the GT isn’t known for its rear leg room, however it’s just another issue with new and remanufactured stuff.


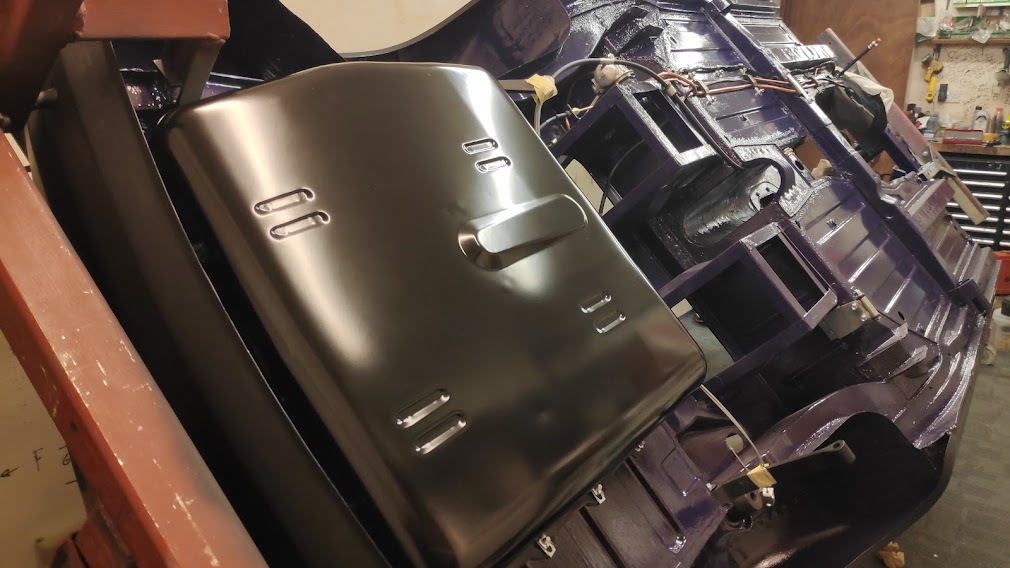
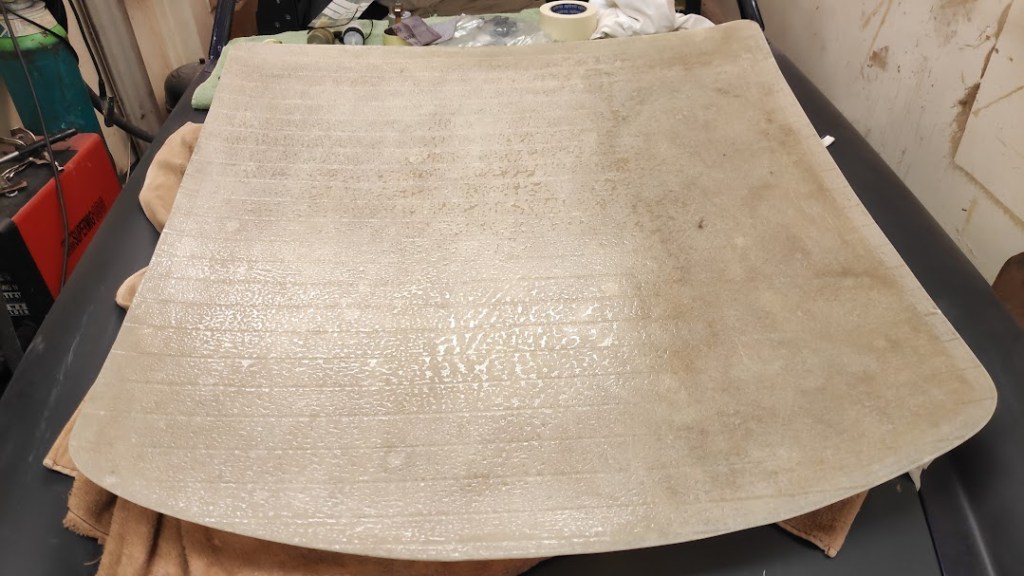
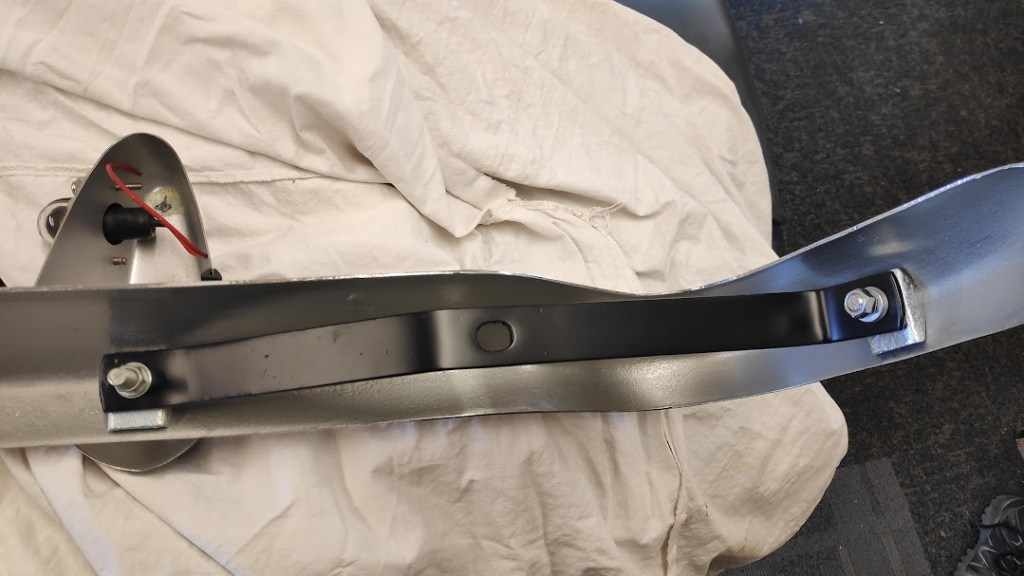
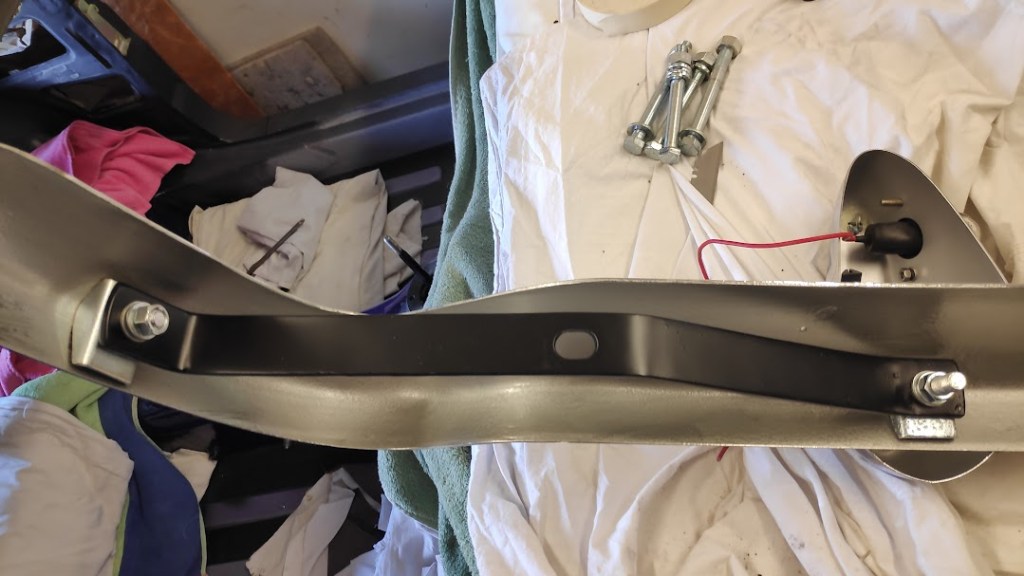
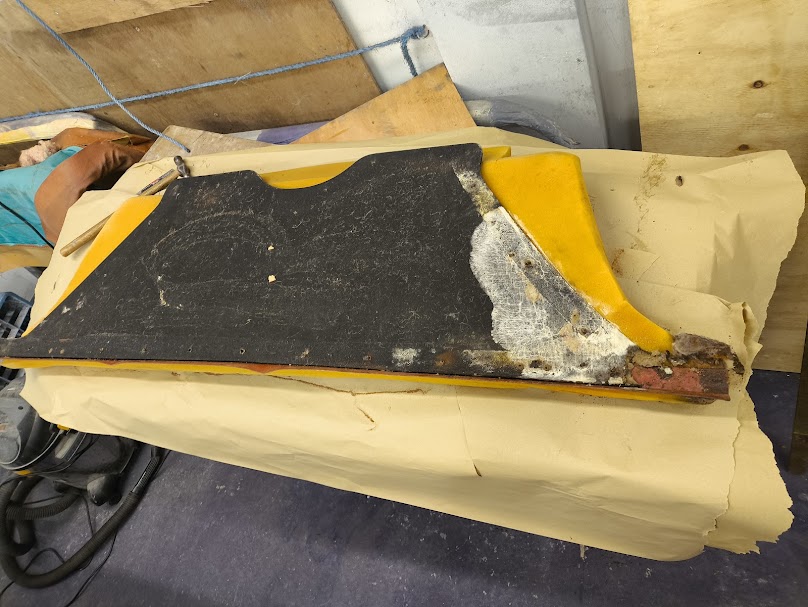
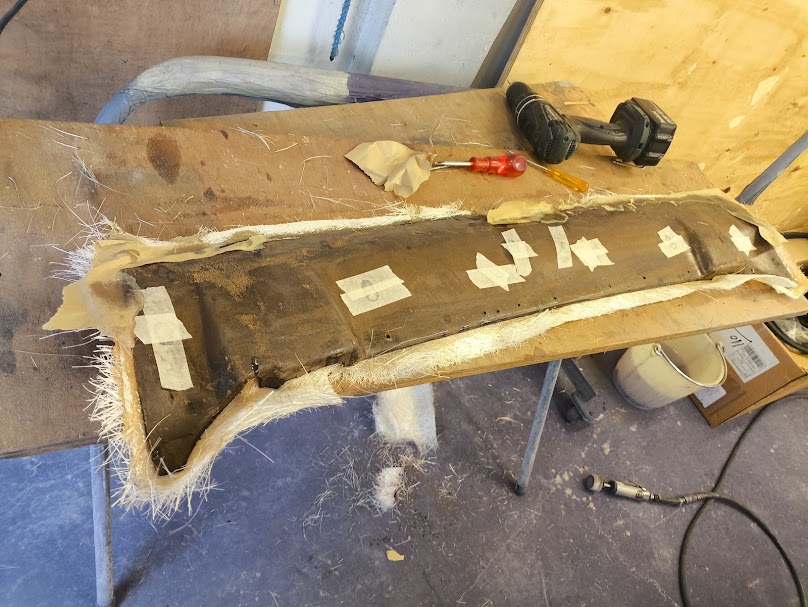
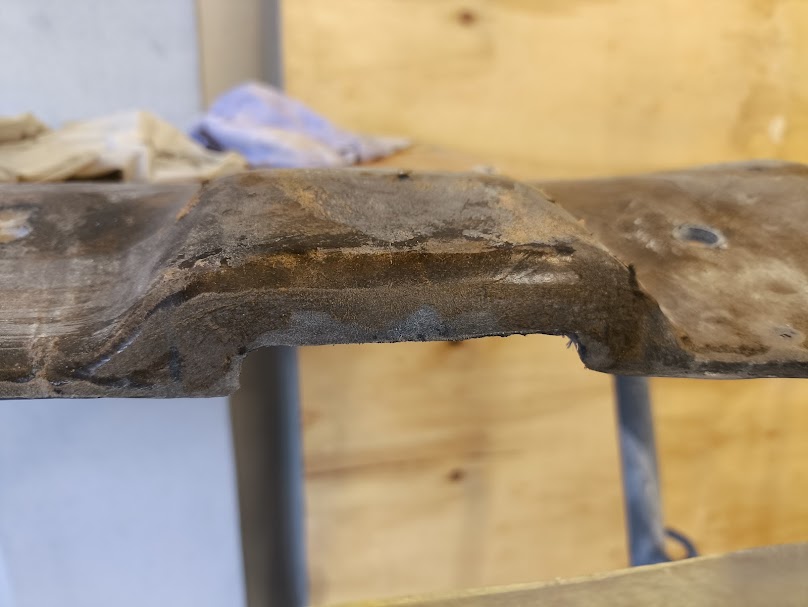
The rear cockpit roof moulding was not a good shape, and looking at the other for sale and items at the various auto jumbles they were not worth buying. So it was clamped down to get the straight edges flat where they should be and blocked up to get a bit of a curve back in it. Then laid up with 2 layers of GRP matting and resin, given an extra bit around the hinge areas and rear light switch cut out. It didn’t come out too bad and kept the shape nicely; it was sanded where thick and trimmed on the edges and around the cut outs. Finally covered with matching roof lining material.


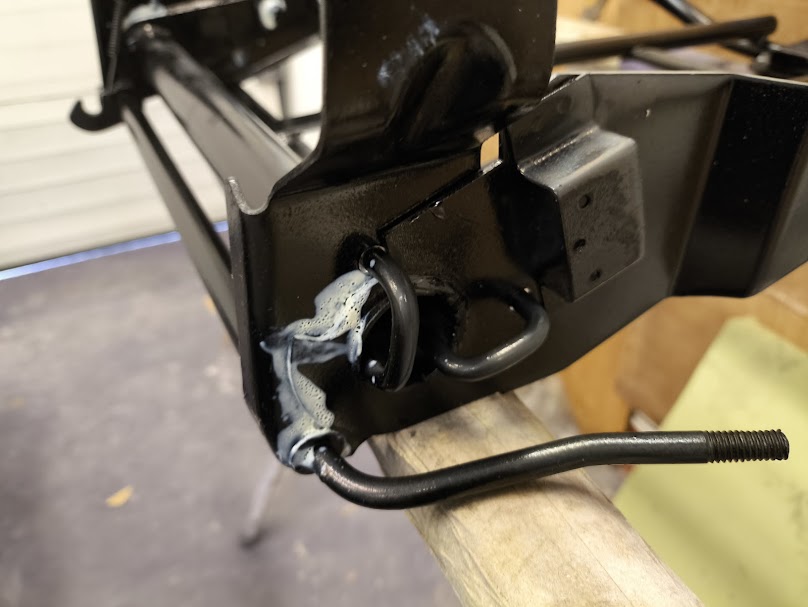
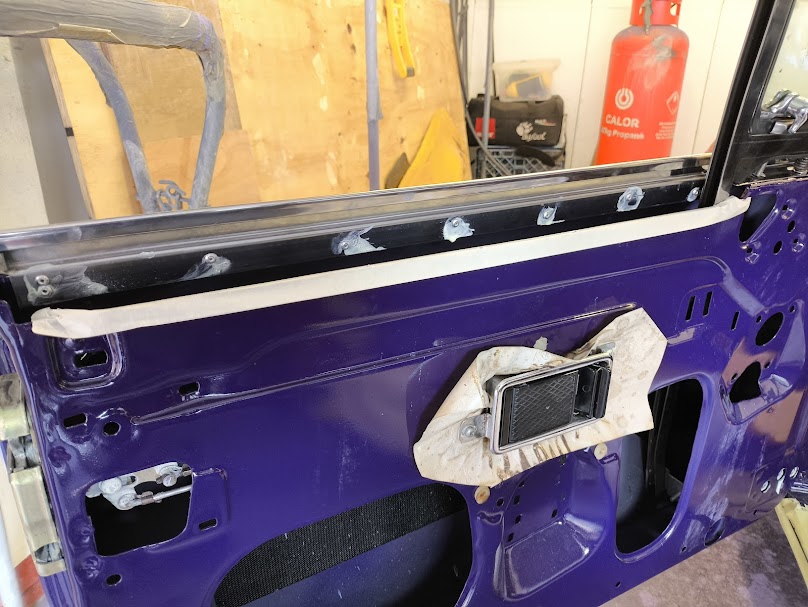
Fitting up of bits and pieces, door assembly, white marks again are lite white grease to give a degree of protection where items are riveted on. Even with painted holes pop rivets will break the paint away, so a token gesture is made to protect these areas. Door capping’s had the usual issues, the chrome finisher threaded screws rusted into the threaded insets, so these were knocked out and new threaded spiked inserts fitted prior to recovering.

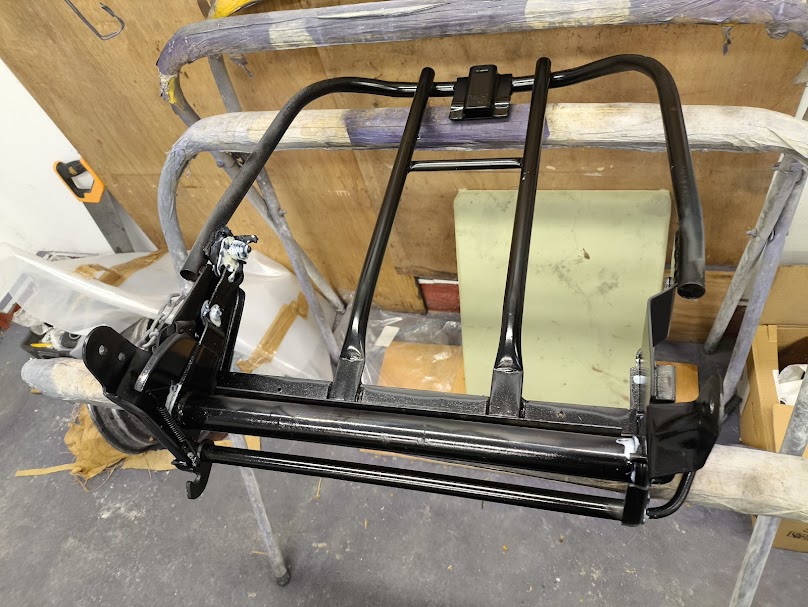
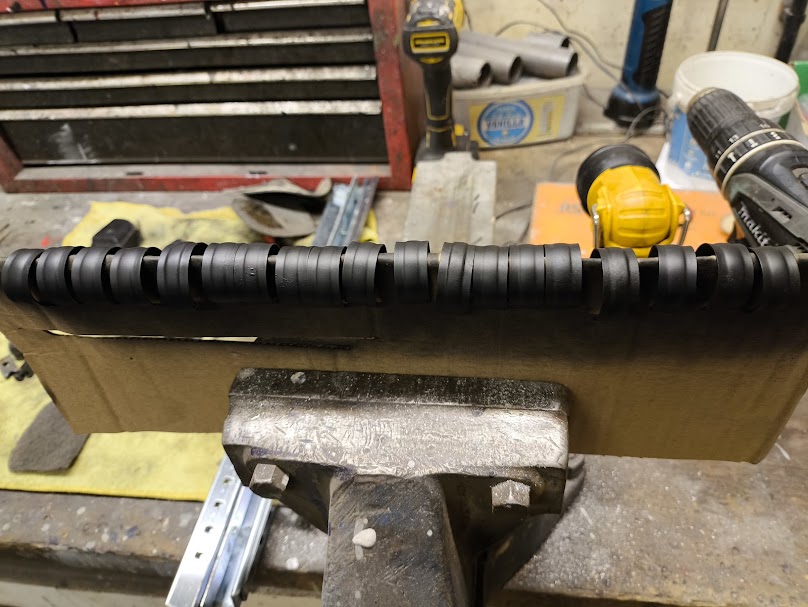
So on to the seats, frames cleaned, sanded and painted. New webbing fitted, new burlap ( not in photo ), moving bits lightly greased, runners zinc plated and material retaining clips given a light coat of paint to tidy up.