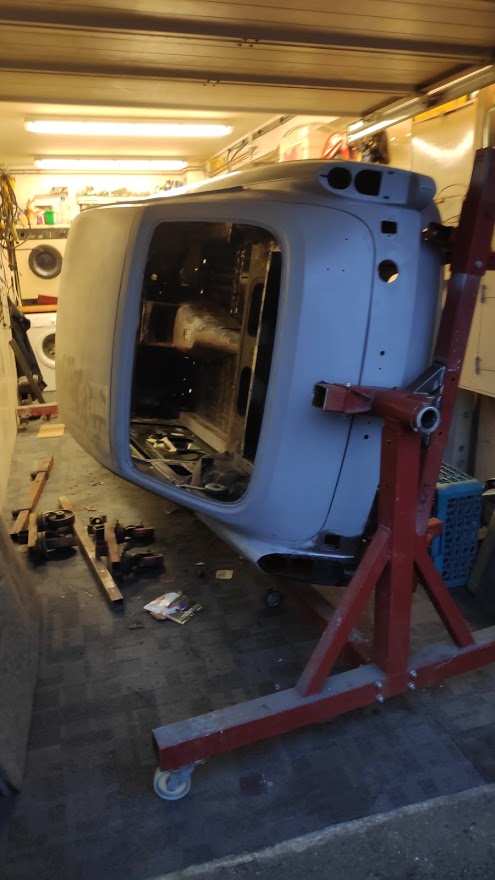
So I had to start somewhere, not sure where really so I decided to tackle the bits and repairs that had been carried out before and I wasn’t quite sure about. I haven’t bothered to show all the stripping photos as they are about as exciting as watching day time TV. However I took many as this car was an original and it had never been apart in its life. So when it goes back together and you get the usual “it wasn’t like that from the factory” I can produce the photos as this one left the factory, not that it really matters.
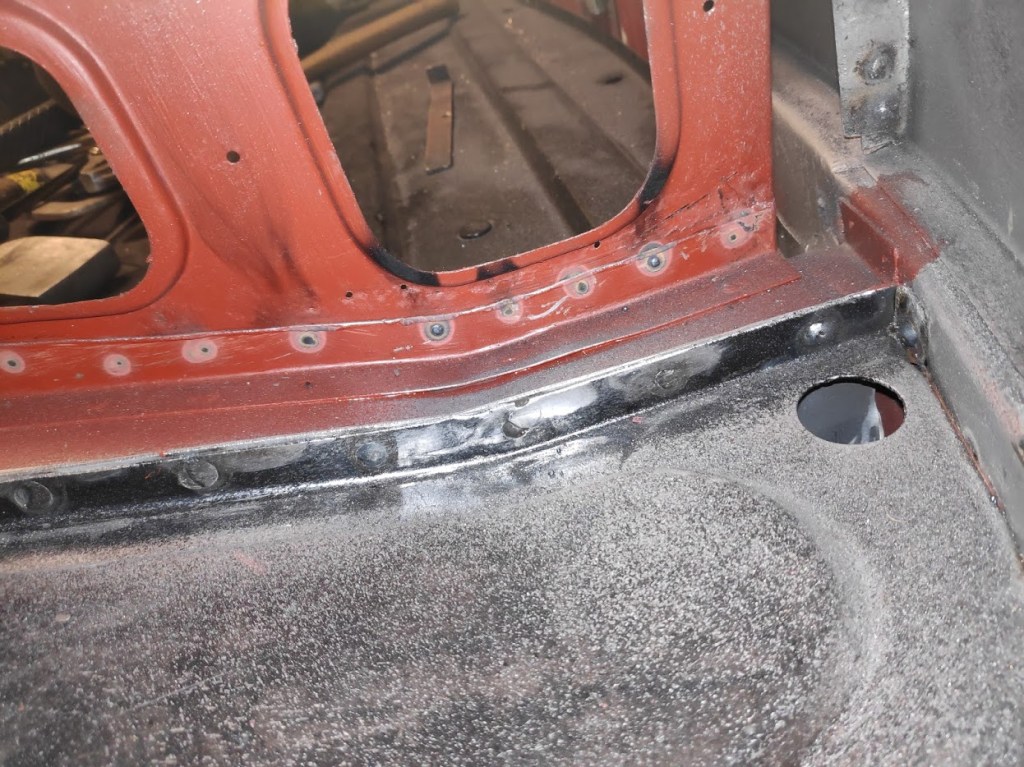
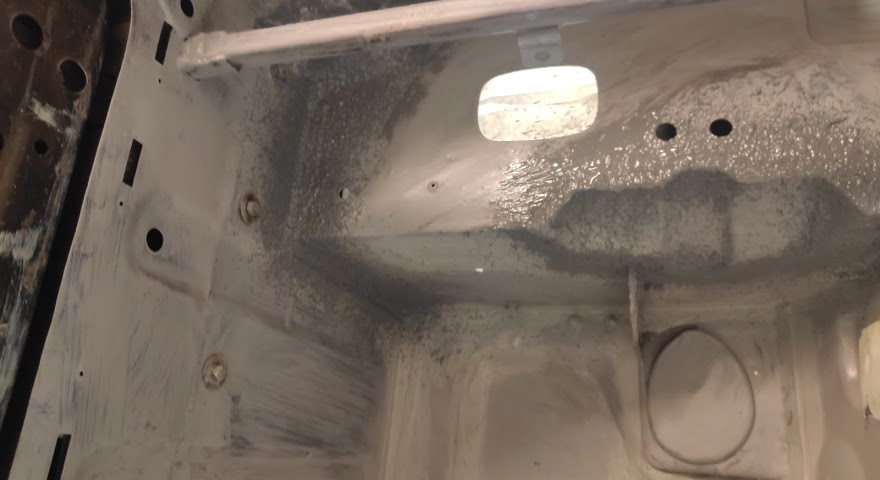
The chap that had started the repairs had done a good job but one thing that didn’t seem right was the sill to door alignment; gap was tapered and just too tight. The castle, inner etc. had all been replaced but as this was going to be a nut and bolt resto it had to be right now, so the new sill had to come off. I also wanted to see what sort of protection was on the insides.


The back end to the sill was a bit tatty so it gave me a chance to tidy it up, even though it will be hidden behind the outer sill. The protection he had done was great; however I gave it all another coat of epoxy sealer and then some weld thru zinc primer on the welding faces, as a token gesture.
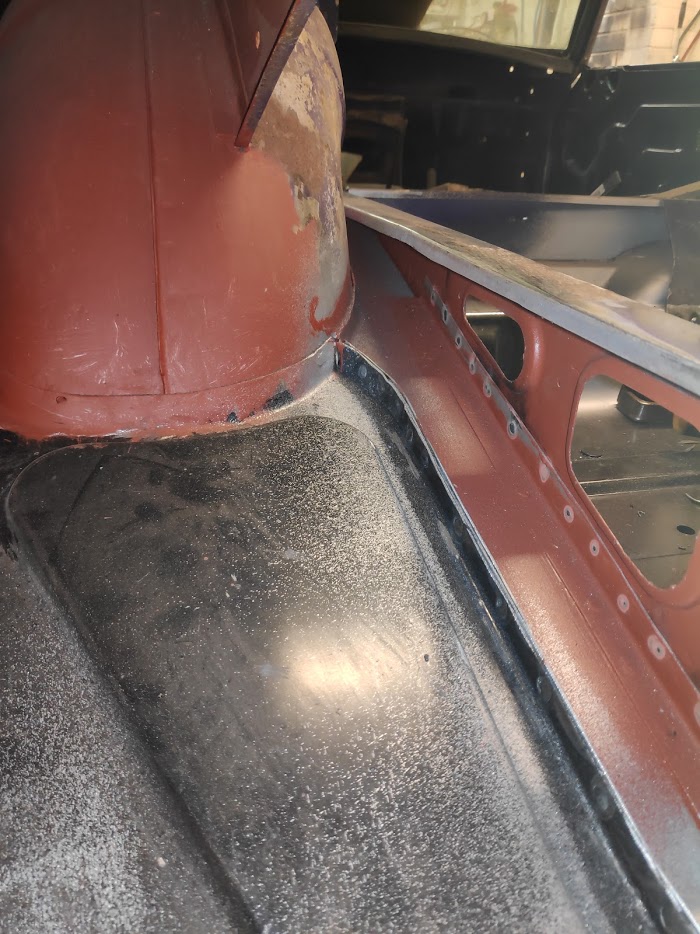
With a good grind and wire brush applied a coat of epoxy sealer to all the inner sections and rear wing internals and trial fitted the rear wing and door. Much better
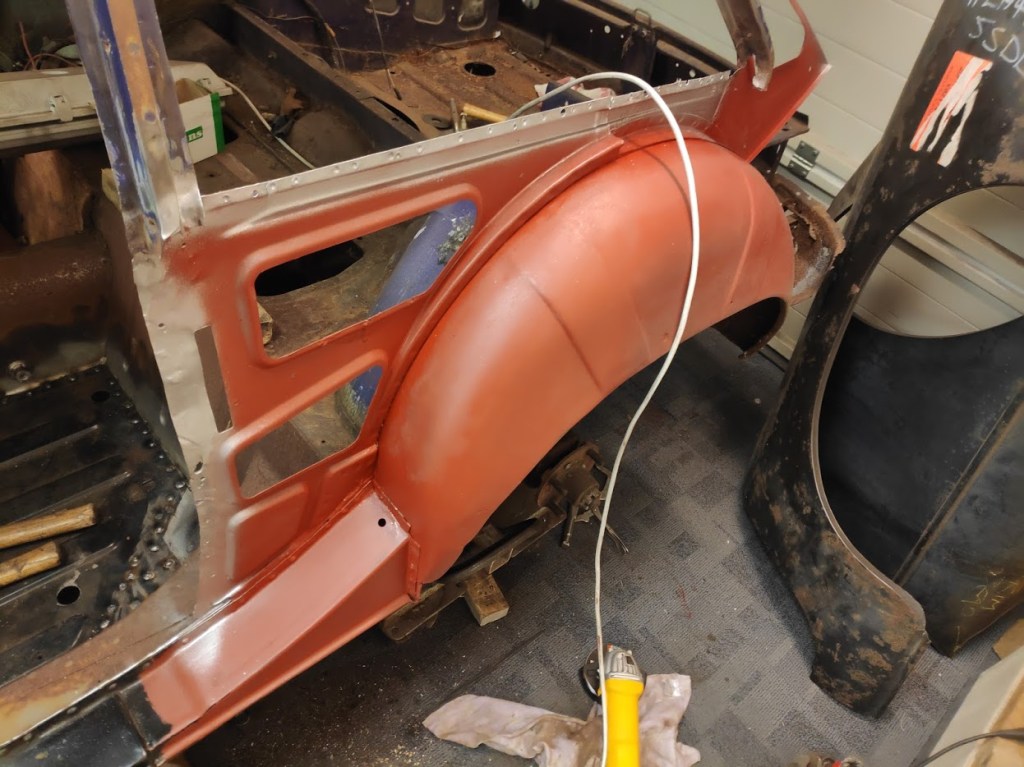
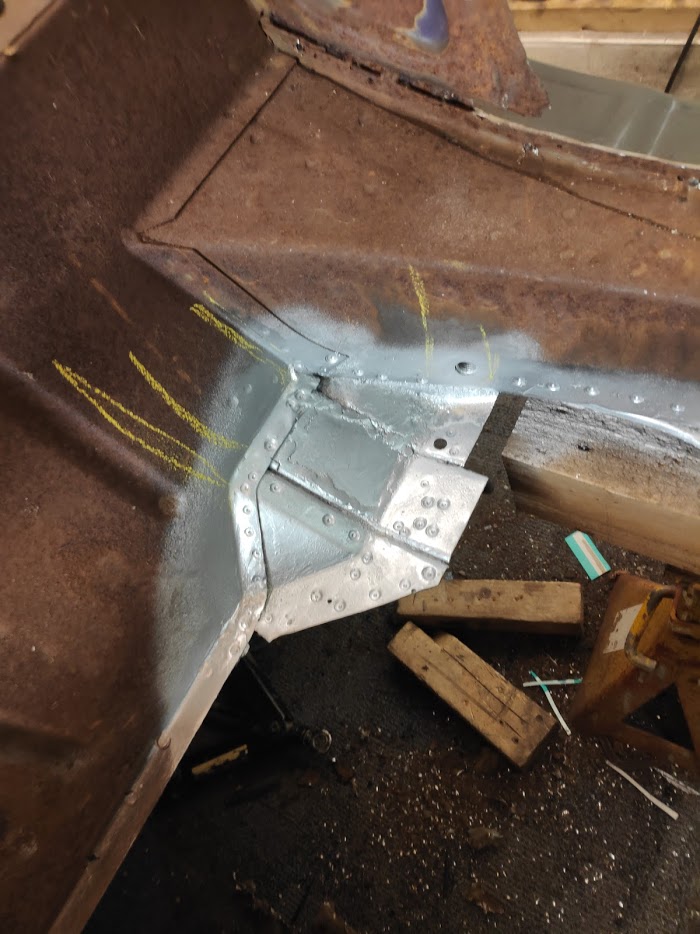
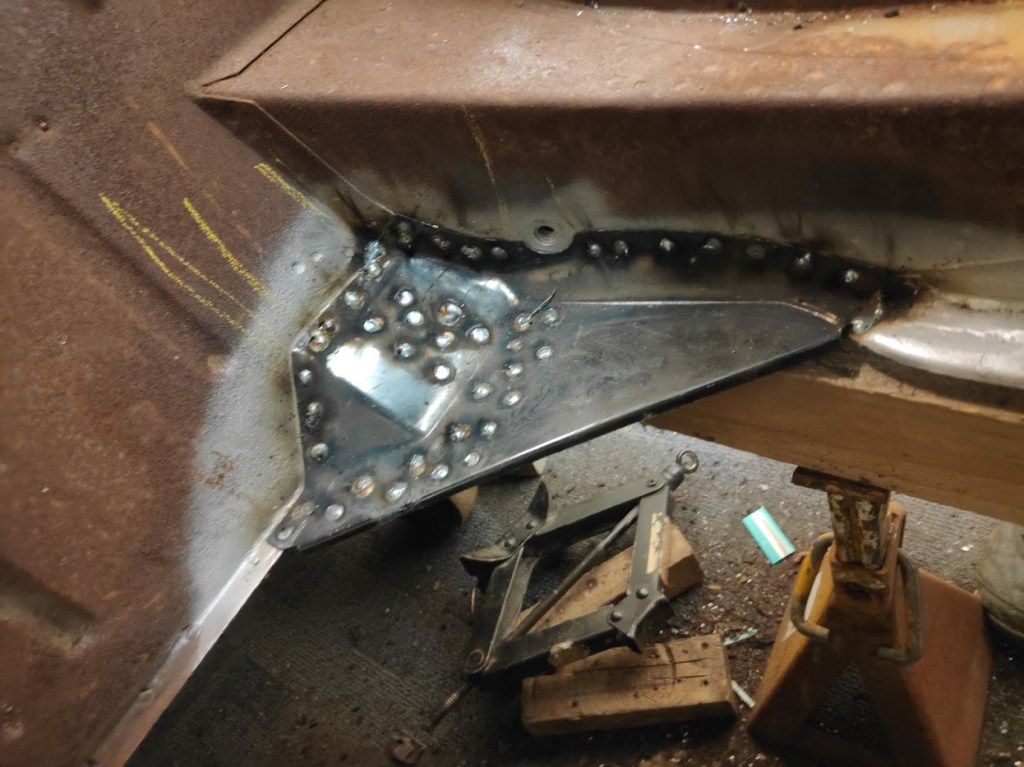
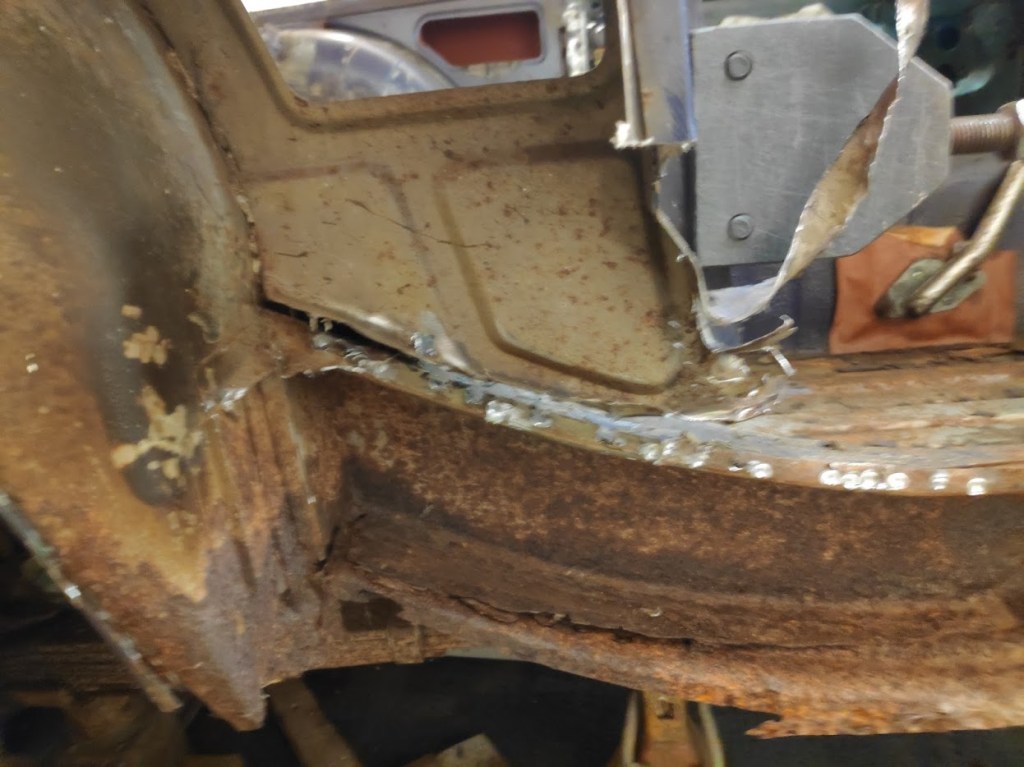
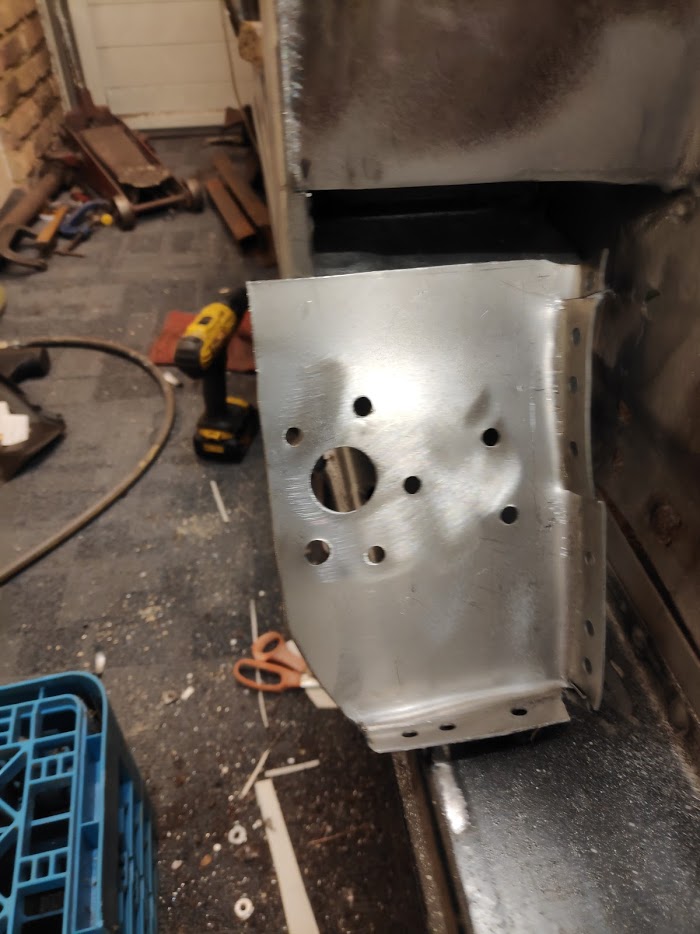
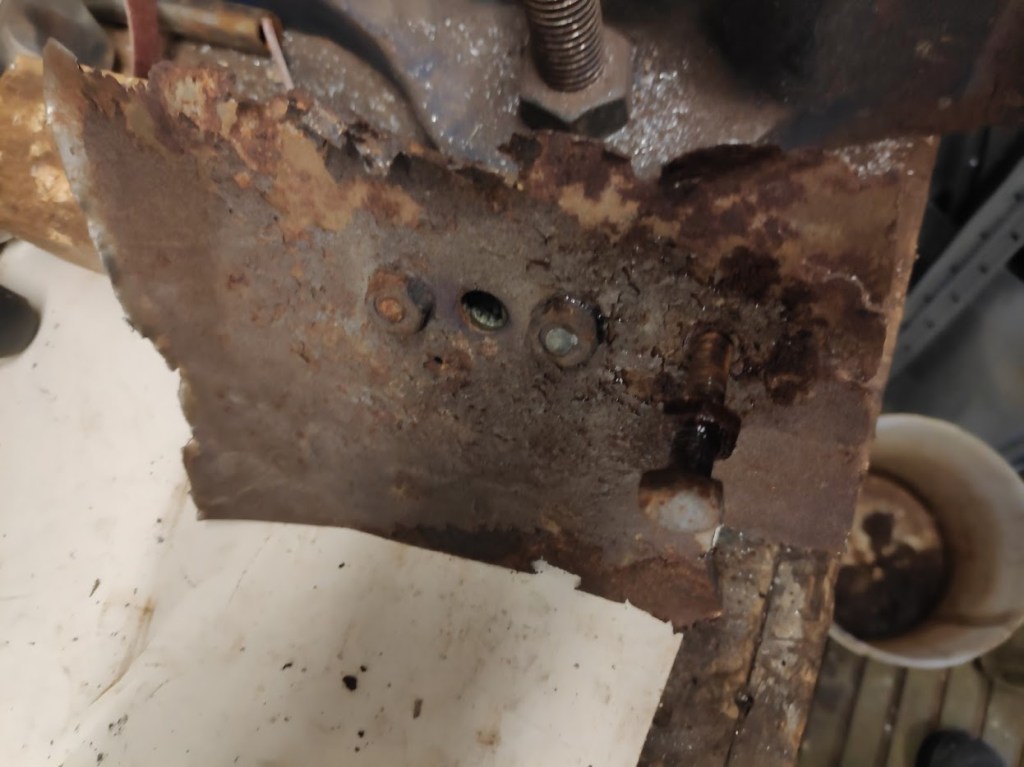
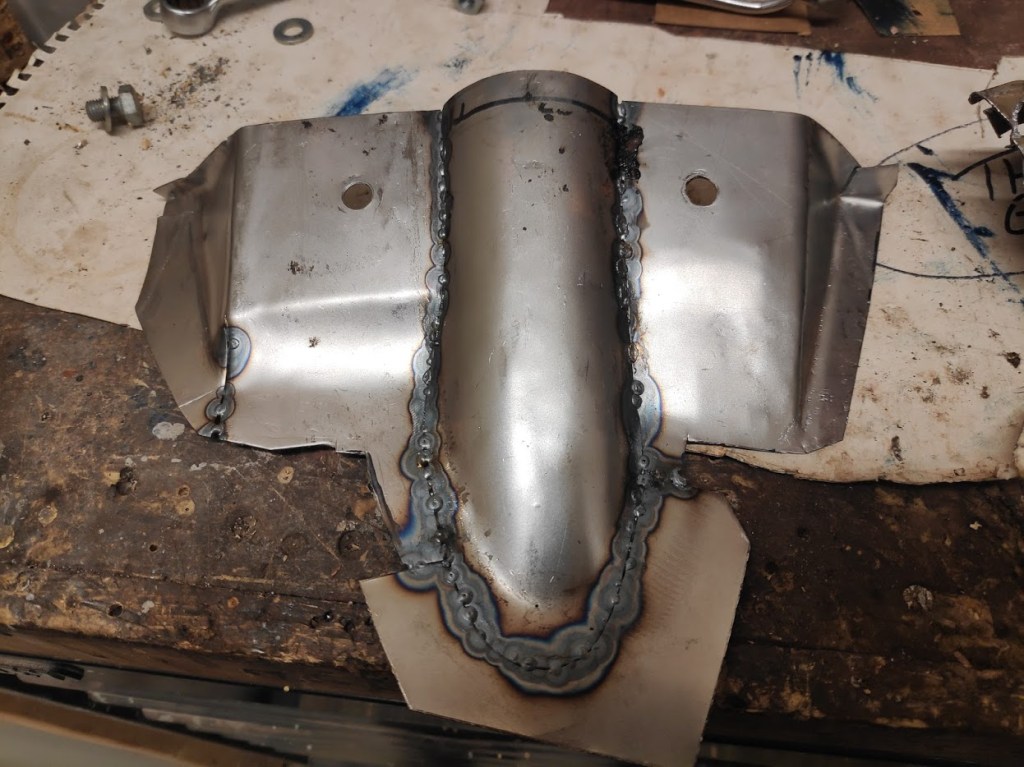
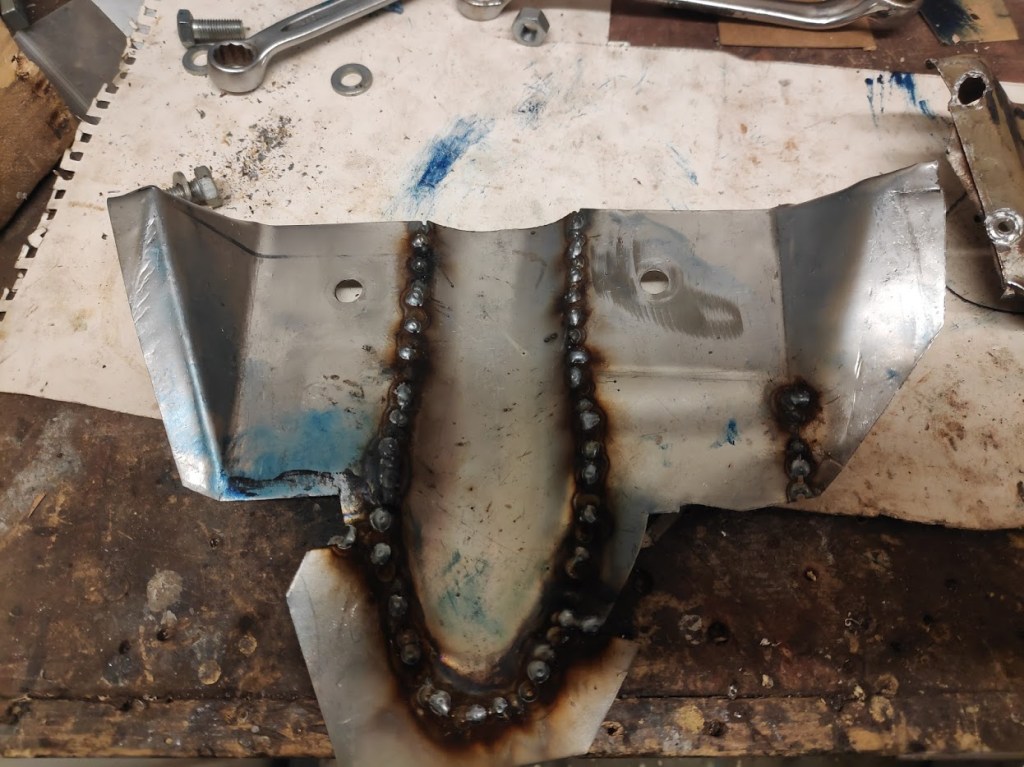
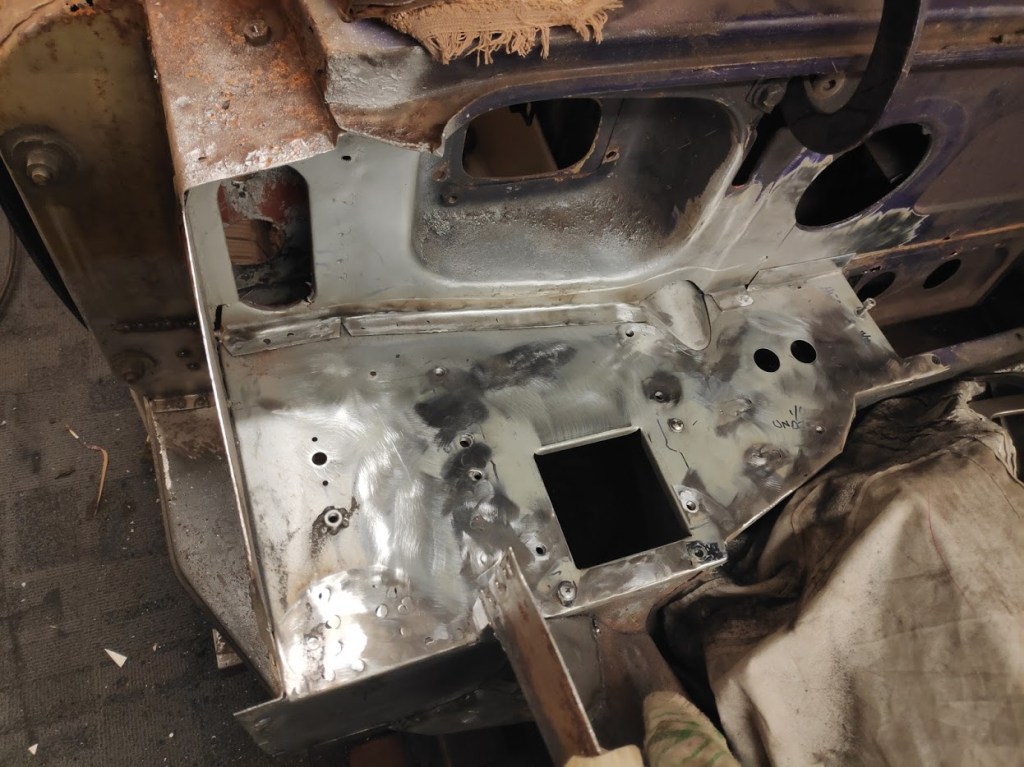
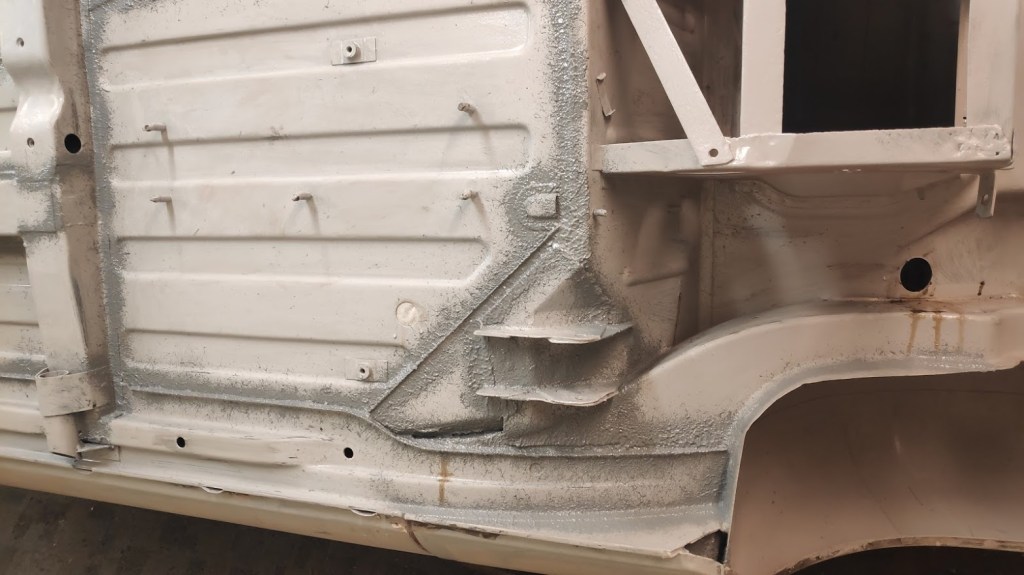
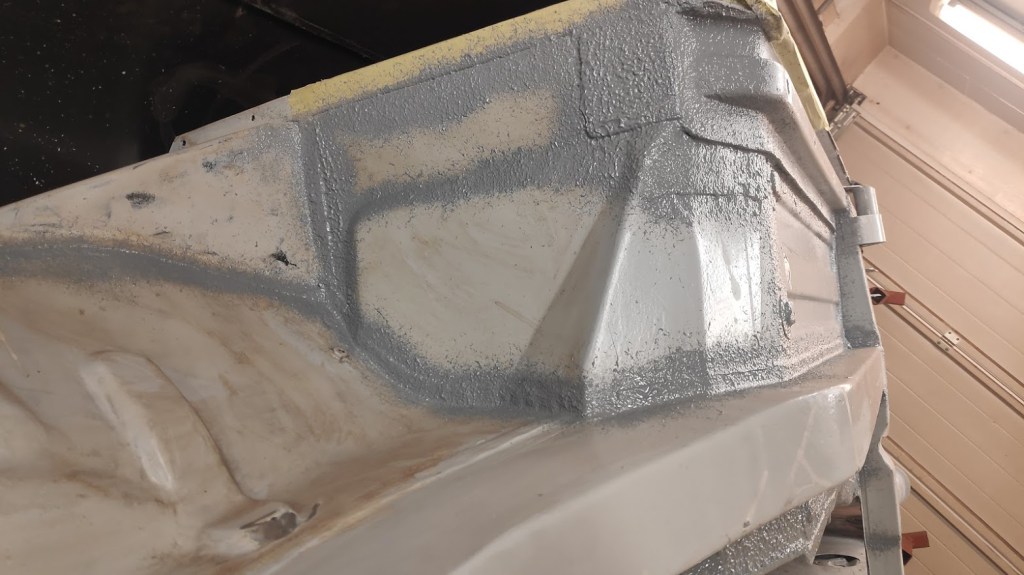
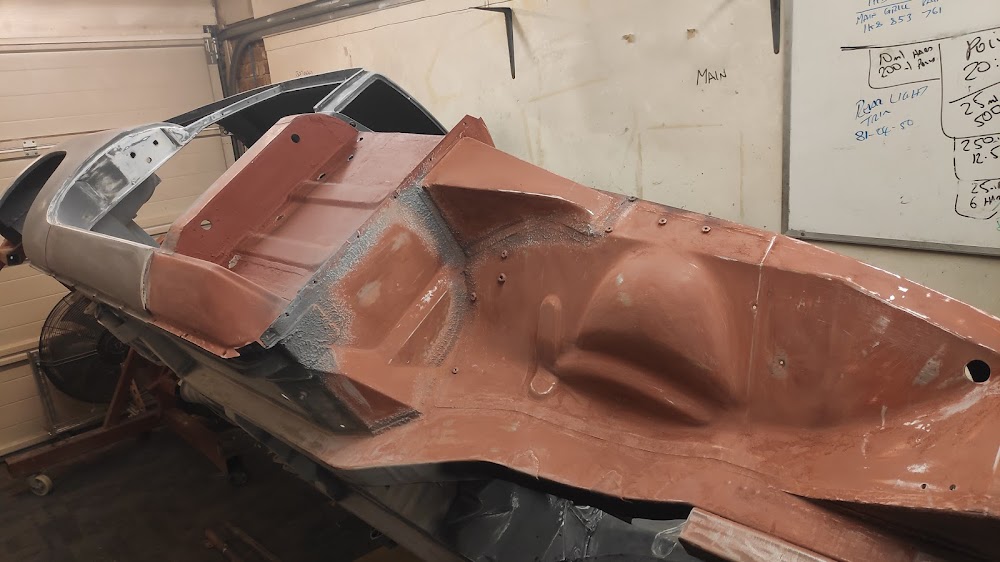
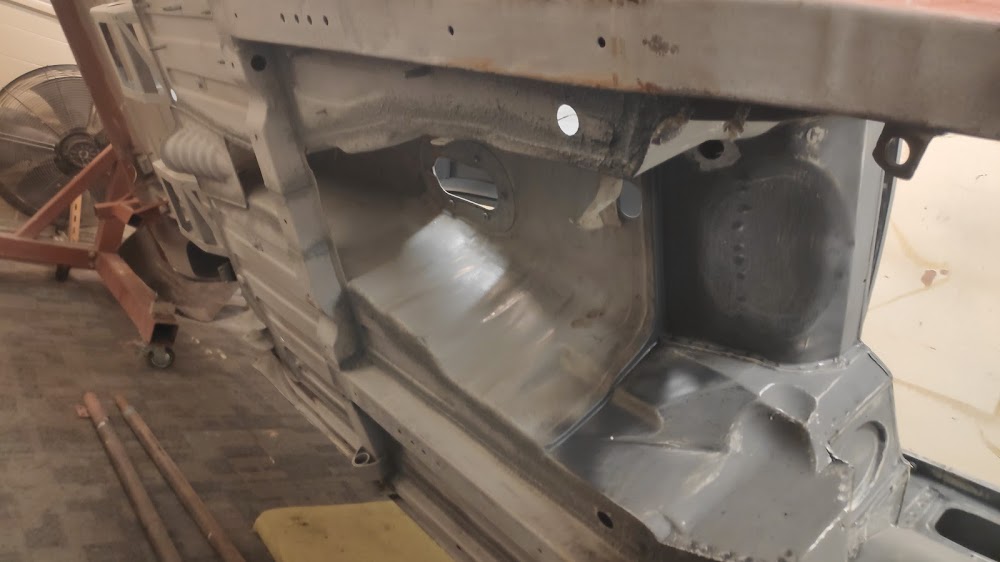
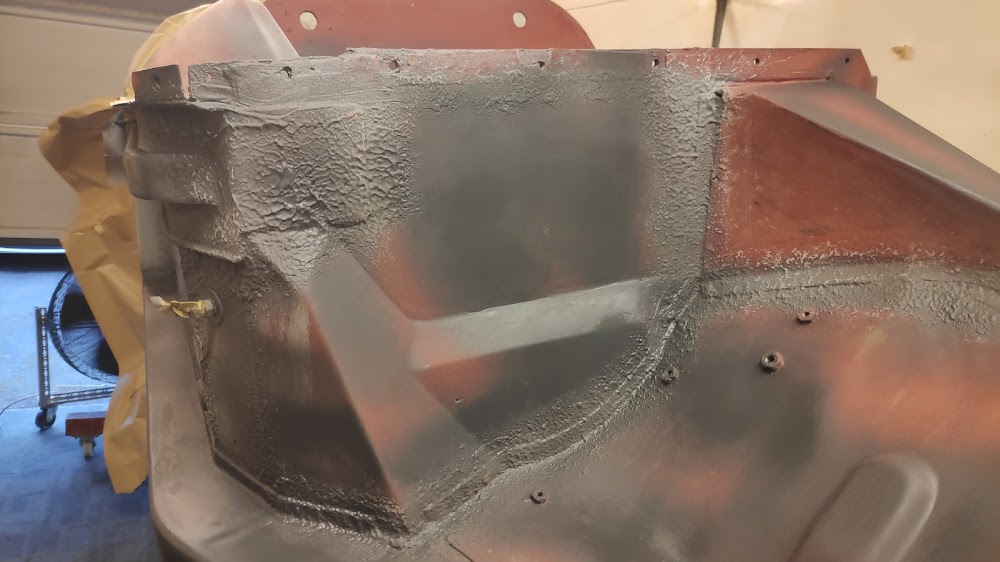
The front turret inner wing reinforcer again had been fitted but it all seemed a little bit off and I wanted to repair the foot well areas so they looked factory. They didn’t need any major panels, just the usual repair pieces. The foot well panel seemed to pull the side in, I found it had been repaired, technical term, pissed, so you can see the tapered fillet needed to get it to align. I have either butt welded or joddled where not seen as I want the appearance to seem factory or as near as possible without repairs. The other bit that was rusty was the support panel in the 2nd pic, not being available I had to make one up and fit this.


Footwell side in and a bit of wing gutter repalced. Didnt get a photo of the inner wing turret before I got the front wing on for a trail but I can update this later.


And so on with the front wing, bit of fiddling and adjustment and the wing is on and bolted up tight for now.
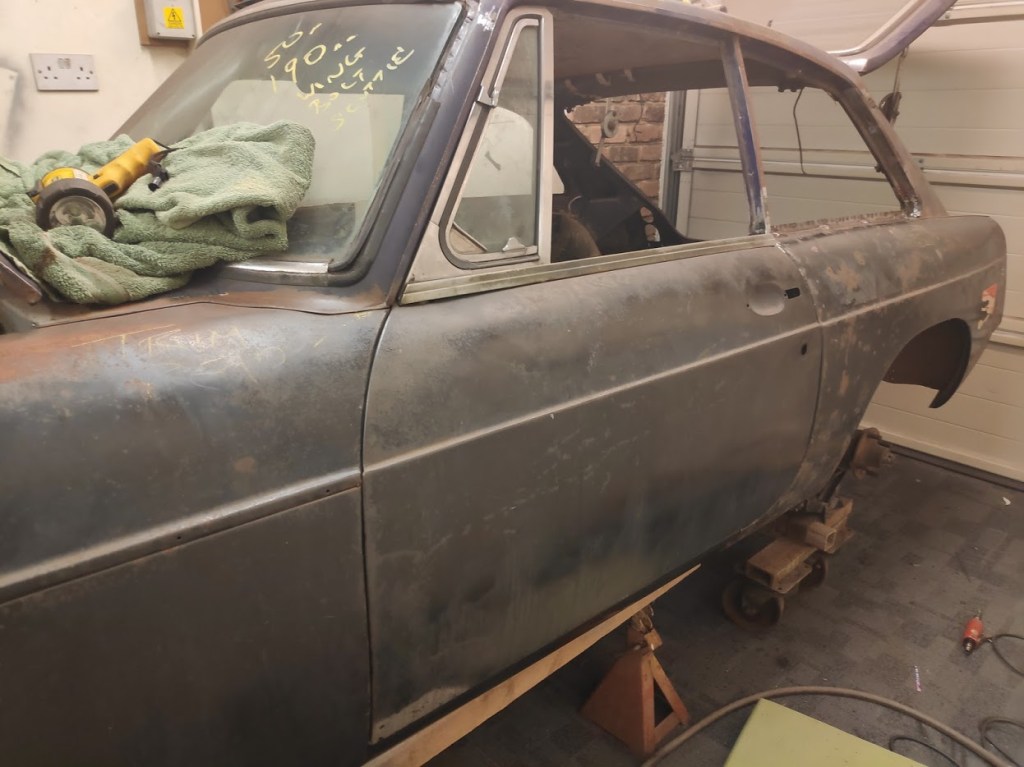
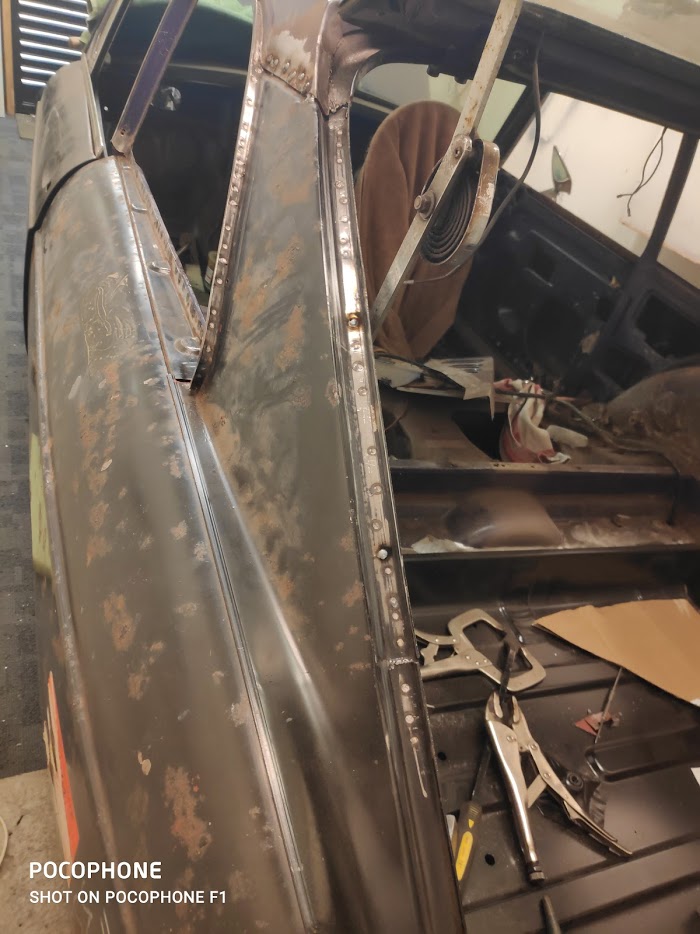
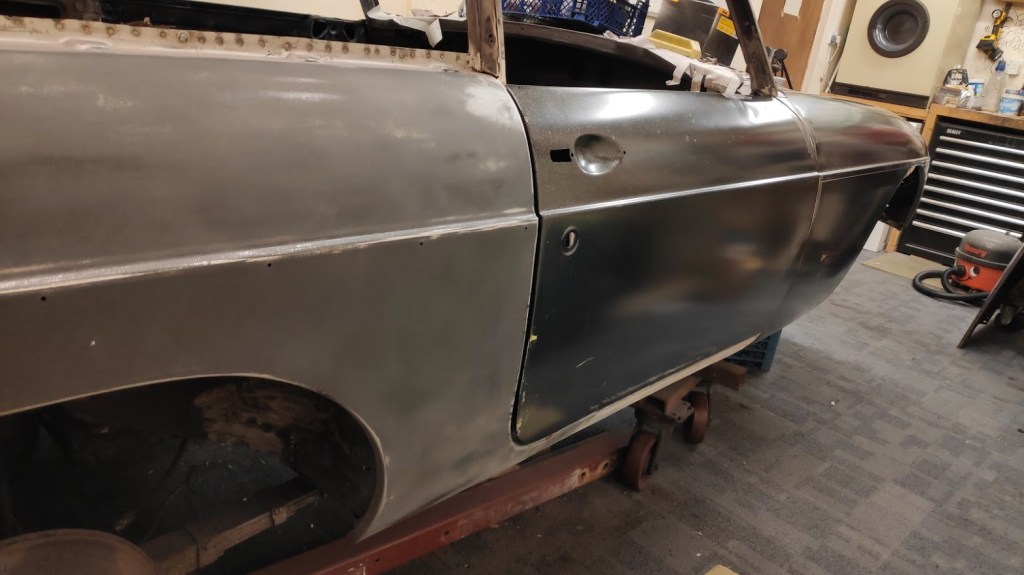
Body swage aligns quite well and is fairly straight. What doesn’t seem any better though from the BMH panels I used to use years ago and now is the fit and curvature around the wing to sill areas both front and back, and the general curvature of wing to door, however all manageable later on.


Managed to spotweld the rear on as much as posible, hopefully avoiding the grind and just being able to prep and paint over to give some sort of factory fit. Just the small fillet of the B post to wing to do.


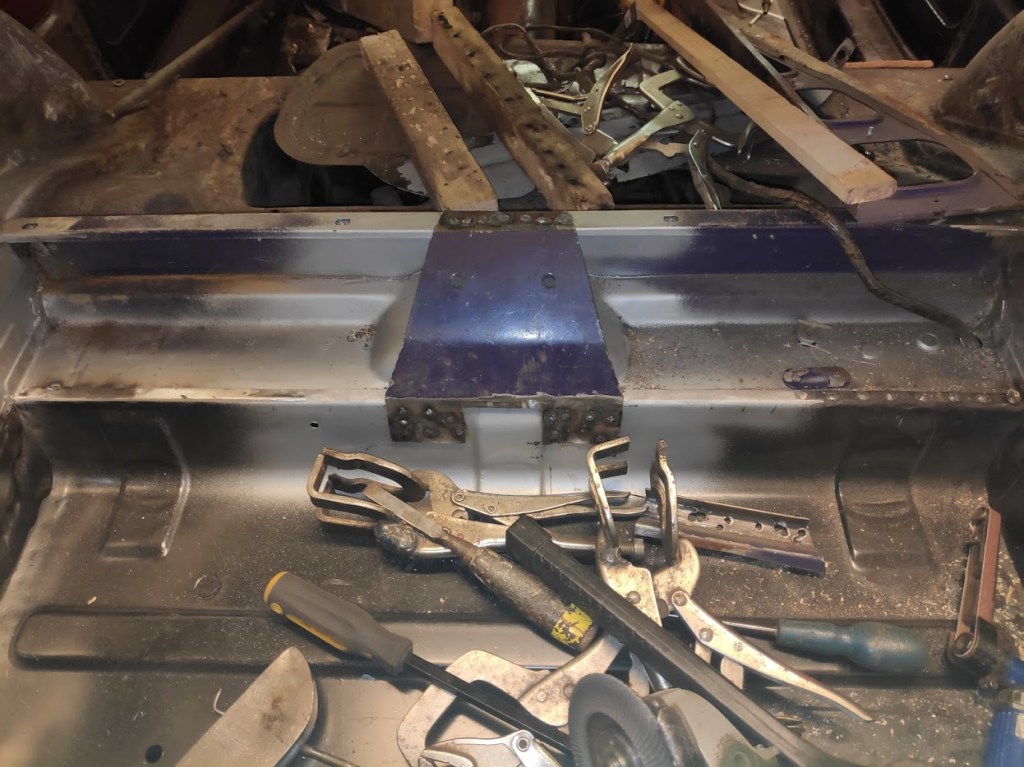
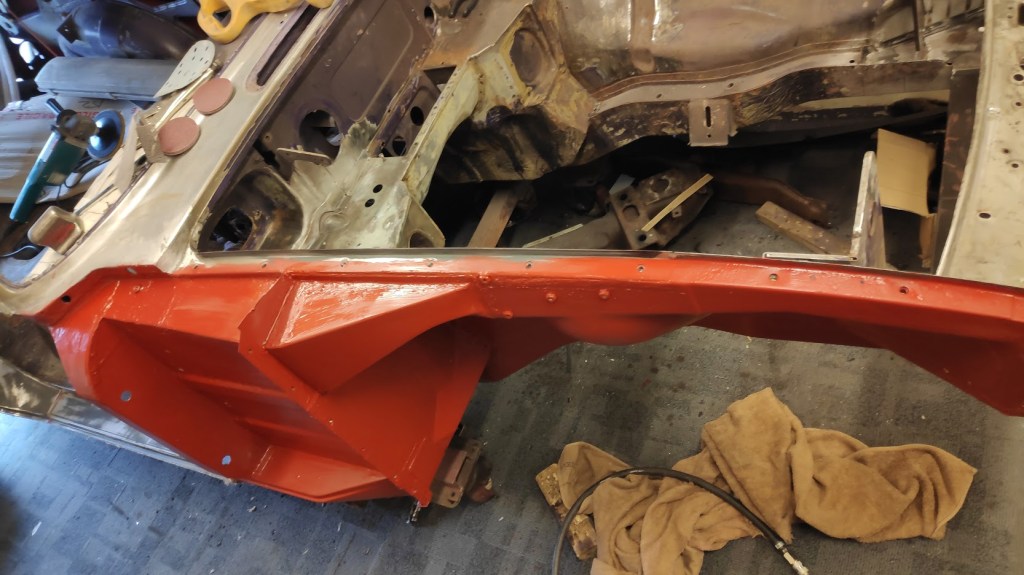
The rear heelboard extension piece was rusty and cut out. Again a where not being welded a coat of epoxy sealer and then on the weld thru edges a coat or zinc weld primer. Also a small section of the spring hanger needed replacing, hadn’t rusted thru yet but now it was easier now than later on. Got carried away with the hole punch here but this was almost the same amount that the OE piece had in it, just means a load of grinding coming up.


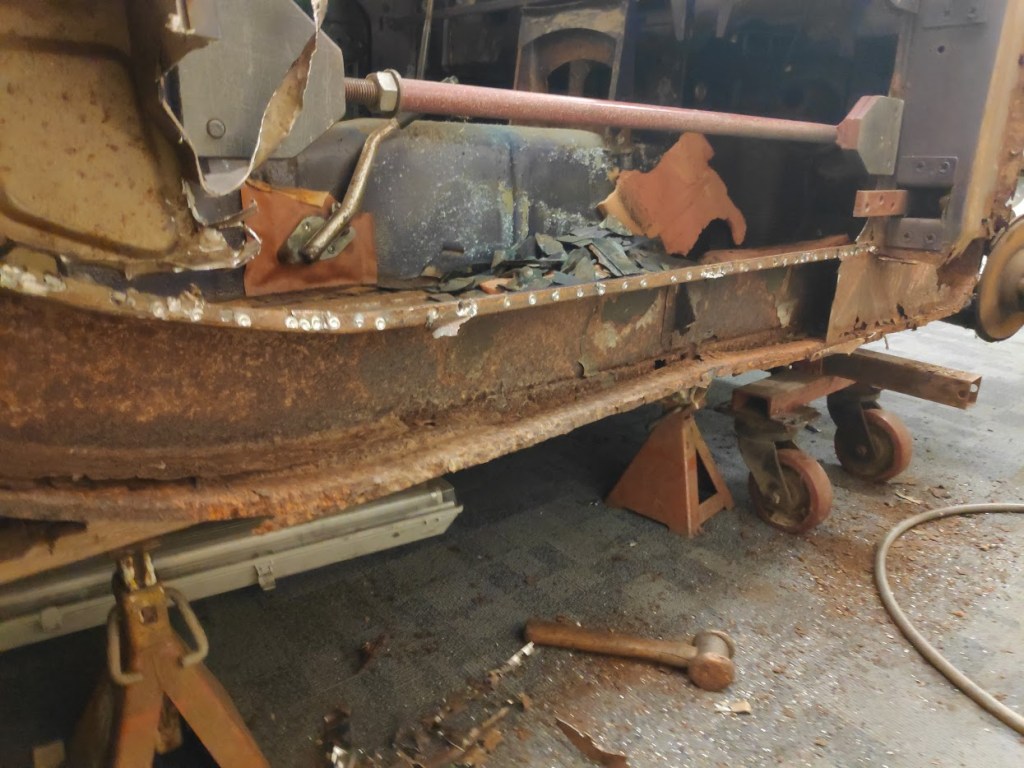
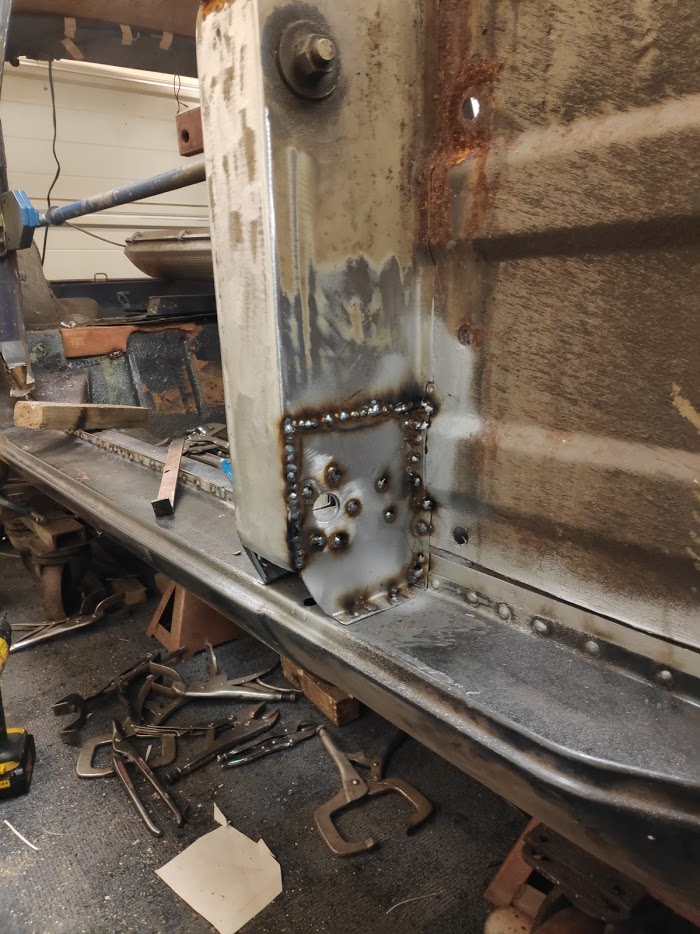
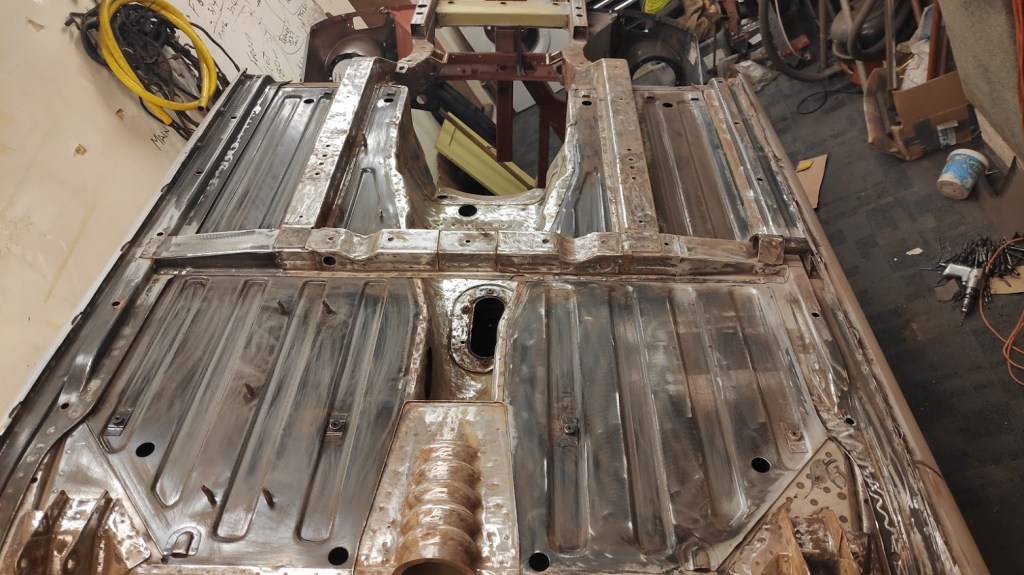
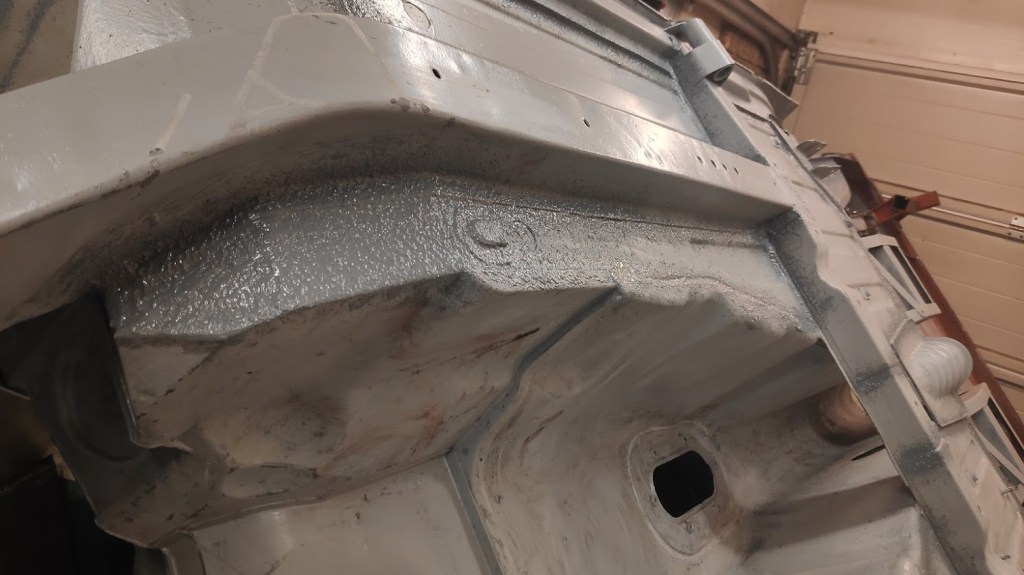
And finally for this side the floor pan. The chassis outrigger leg and jacking point will get done once the car is on the rotisserie, easier that laying on your back with welding splatter rattling about in your ear. Also the obligatory grinding session for the mig plugs in the flor pan.

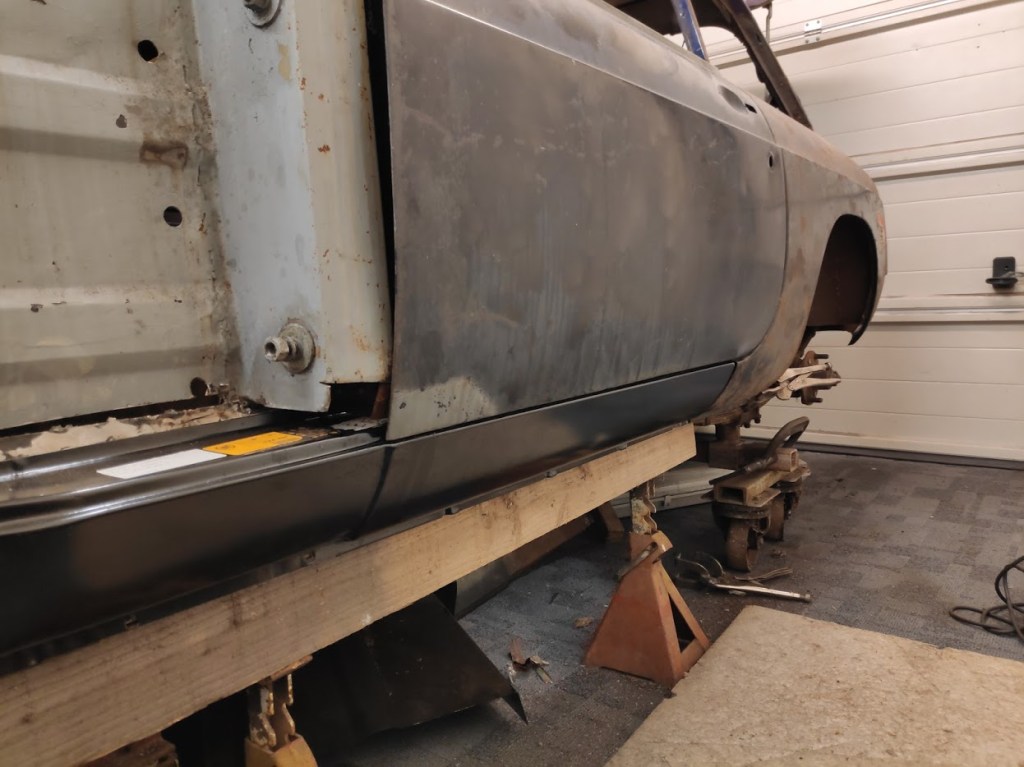
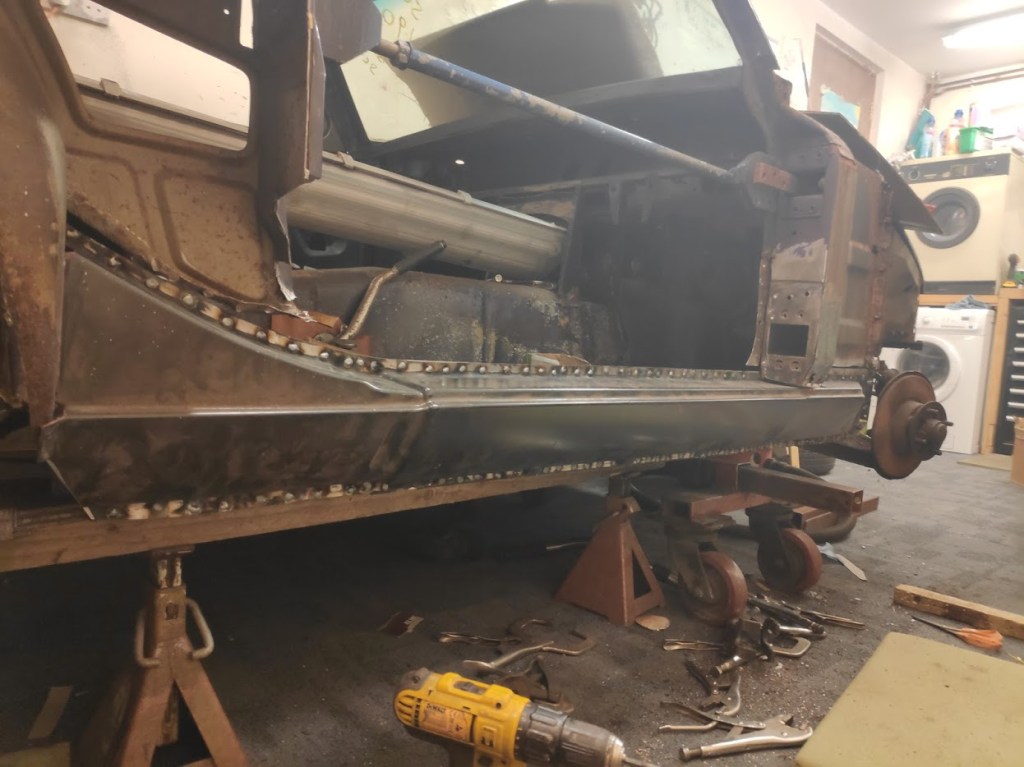
And on to the O/S, most the outer and inner sill fell away, along with the lower edge of the inner door step sill flange to castle rail. The main step is fine and doesn’t need replacing so the lower sections will get made and replace along with the flange to castle. A post bottoms, bits of the inner footwell panel, all the normal places.
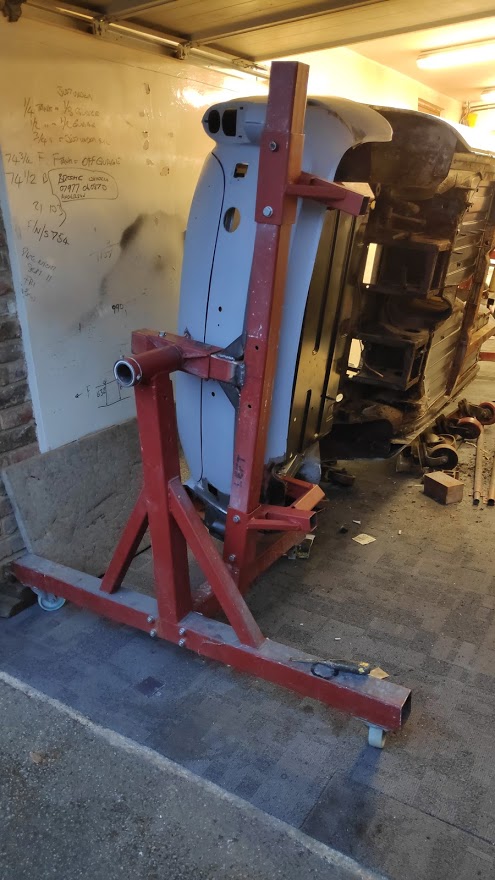
I know the GT is structurally more robust that the roadsters however the door braces are there just to make sure, along with floor frame the car sits on to do the sills and keep it aligned as best as posible.


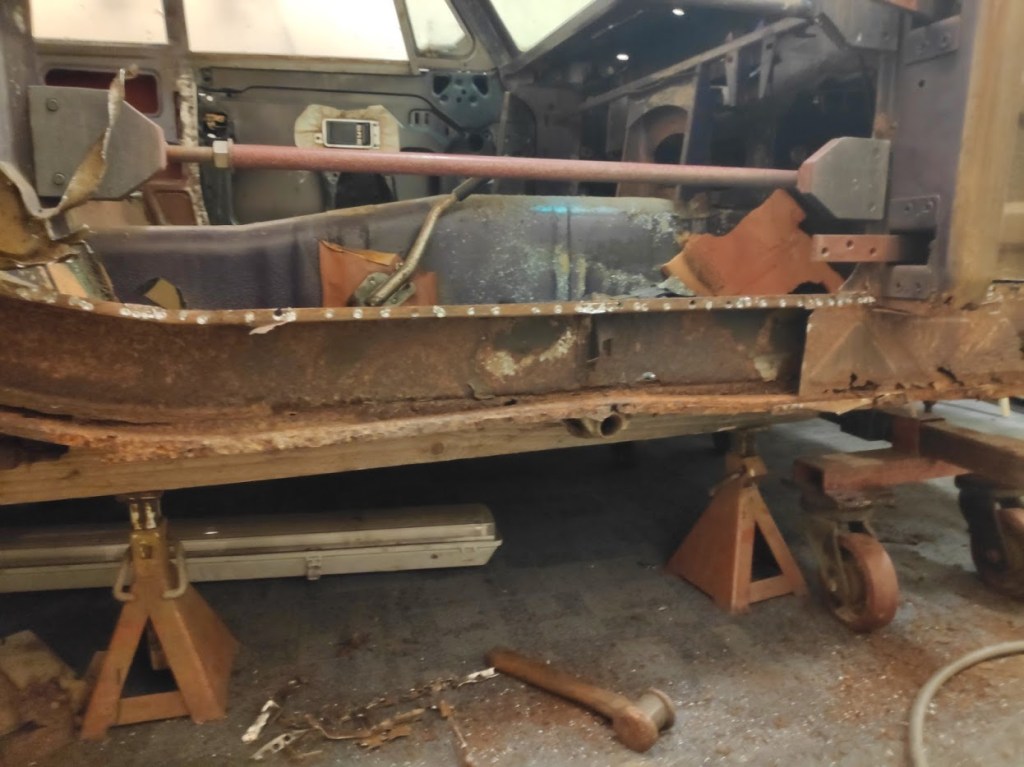

Inner step sill repairs first. These have a joddled flange so they sit flush on the internal side of the inner step sill. Punched and seem tacked on the inner part of the sill, it’s not going to get seen once its seam sealed and has a coat of epoxy sealer. The inner side of the joint on the step section I will seem weld and then grind flush once the car is on the rotisserie. Castle rail fitted well considering there wasn’t much to align it against.


And a trail fit of the inner sill membrane to see how it stands, and it all fits nicely. Finish off the step section patch, seal, paint, jacking point reinforcer and we can close this bit up later on this week

Not much to add but made up the front patch section for the inner step sill section and let it in.
Trimmed the jacking point reinforcer as it stretched the sections open too wide, and then seam sealed the complete inside and gave it a coat of epoxy sealer.


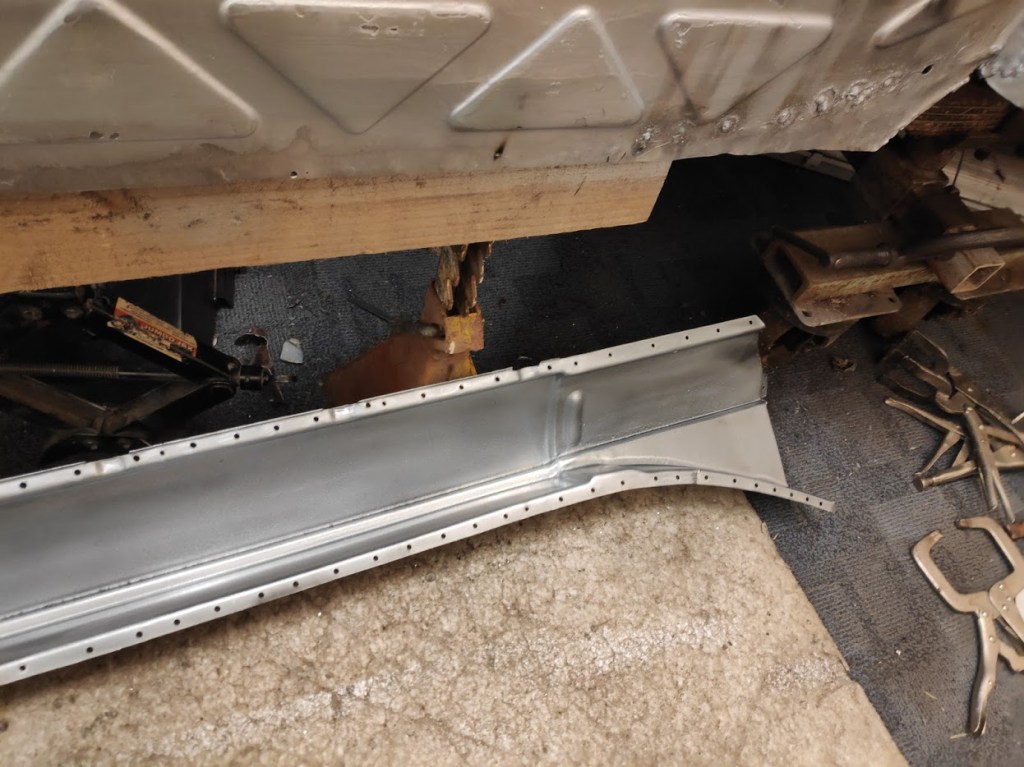
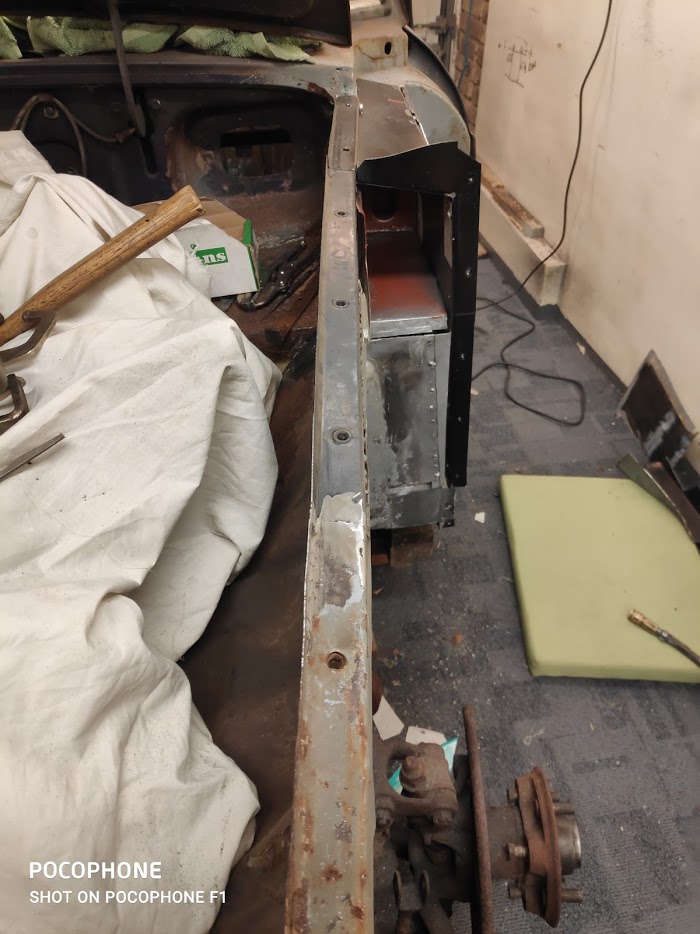
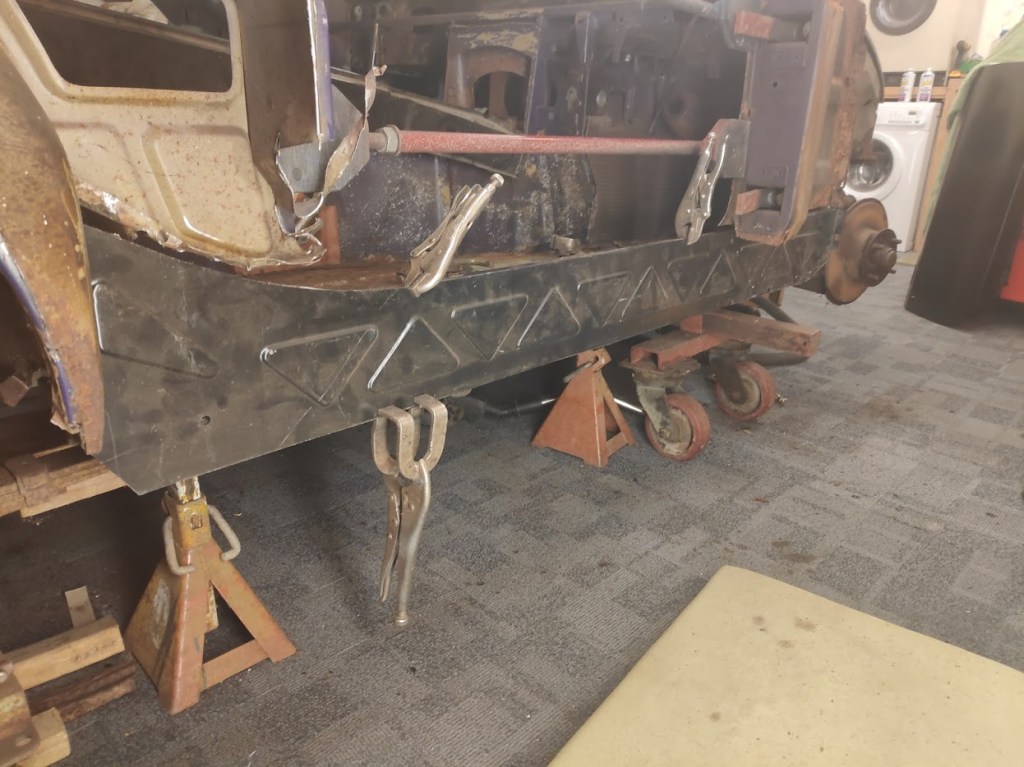
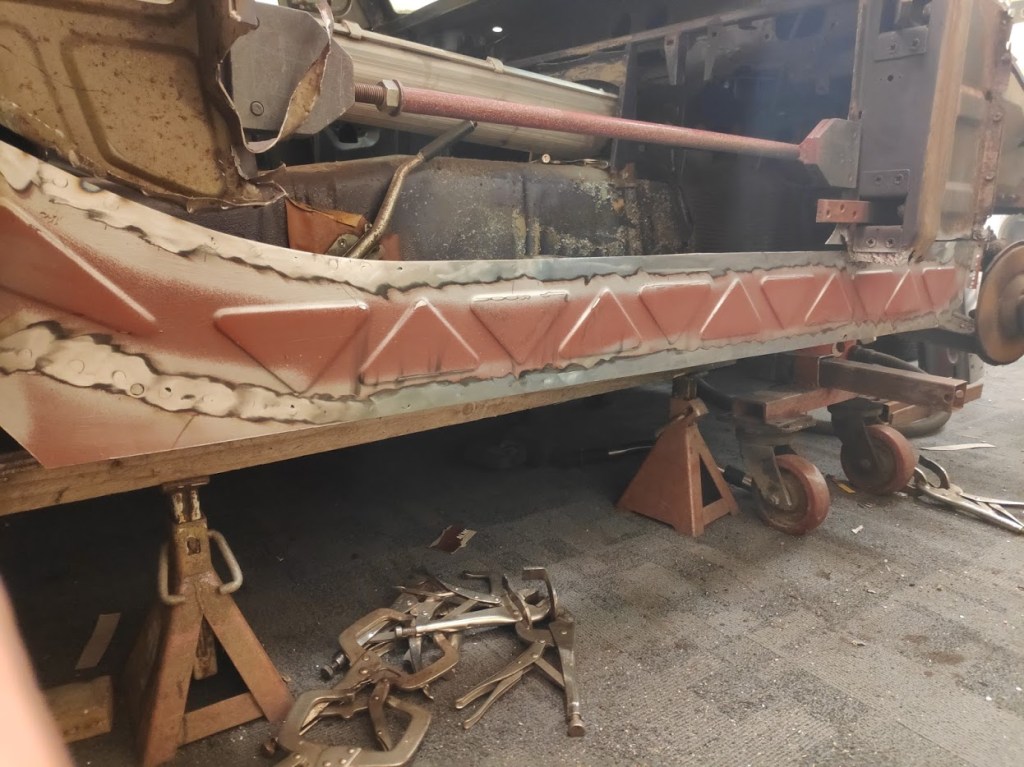
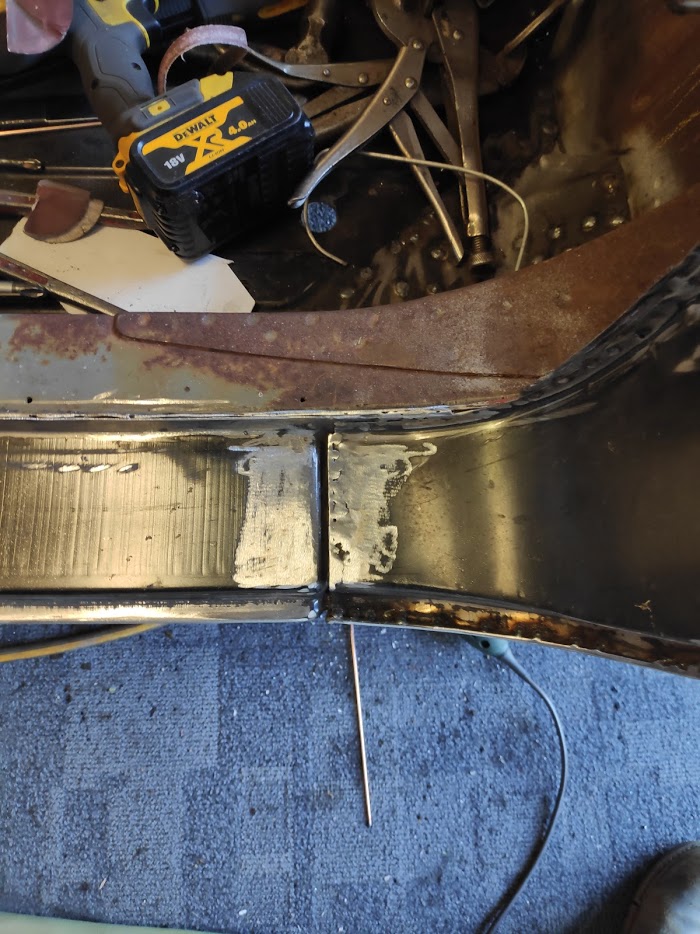
Mig plugged the inner sill on and ground the weld back ready for the outer sill. The bare metal areas will get a spray of weld thru primer first, as a token gesture. There seemed a lot of welds but I took some measurements from the old sill and it came out like this. Again these will get ground back flush at some time, at the moment I’m only going to do the ones to enable me to fit the wings and panel work. The others can get done once it’s on the rotisserie and are easier to get to and doesn’t involve lying on the floor.
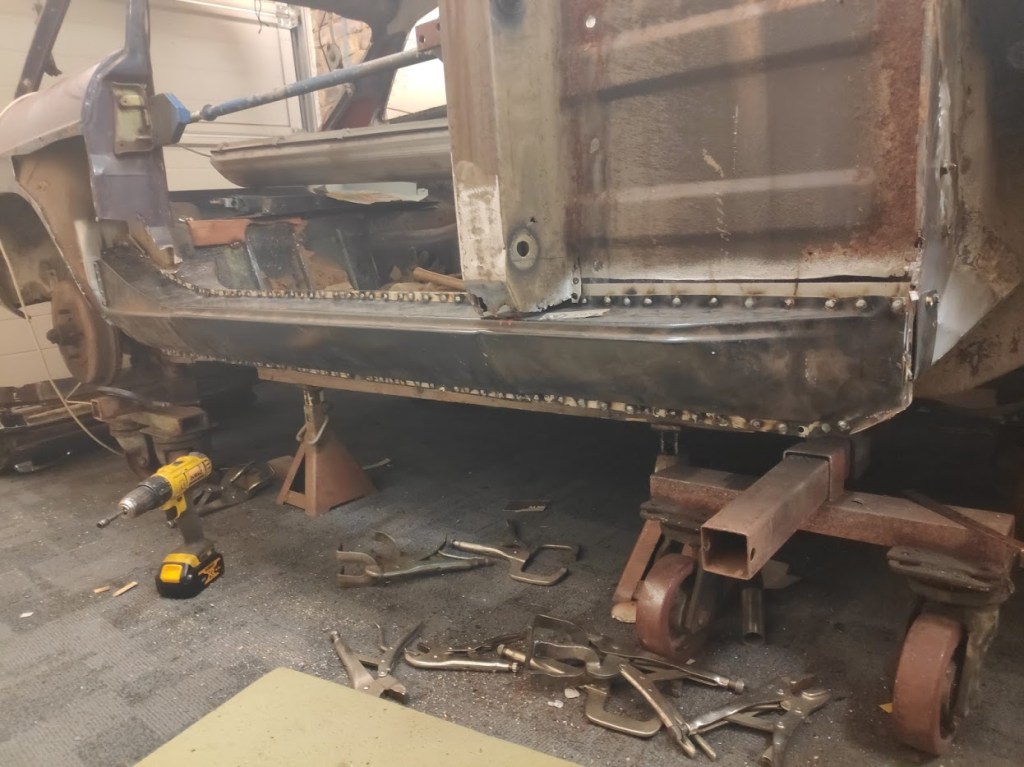
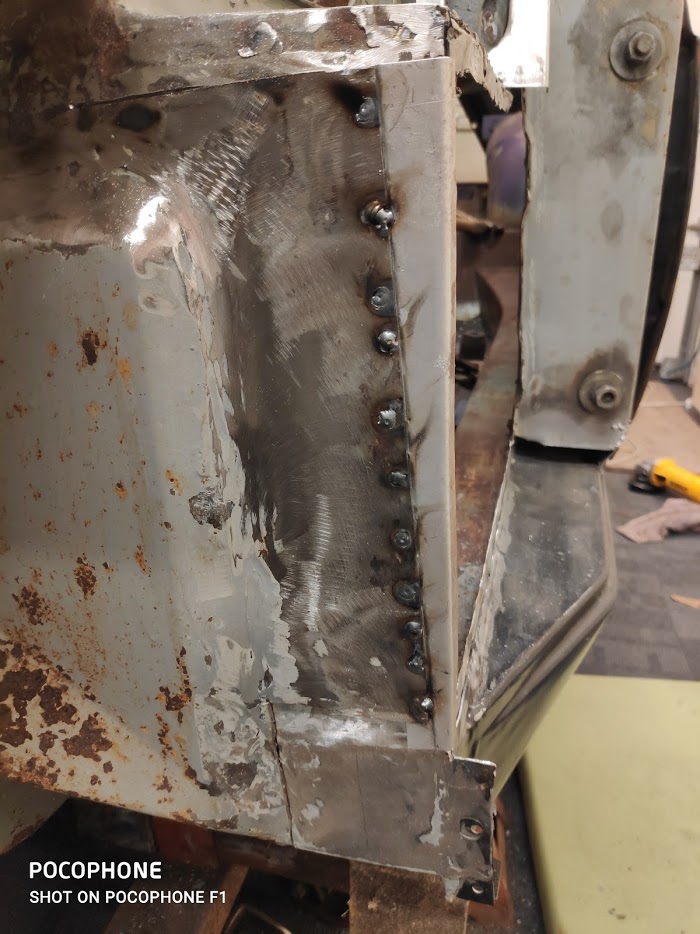
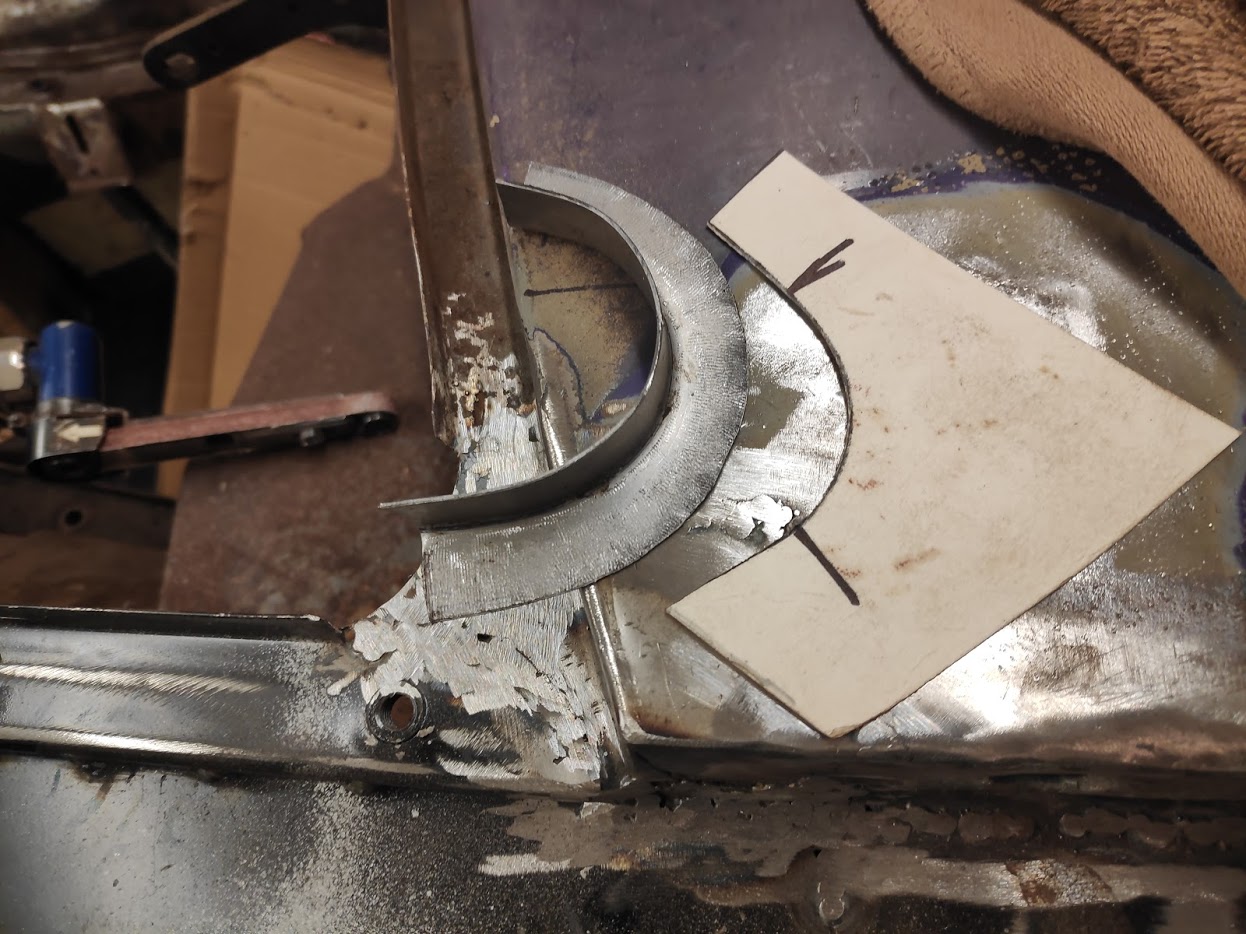
There was some rot in the A post outer skin so this was cut out and a new piece made and let in for the lower area. There is a small amount in the top section as well but I wanted to tie the sill into this fist and get some of the rigidity back in this area. Spot the deliberate mistake. The front lower section was cut out here as well, didn’t forget the hole this time.


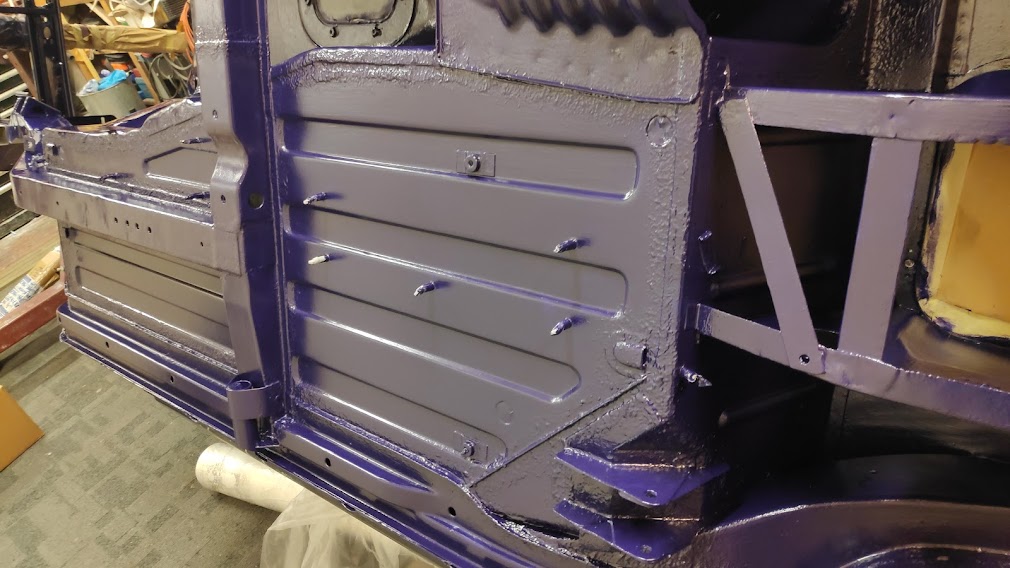
And to the back end, bit of wheel arch rot and sill filler to do. There was some crap on the inner wheel arch that no amount of cleaning or grinding could shift; the welds just wouldn’t go nice. Anyway it’s on for now and secure, I will grind this fully and finish it neatly, again once it’s on the rotisserie and easier to get to upside down.

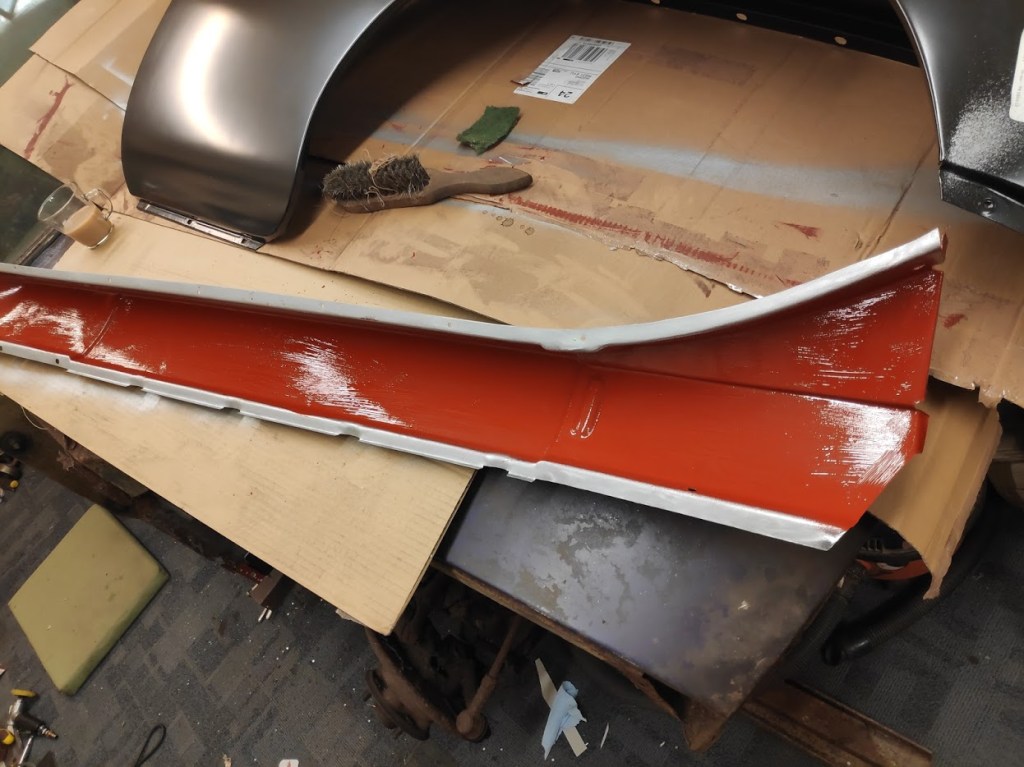
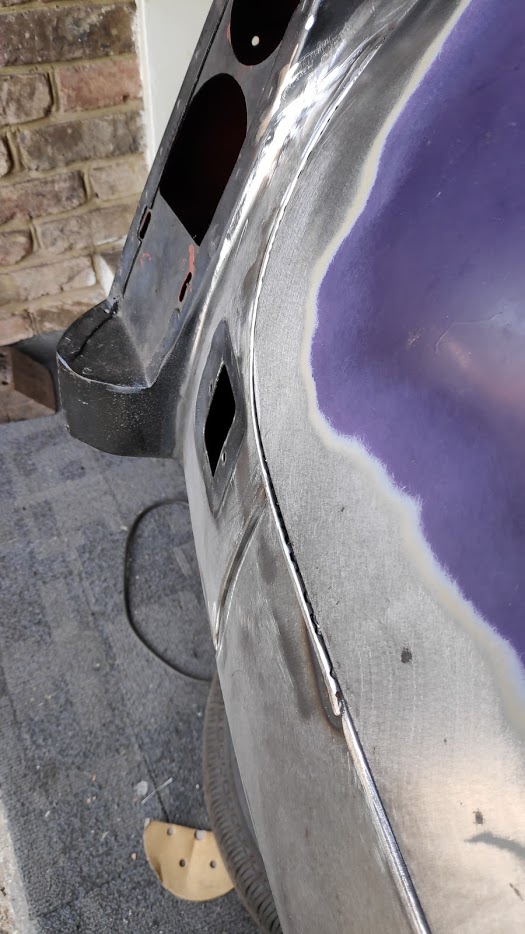
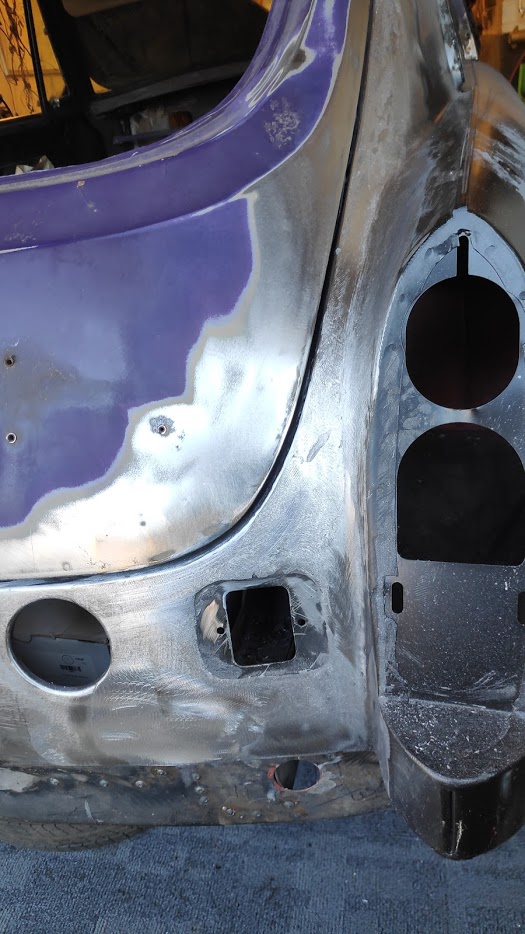
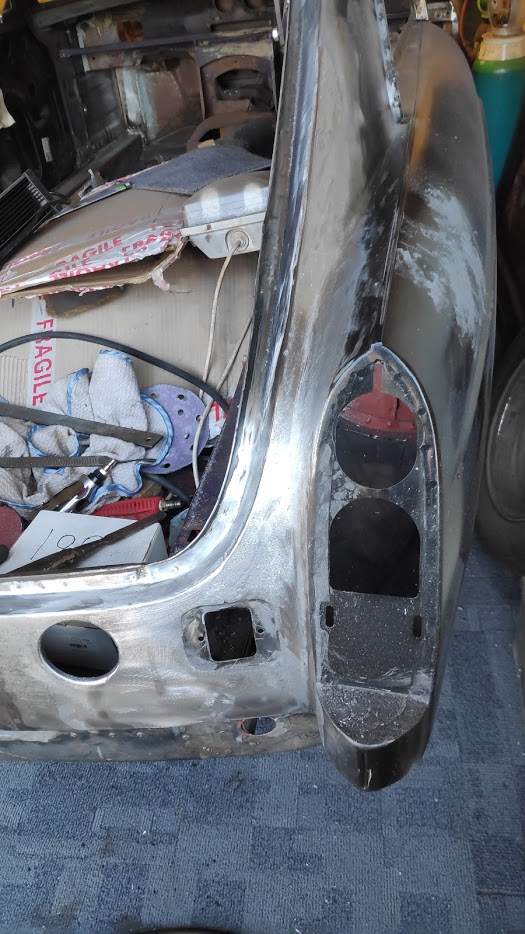
And on to the rear wing and taking it off. Once off the outer boot edge panel was replaced and the wing started to get removed. It’s going to be joined at the factory joint and lead loaded as original. Just hours of tedious drilling out spot welds and grinding flanges off.


back wing went on without too many problems, the shape of the apatures is dreadful and going to need some mods to get it to look perfect, I know they never were but it will bug me if it doesnt look right, anyway the wing on.


And welded in position after a great deal of checking and rechecking


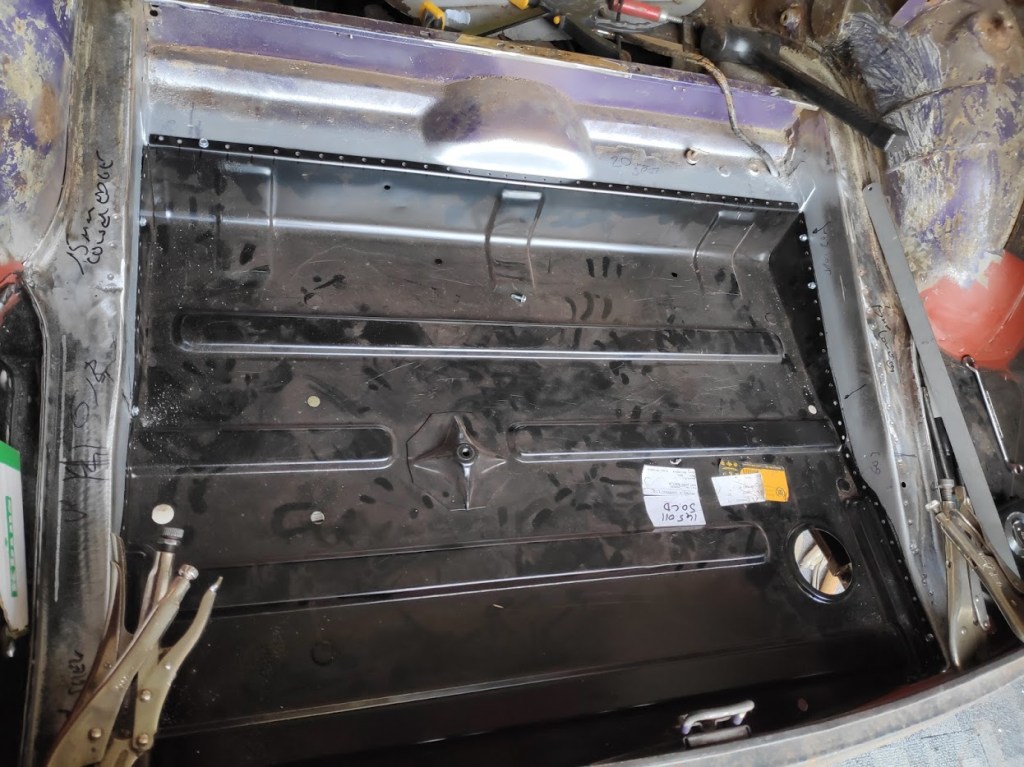
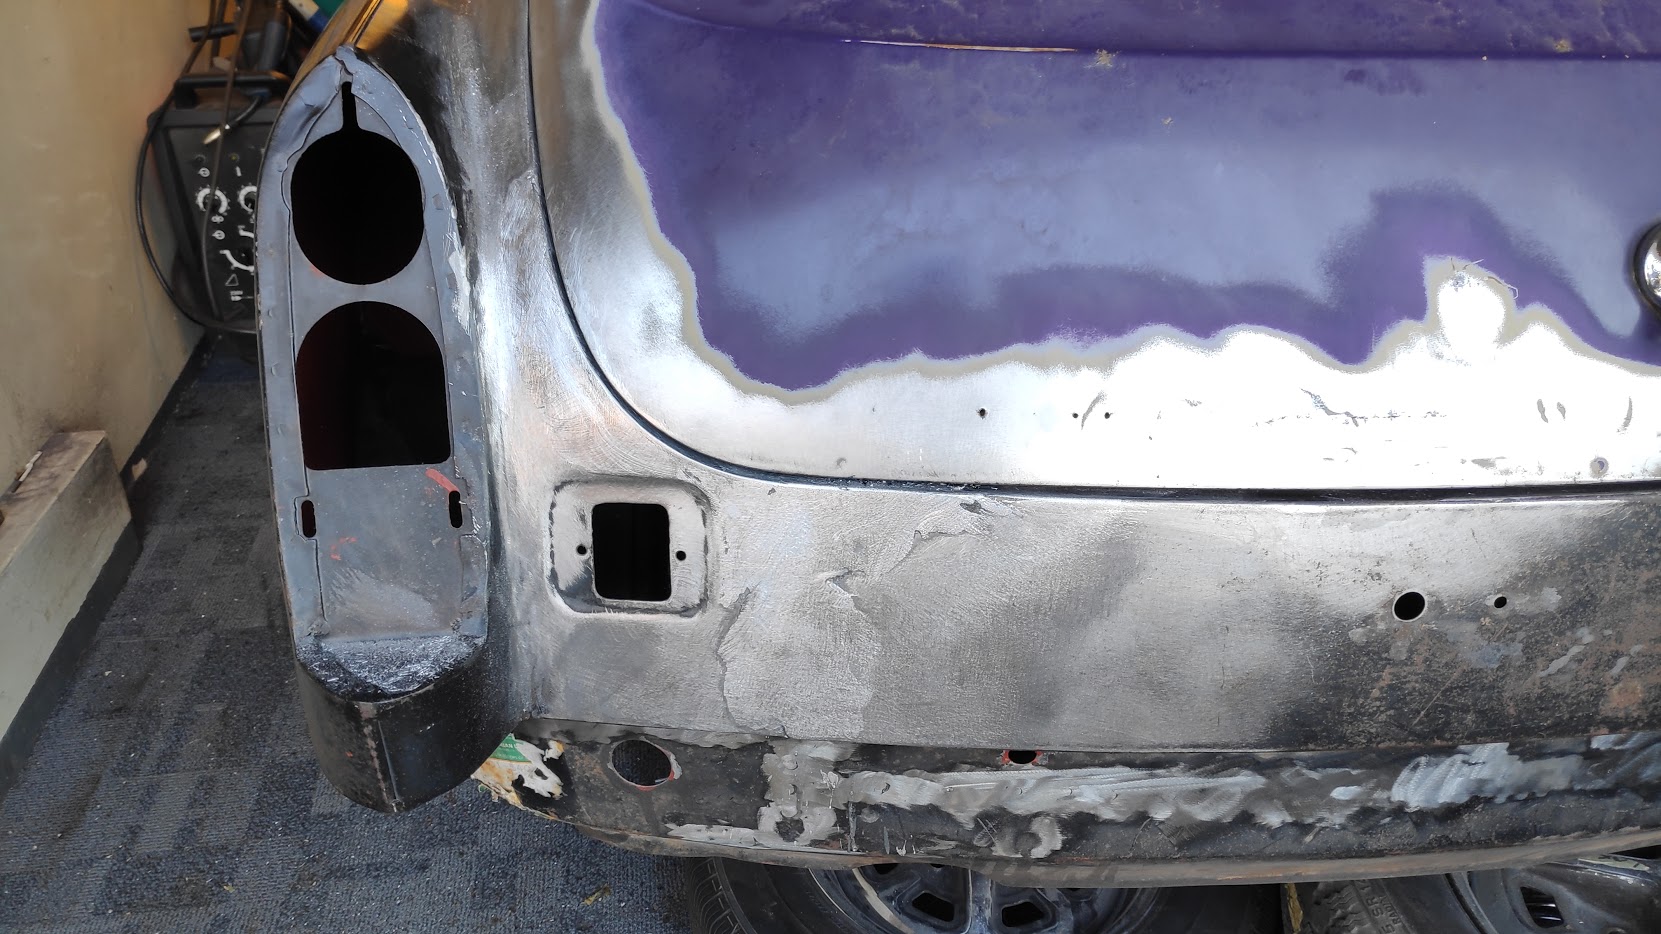
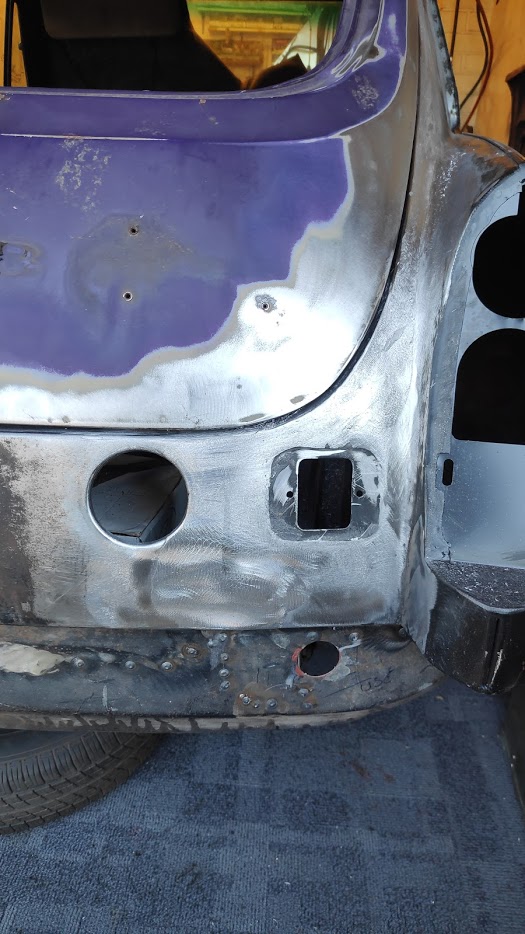
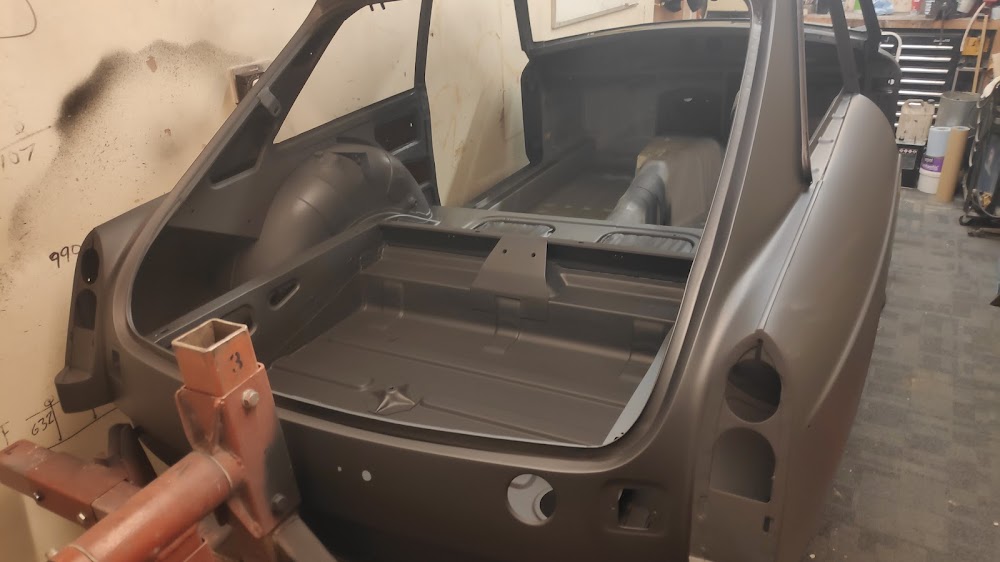
Boot floor mocked up and fitted, and fitted nicely first time. Also refitted load panel side supports back into spare wheel well. Had to remake the bottom bits to these first.

Boot load rear supports spot welded into place on the rear valance, reinforcing front panel and a few shots of the inside of the side supports
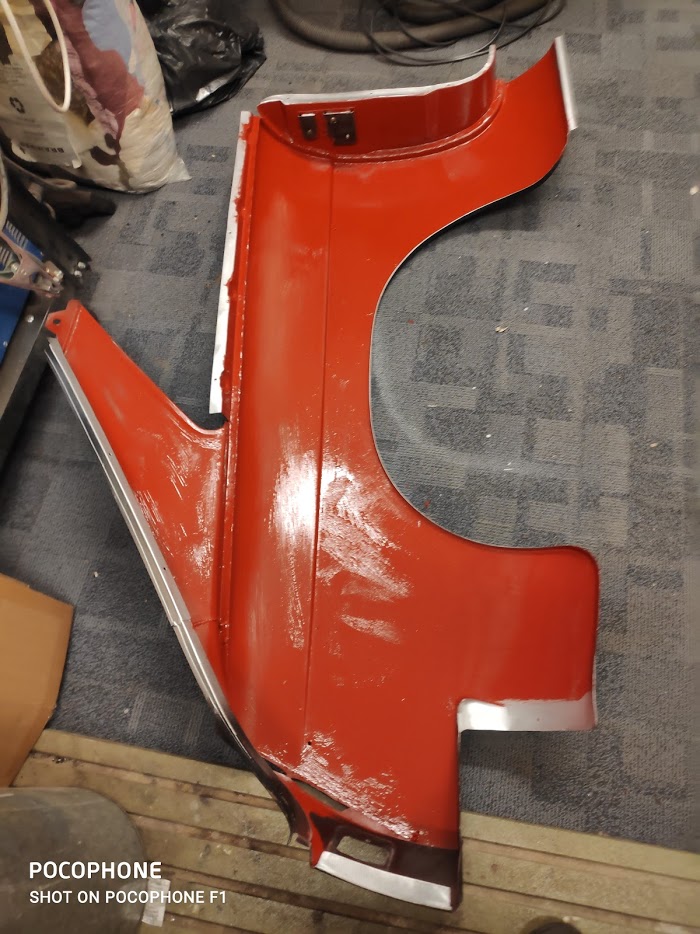
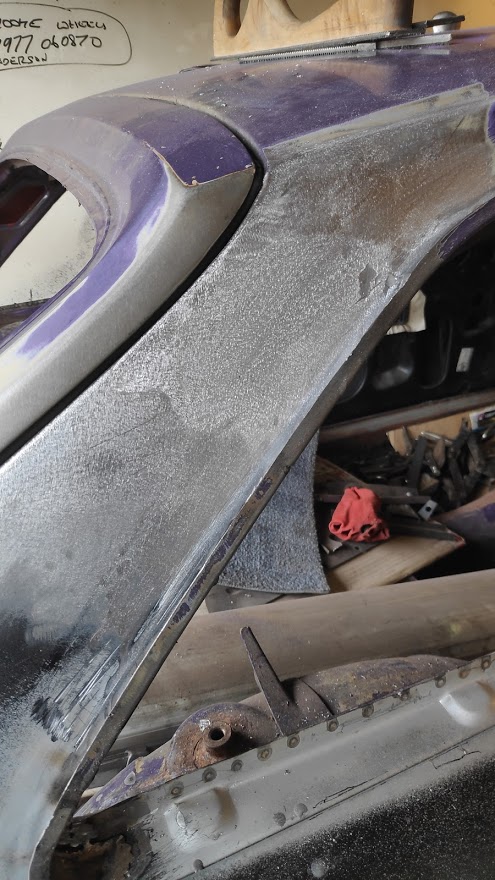
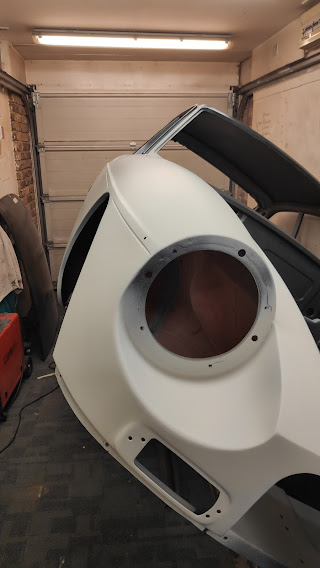
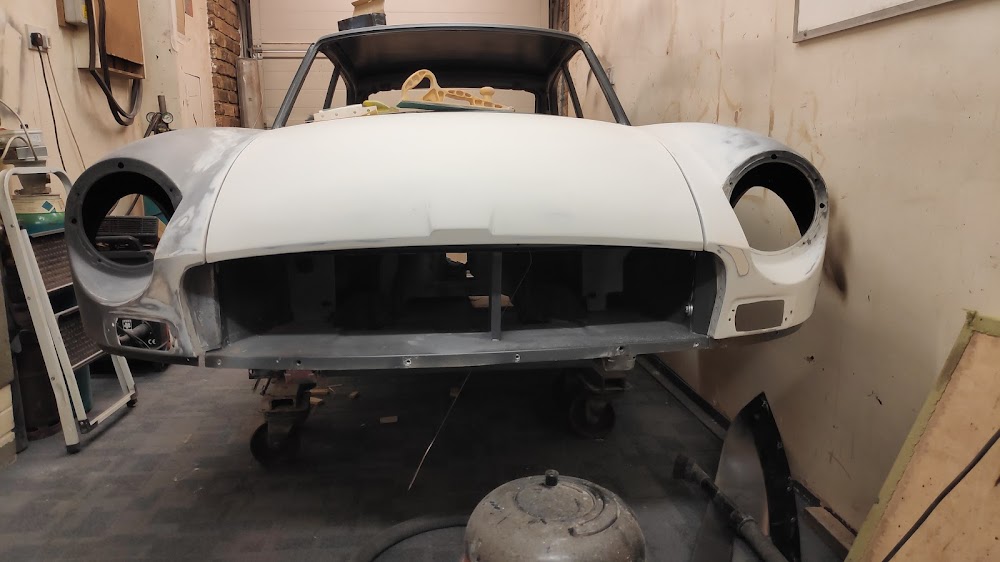
And while I was at it I fitted the front wing, before all of the splash panel and mounts are removed it always pays to make the bit you see fits ok first. It wasn’t too bad, the inner foot well mounting holes had to be opened out a bit, the shape against the bulkhead A post could be better, but the issues that really stand out and are going to need some work are below:-


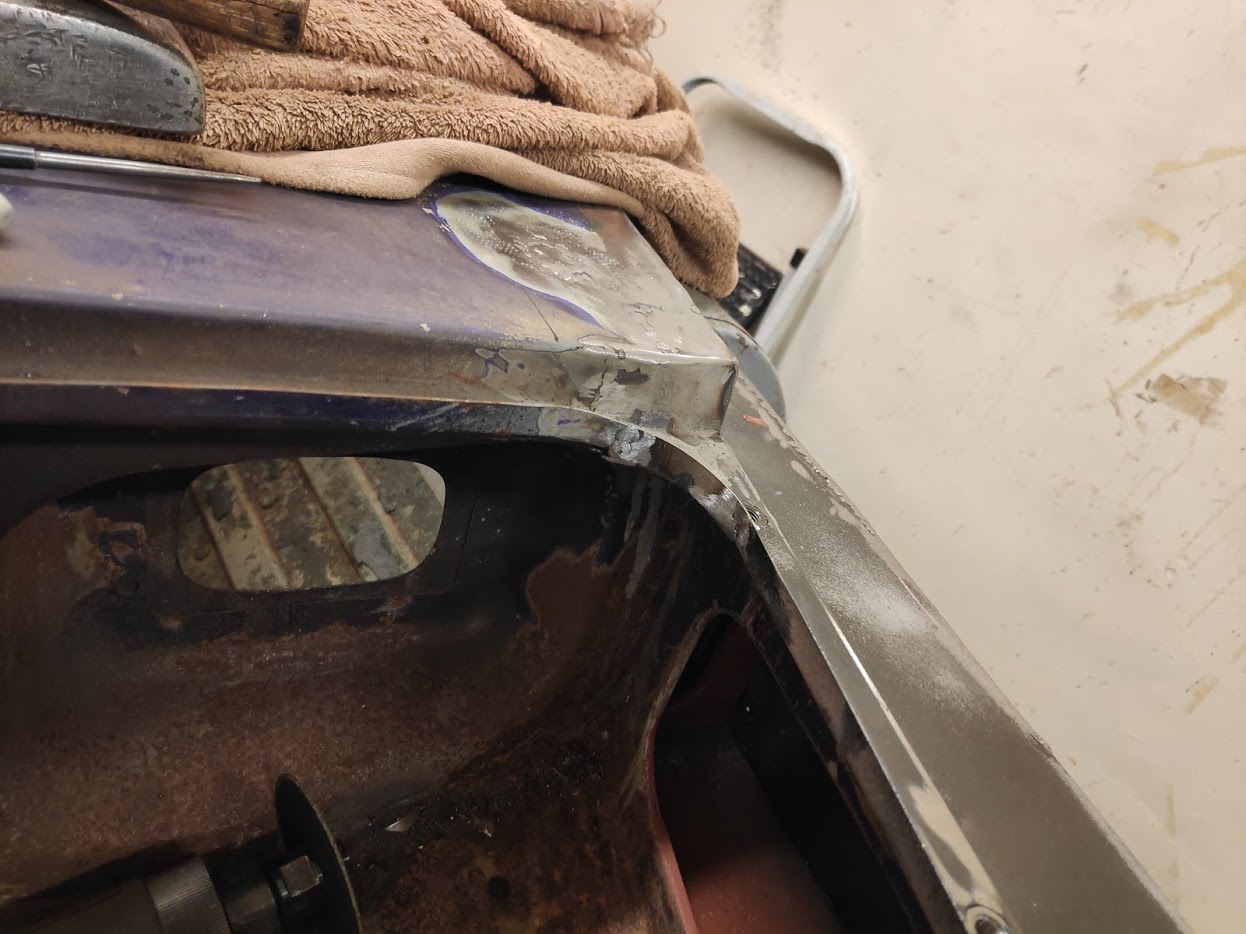
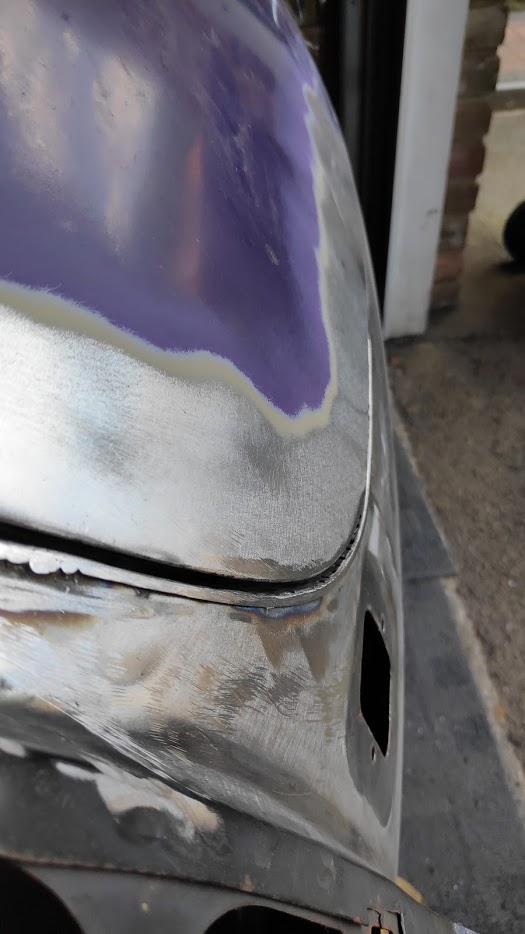
The shape or curvature of the leading edge of the wing against the bonnet, yes a little cure but this is very poor, and it has to be the latest pressings as you can see the good shape of the N/S wing which was purchased circa 1990, and the one I purchased in Feb this year. It’s going to need some work to get this to look nice without anyone knowing it has had surgery.


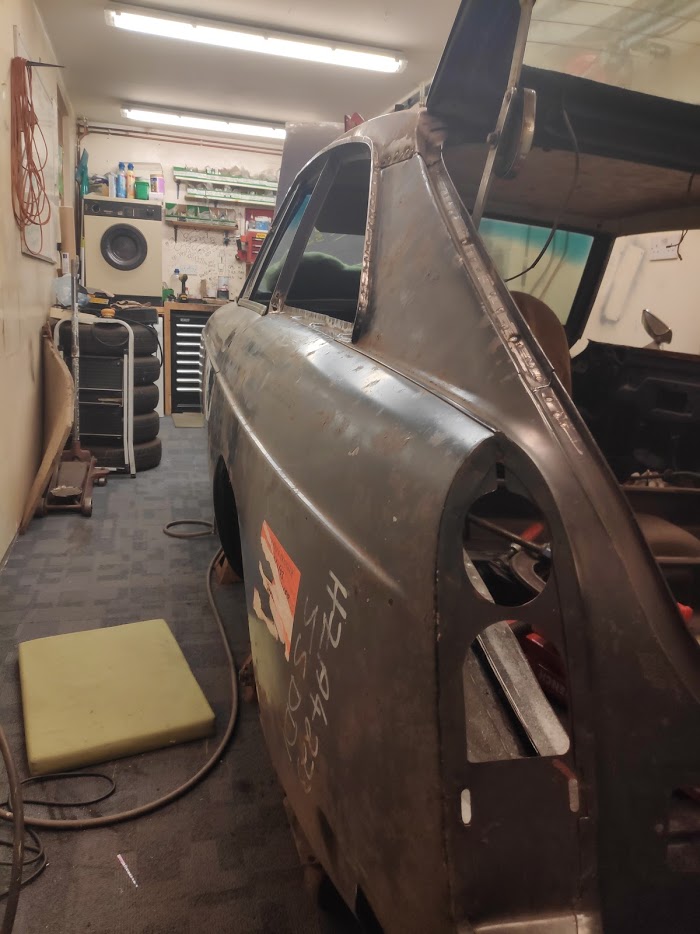
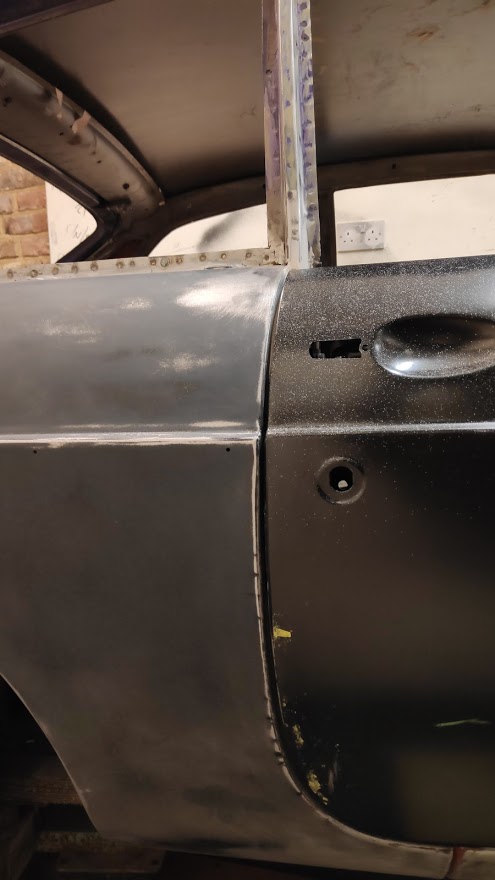
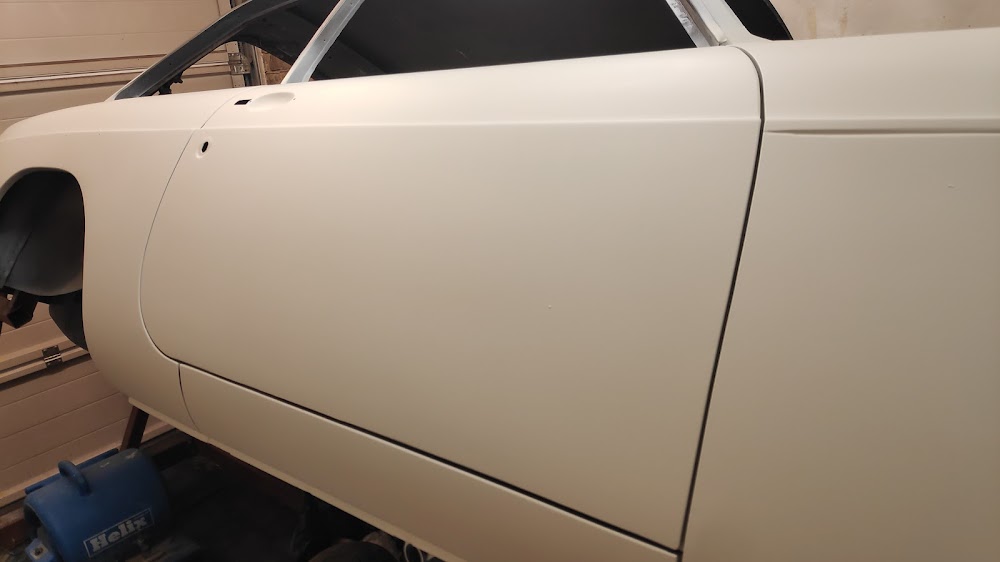
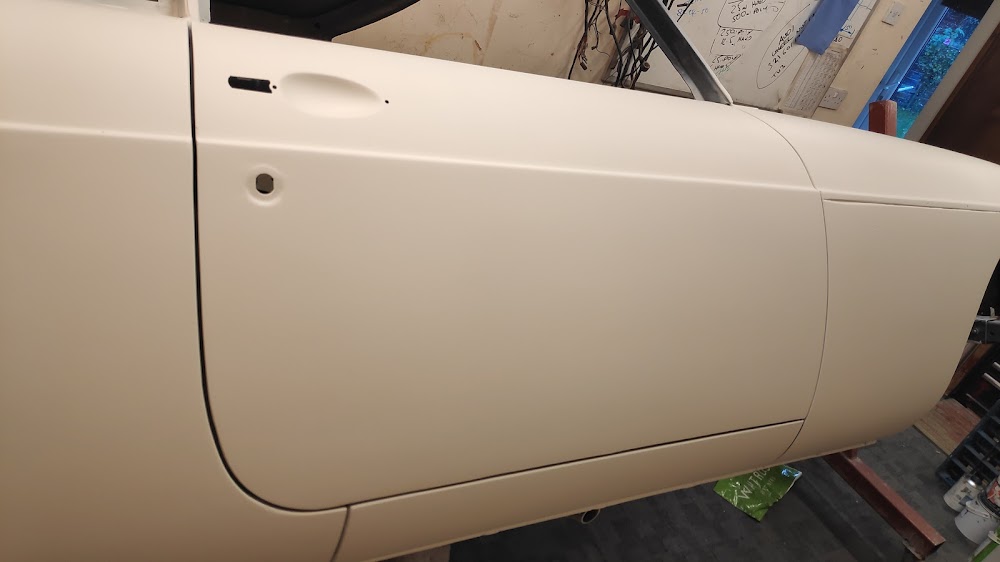
And the door fit to the rear wing, lower area below the swage line, this is going to need the tried and tested block of wood and brute force applied. Additionally one of my pet hates is where the door to wing, wing to door transition is. The normal body shop practise is to just paint it, and you can always see reflection lines that show curvature in these areas, even just on the edges. Any reflection here should look continuous and without deflection.
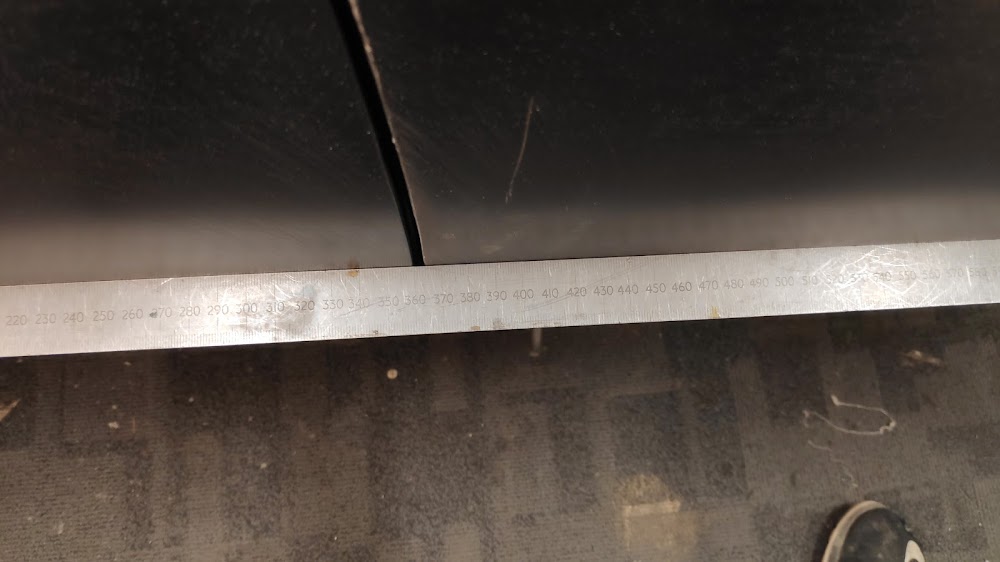
One of the pics you can see the alignment of the panels is fairly good with a straight edge, and only the trailing edge and leading edges are going to need a little work to get them flat and continuous. However the other door pic ( middle one ) it’s quite clear the pressing is just not right on the door in this area and this is going to need the slide hammer and dolly to get right.
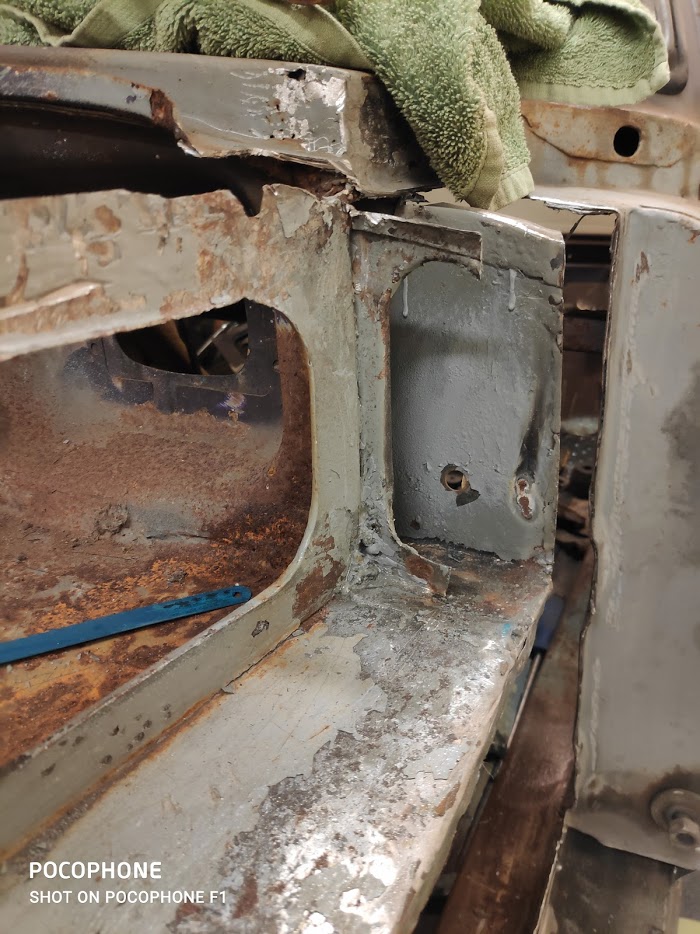
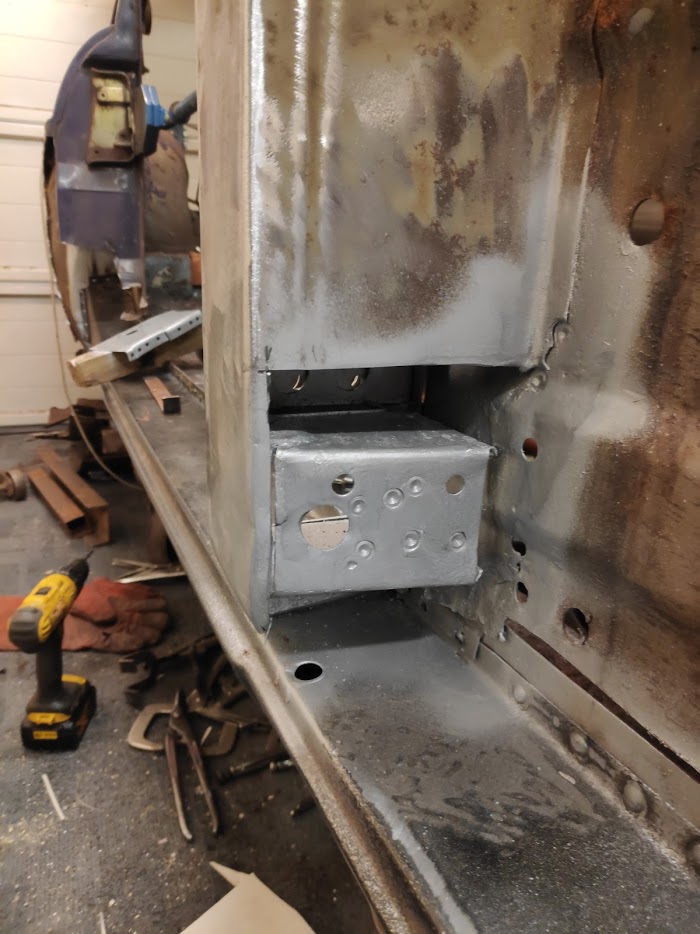
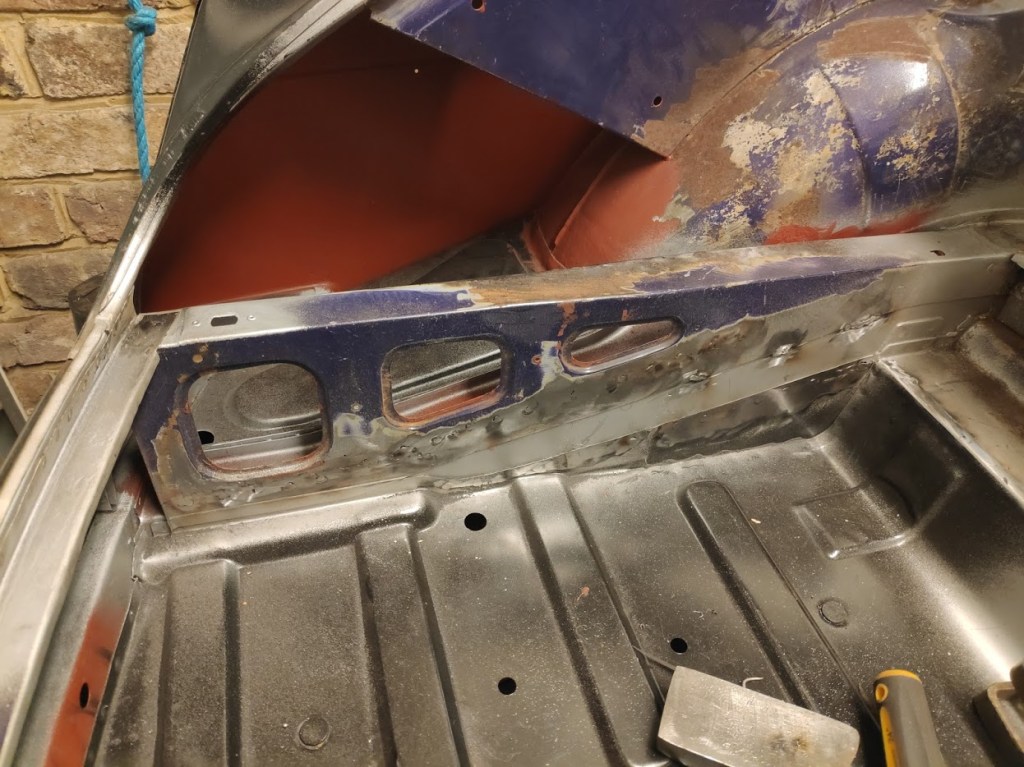
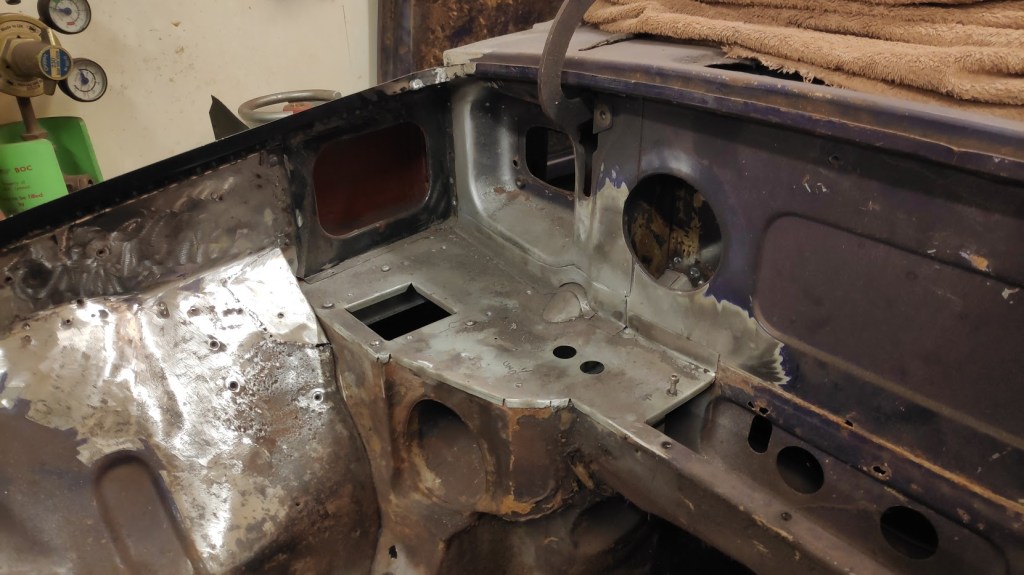
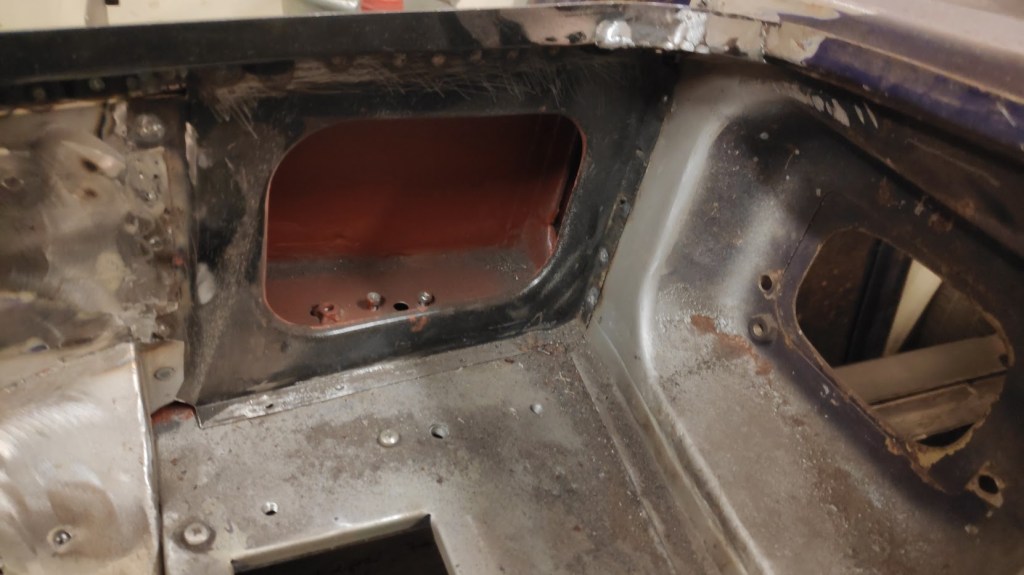
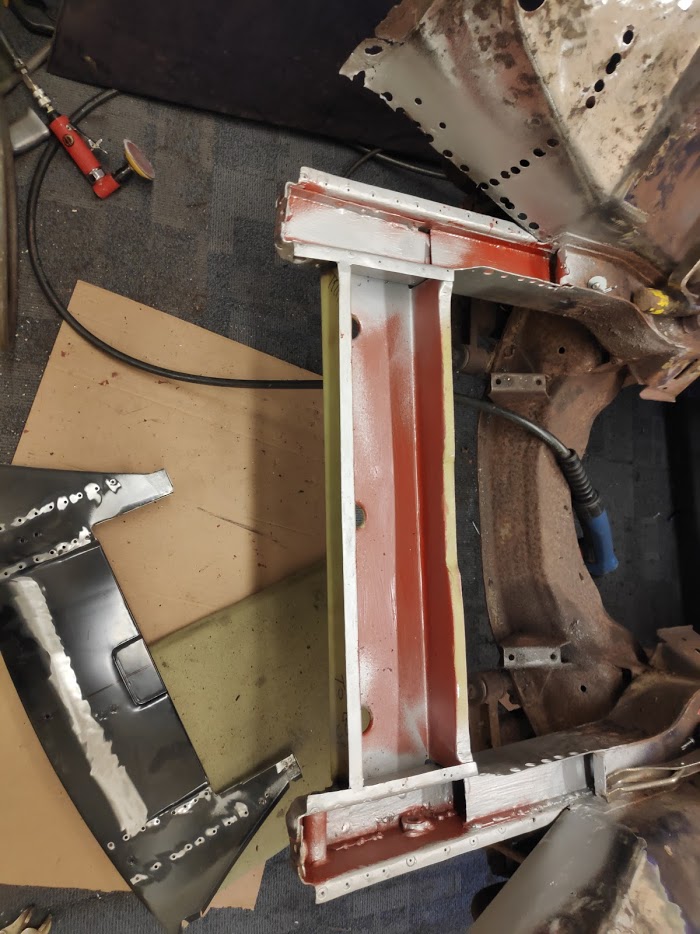
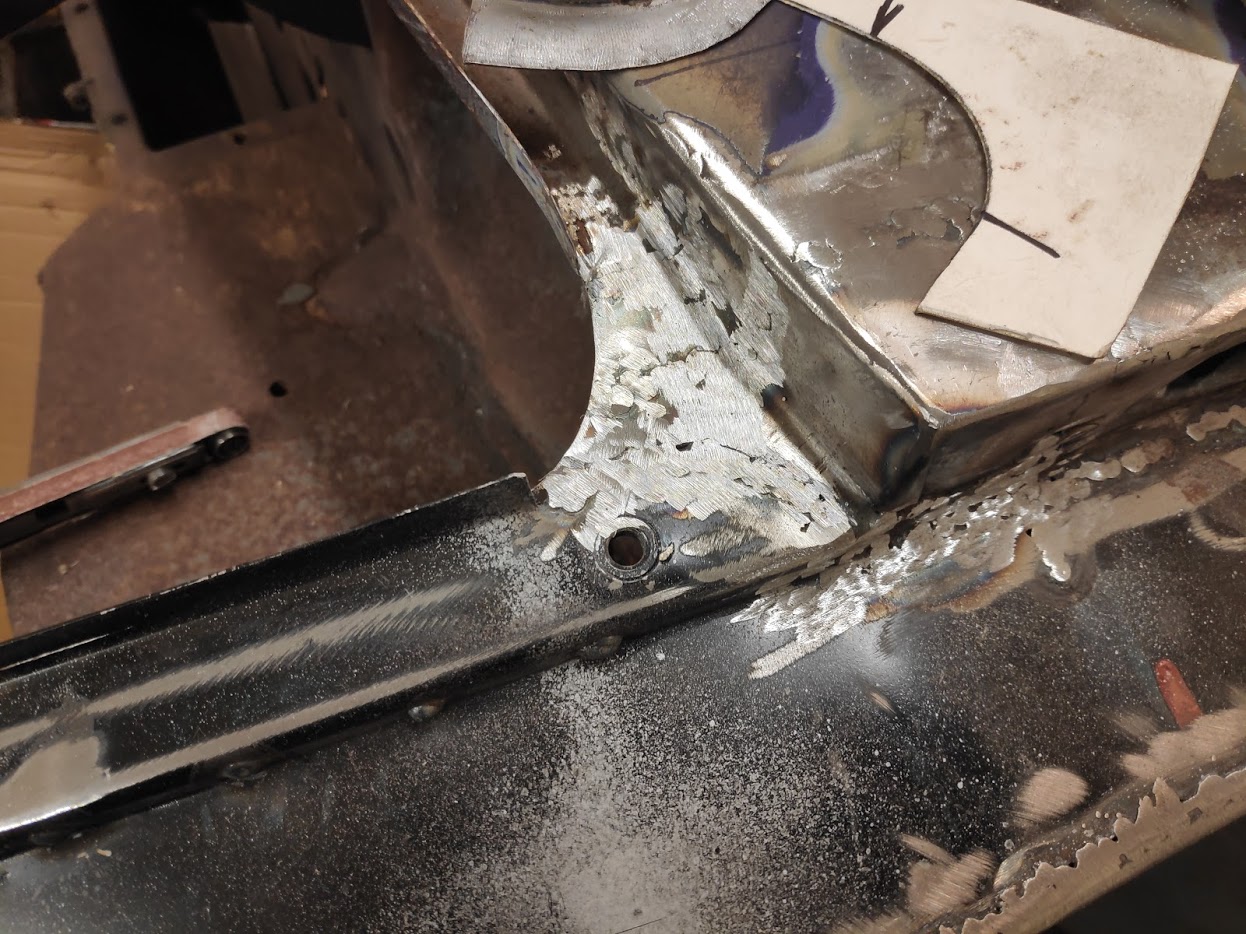
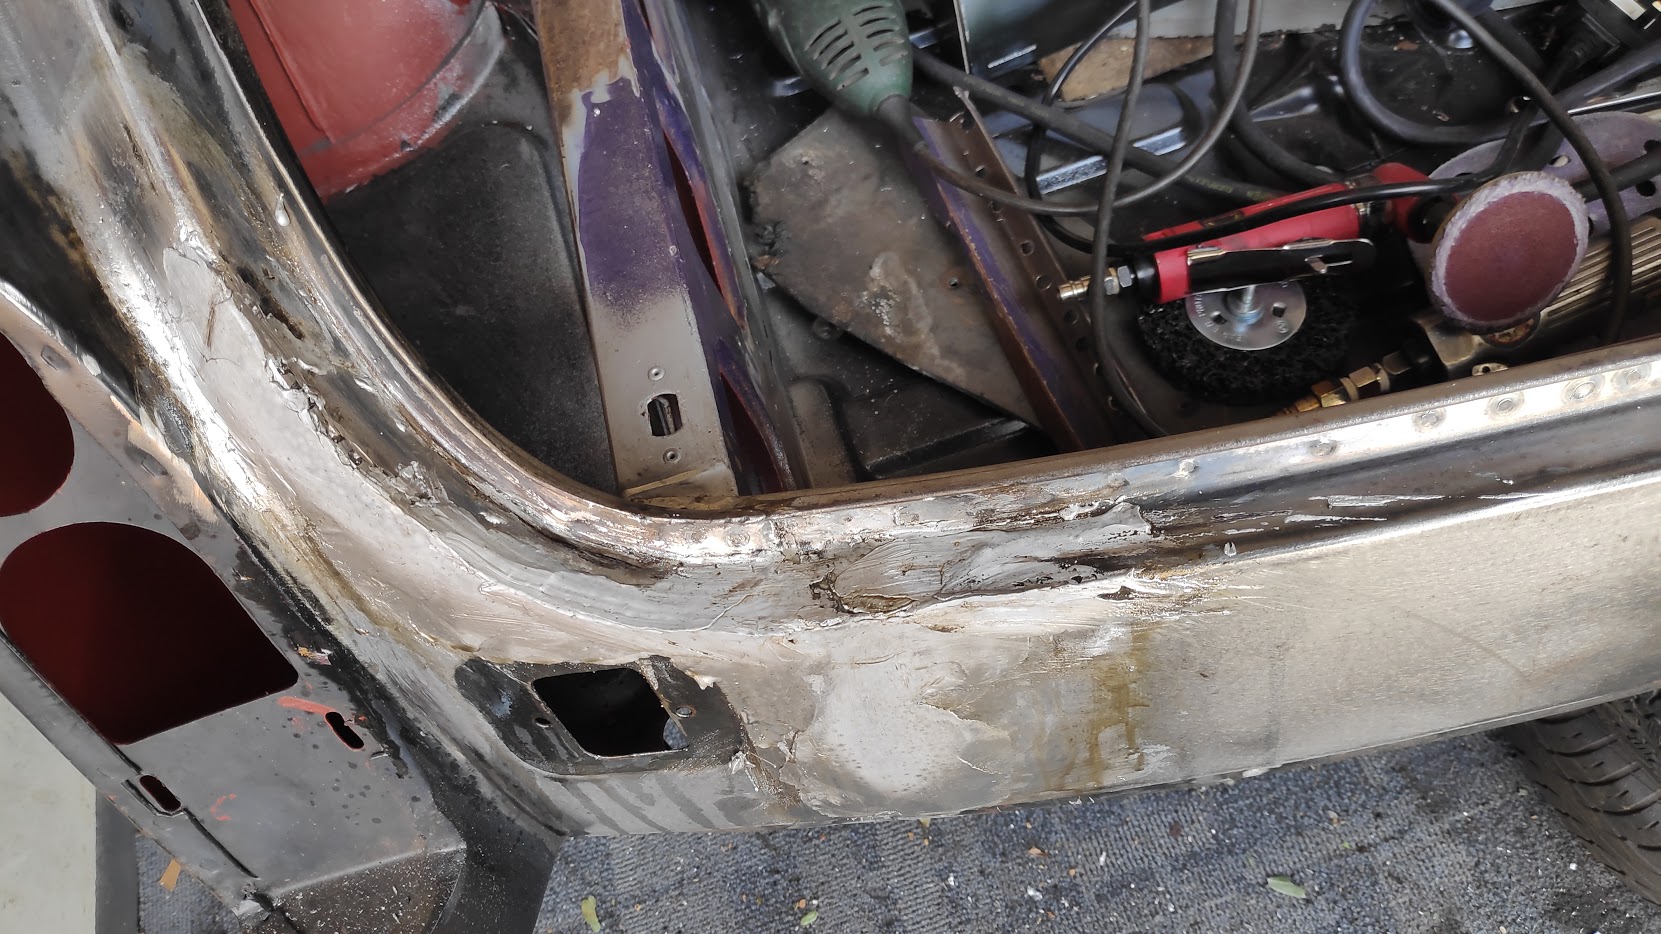
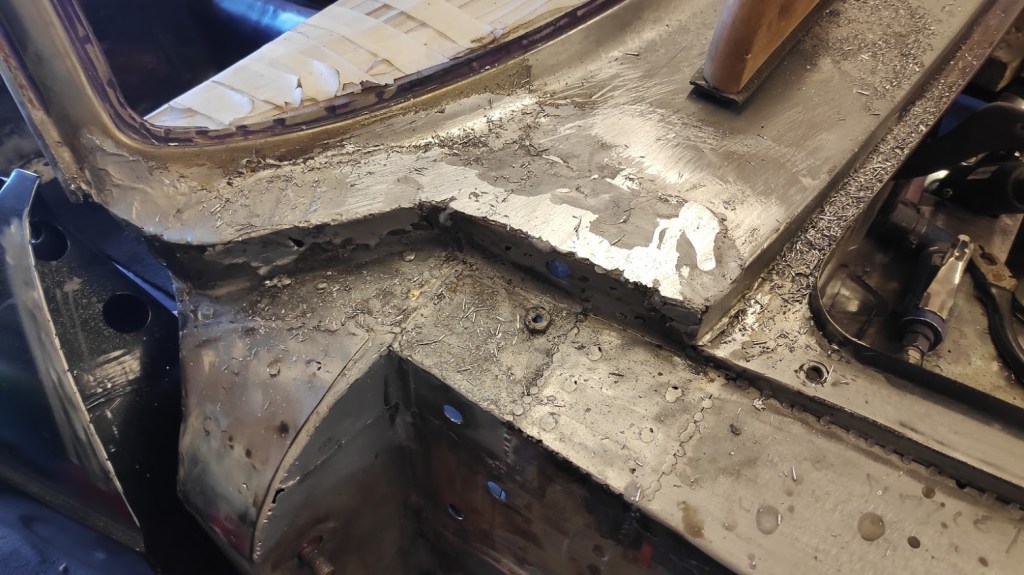
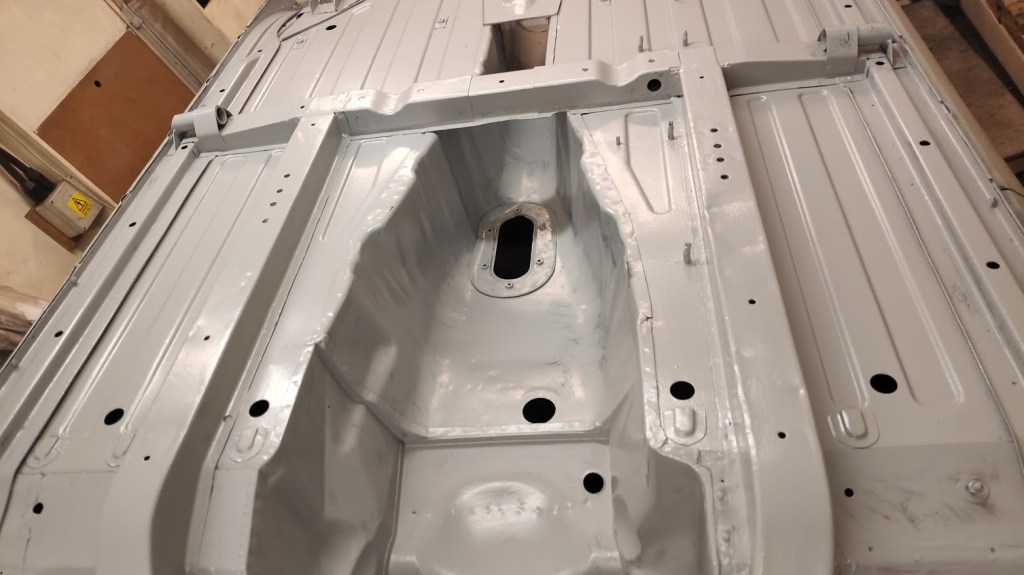
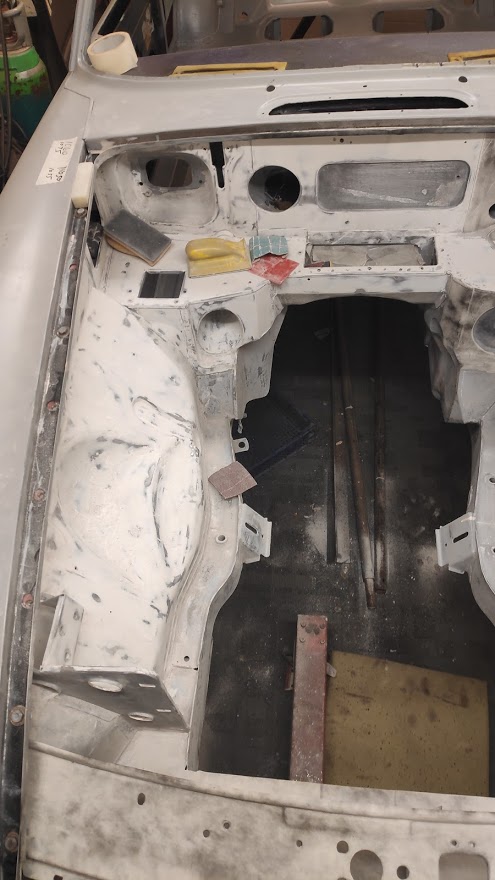
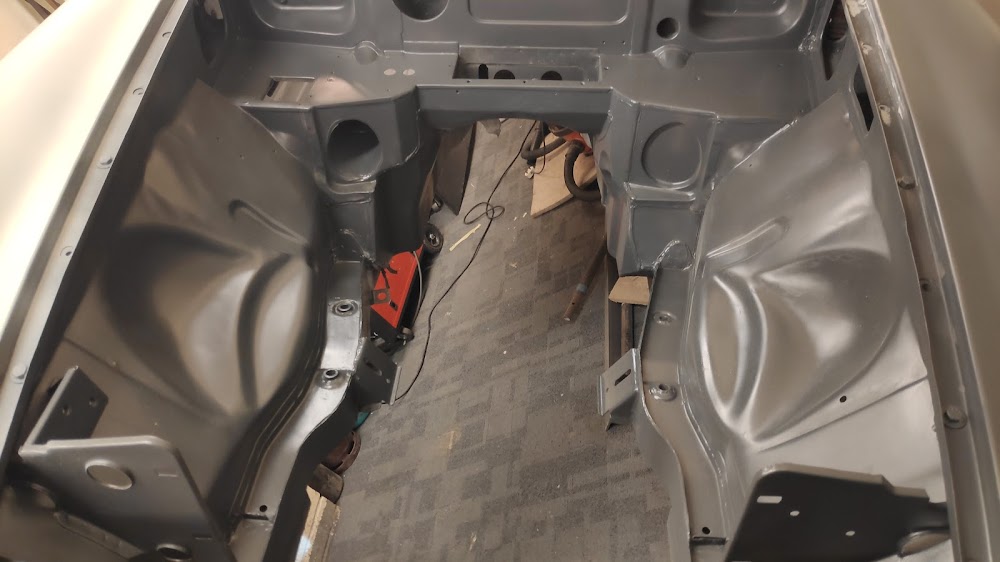
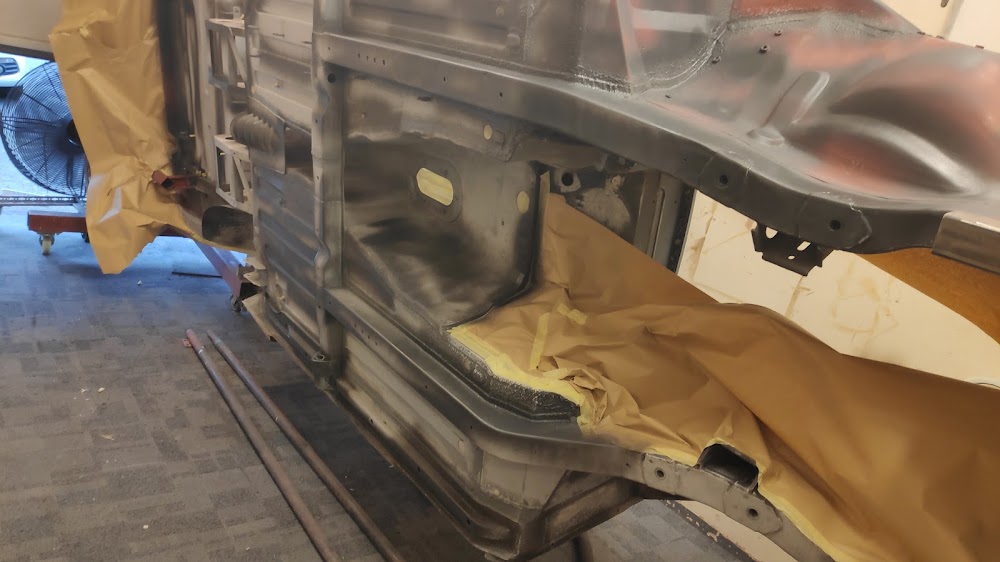
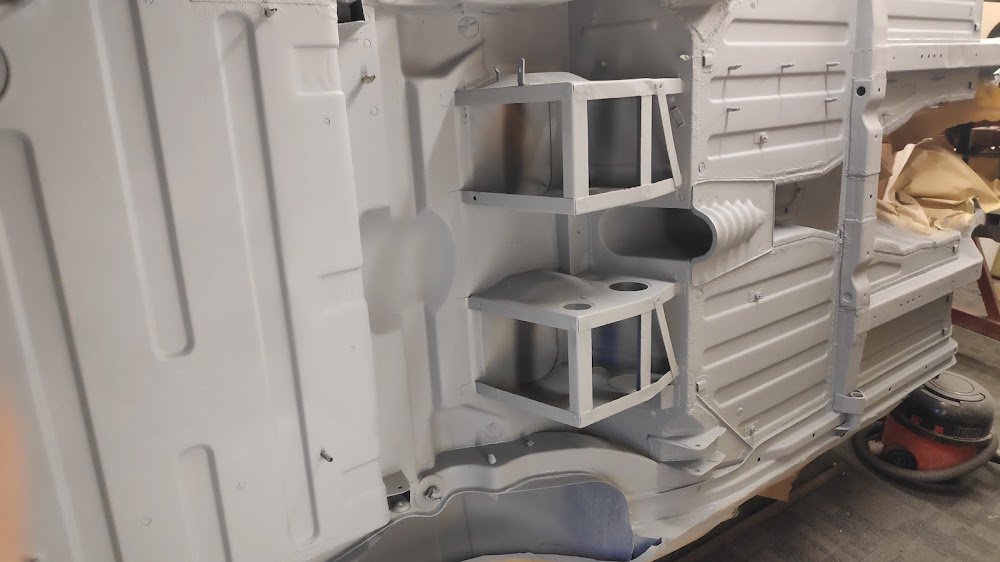
The next area I had to tackle was the pedal box area, there was a fair amount of rot in this area and really the only way was to unpick it, cut it all out and rebuild. MGB Hive did a bulkhead panel for the pedal box area, it wasn’t bad as fit goes but it did need modifying and all of the fixings welded into place and some of the holes welded up.
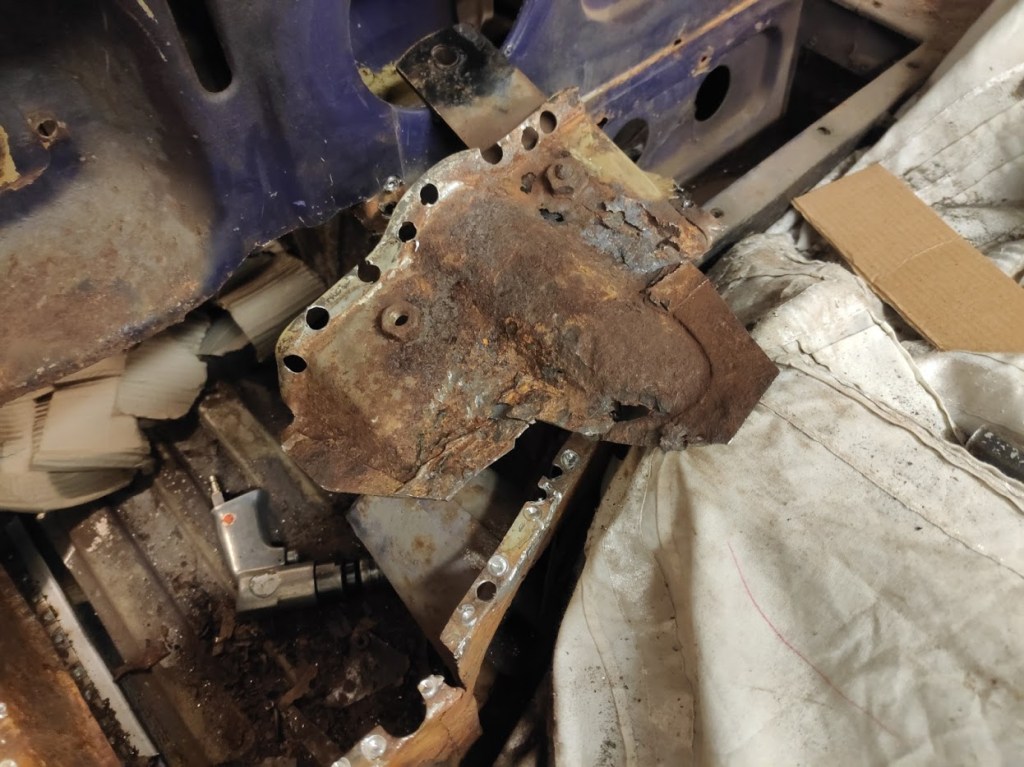
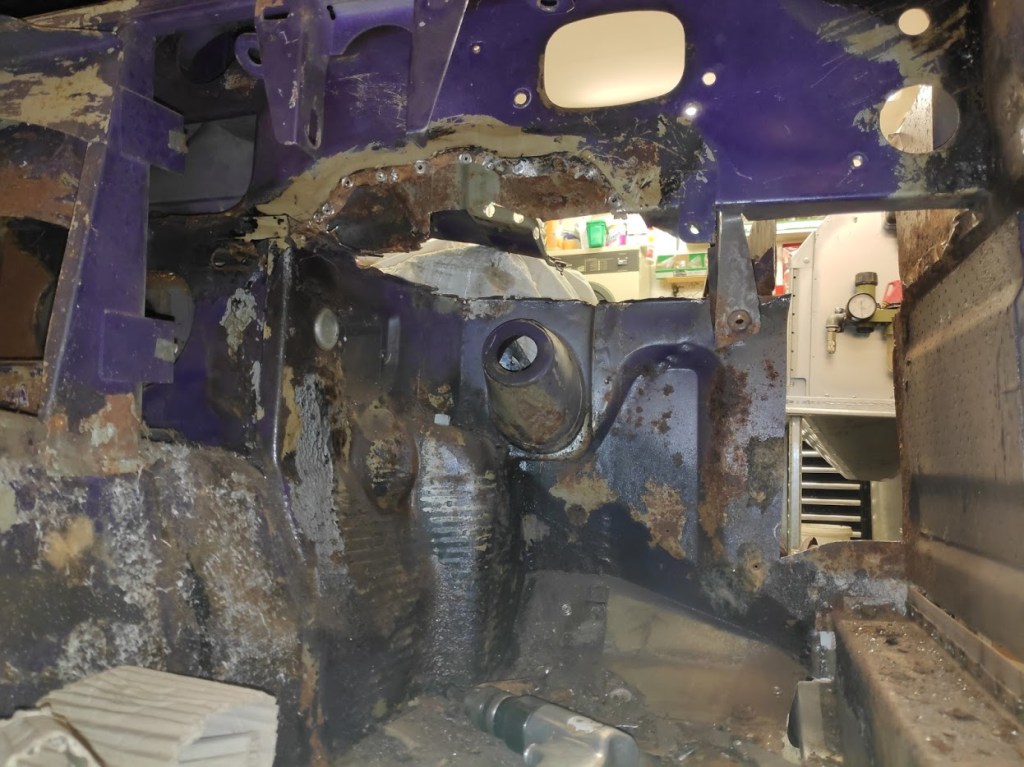
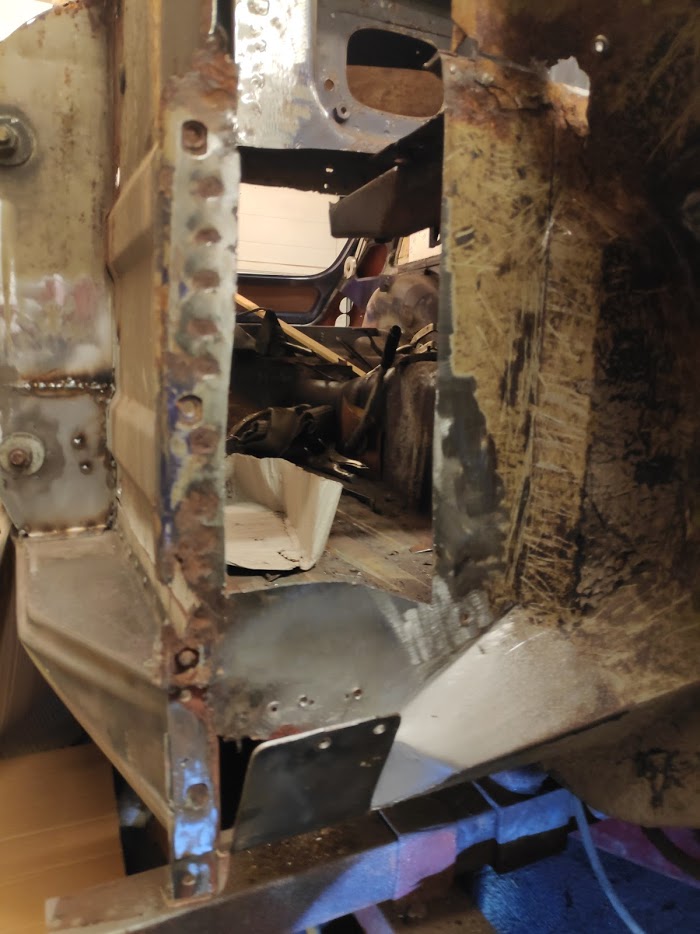

The other bit that had to come out was the steering column support panel from under the dash, you can see the rot in the pics above, and why it needed so many spot welds I don’t know.

The panel mocked up, some of the hidden rust you couldn’t really see until it was taken apart.
If any want more pics of these areas please as these are only a few, they will all be reference evidence for the rebuild for when the car is sold when finished.

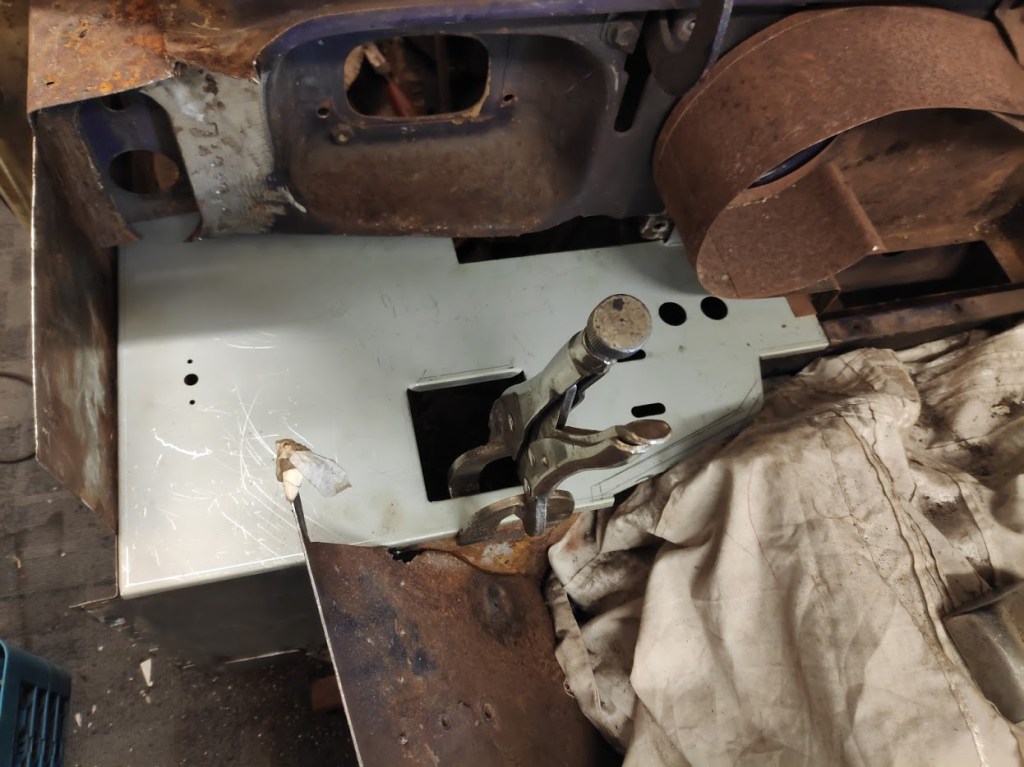
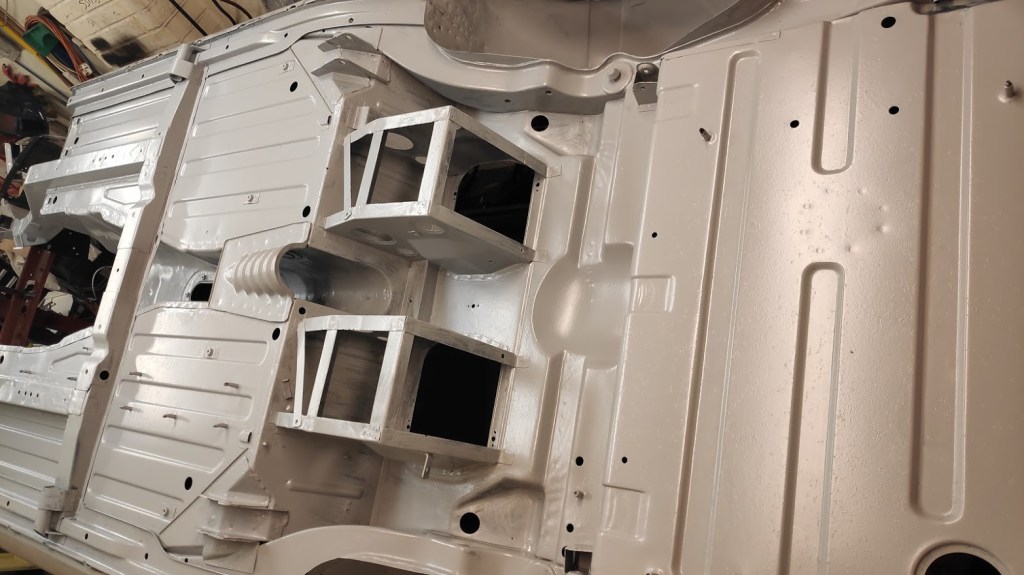
The new inner steering column support panel tack welded, a lot of work for a panel that won’t ever get seen apart from the small raised section exiting from the bulkhead. And the multitude of notes for fixings and holes on the pedal box panel prior to fitting.
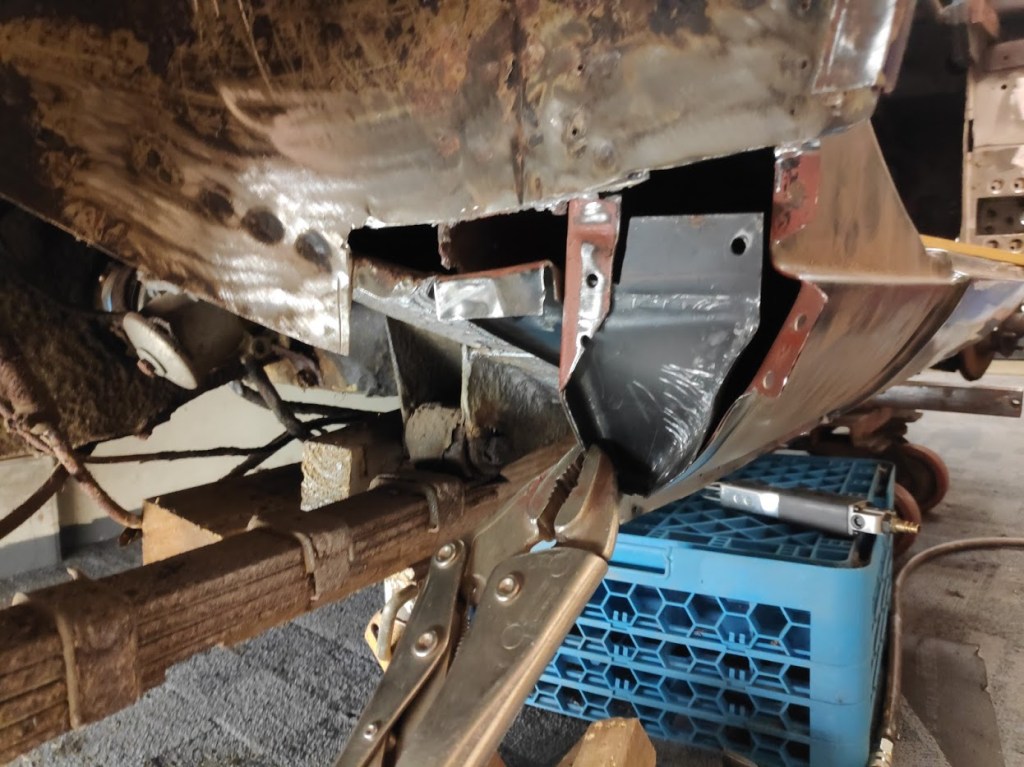
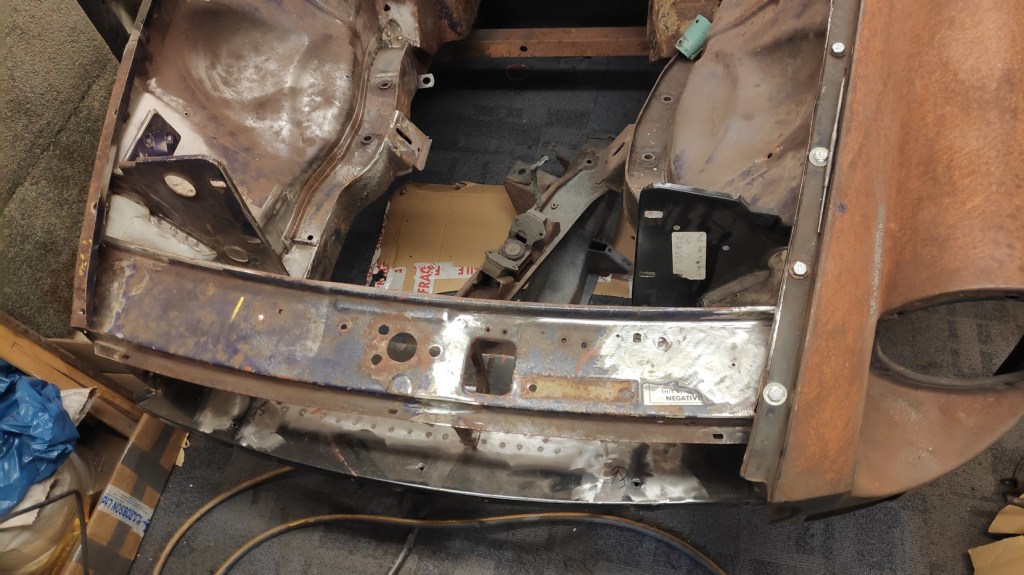
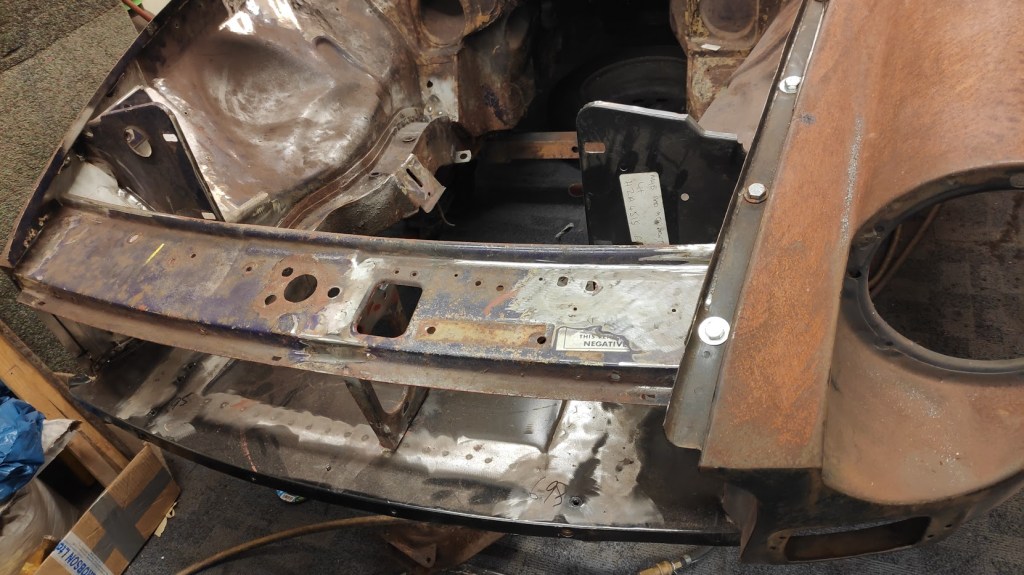
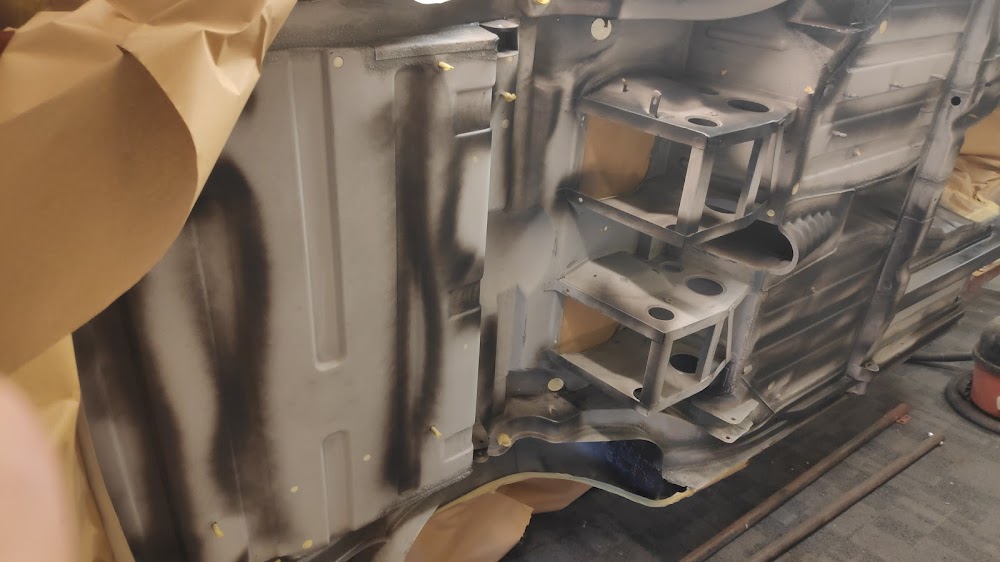
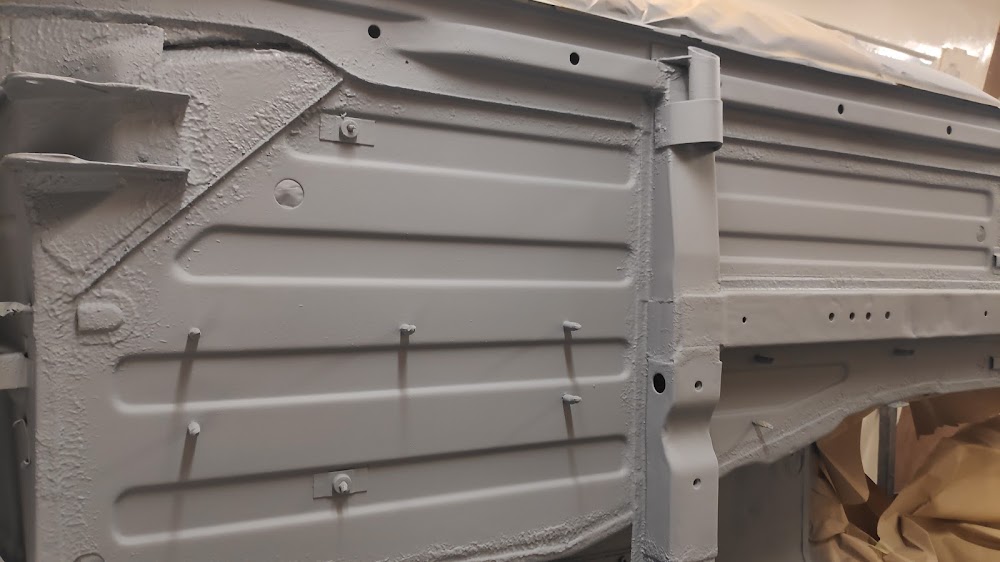
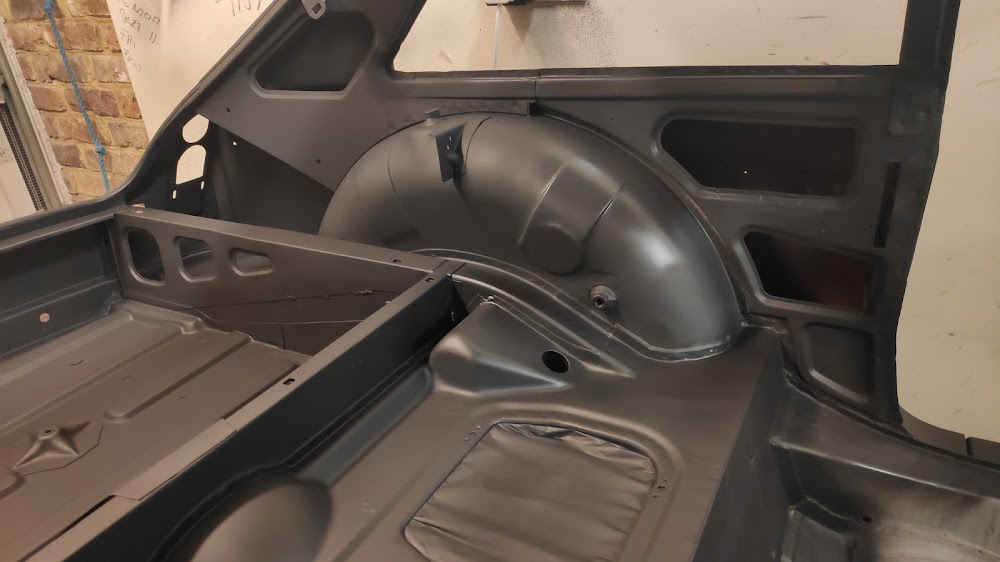
Moving on the next item was the rad duct panel, rotten in several areas, the simple thing was to remove it and replace it along with the support panel on the underside. This V8 panel isn’t about any longer, however I found a chap on eBay sell and repro one as he made 2 during his resto and was selling one on. Result, because with a little fettling it fitted great and made sure this now looked factory underneath. Only issue was to do this properly I had to remove the slam panel and both rad mounting panels. The N/S I had to replace as it was rotten at the bottom.

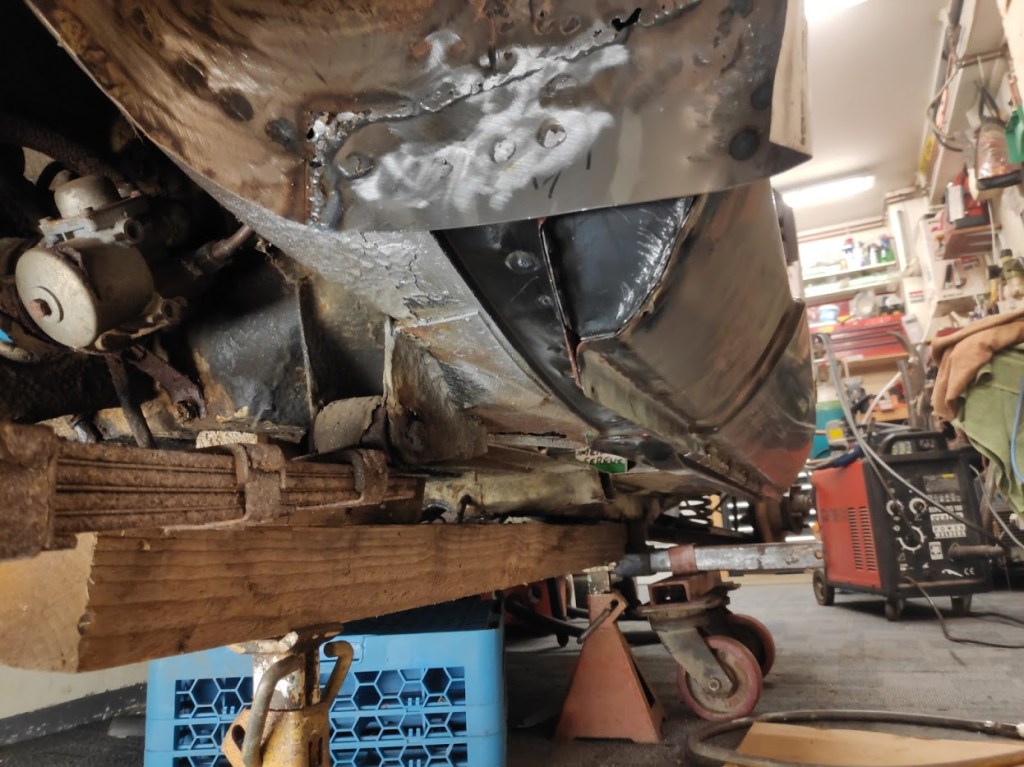
And more or less finished, few holes to plug and some grinding to do on the welds but completely painted and protected internally with some 2k epoxy primer and weld thru on the flanges.
Just some small detail, of the never ending small repairs, inner wing to scuttle channel area, simple fold and use of the shrinker/stretcher and it looks like new, almost.

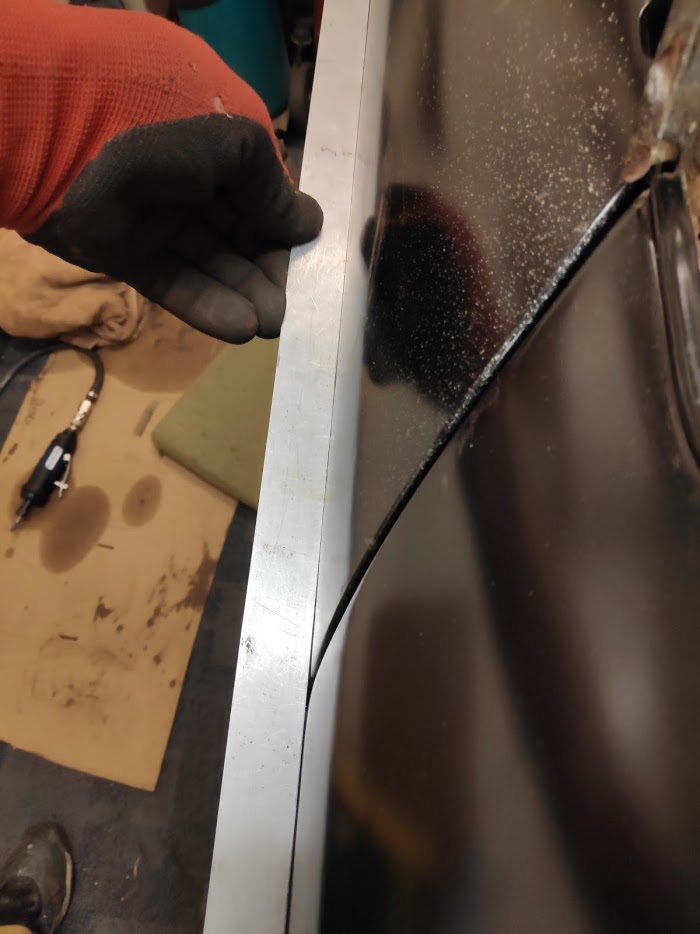
On to a pet hate, panel gaps and alignment. The quality of panels as we know is not good but we are stuck with them, if you think the BMH panels are not good, the panels for the 66 Mustang recently restored, panels from Taiwan, then back to the USA and then on to the UK are dreadful, poor fit, over pressed stretched to bits in places..
So to correct this where the panels can’t be aligned it’s the welding wire trick, 3.2/2.6mm gives a nice finish, solid edge and best of all no filler to make up gaps.
Back wing to sill area first
The rear wing shape on the C post was not going to align correctly with the old tail gate, the wings and rear panel fitted nicely, with a rear seam that was good enough for a mastic wipe if it was to be a later car on the back panel and fitting nice and tight into the roof gutter channel, so the wings were staying. Again rather than leave the boot lid looking proud, the alignment was make up with 3.2mm welding rod tacked into place.


Normal body shop practise would be to wipe a coat of filler in there as in reality once the rod was filed back to shape and blended with the boot lid the actual difference proud was only about 2mm approx, even CGP would have done.
However being old school and long winded the areas needing correctly were lead loaded. Bit over the top but I feel better knowing its done like this as it does make to a better job with no shrinking or should someone clip the corner of the C post there isn’t any filler edge to bust off.

Never an easy job on vertical surfaces
Leadwork filed and sanded, C post to roof will get the same treatment.
Cant believe its been 6 months since the last post, a fair bit has been done, despite my job going in July I thought I would have a lot more time but not so, other works got offered so the paying type took priority. But following on the C posts were lead loaded as they were when they left the factory.
Additionally the area repaired around the windscreen scuttle area to to where the front wing bolts and pulls in was repaired. This being an area where the wing can really dig in to the scuttle I made good the area and and did final shaping with lead loading again


The underside of the front wings were cleaned back and seam sealed on all the flanges and weld joints and then given a coat of epoxy sealer

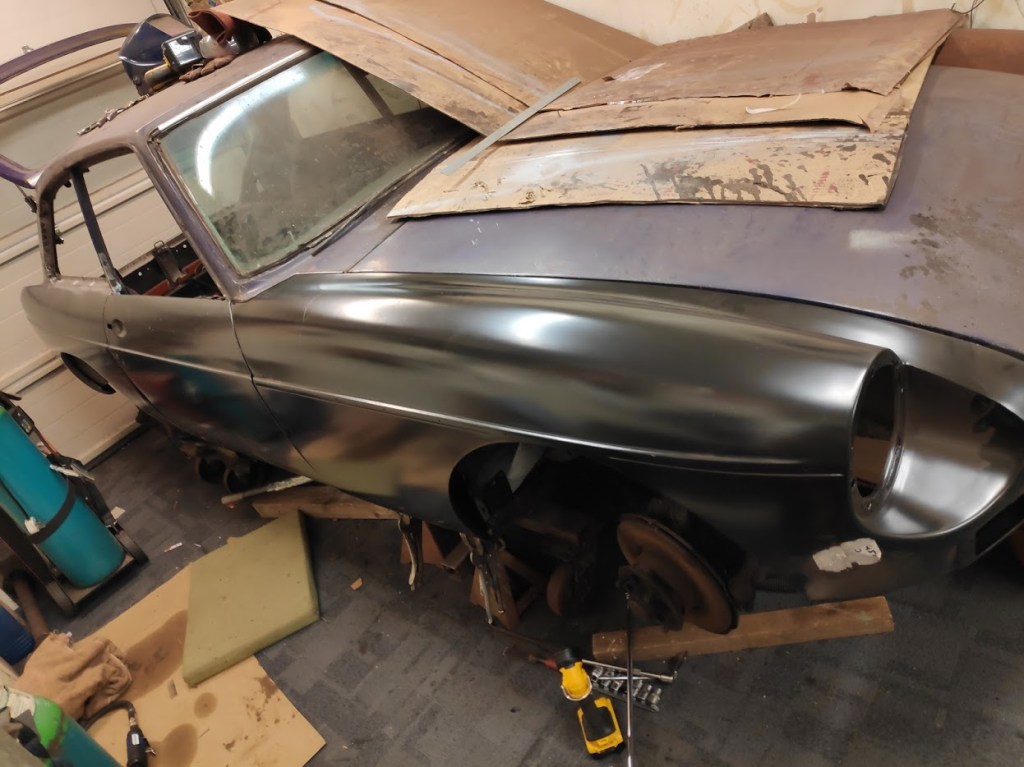
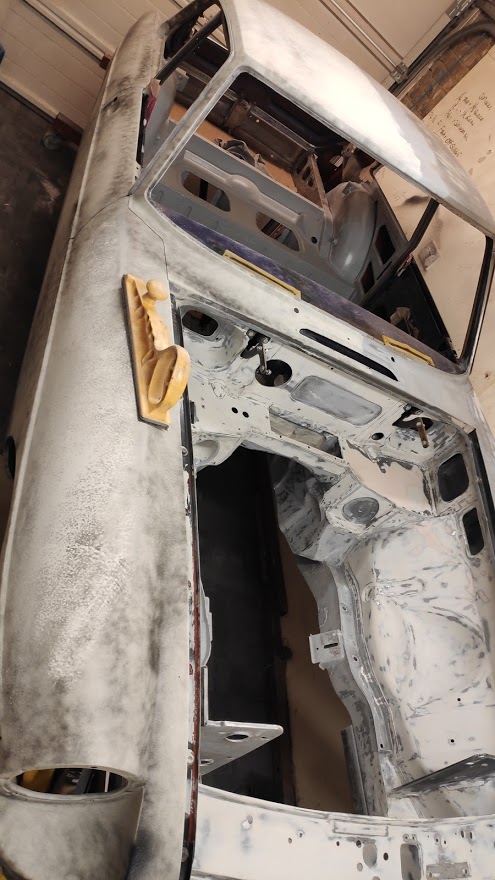
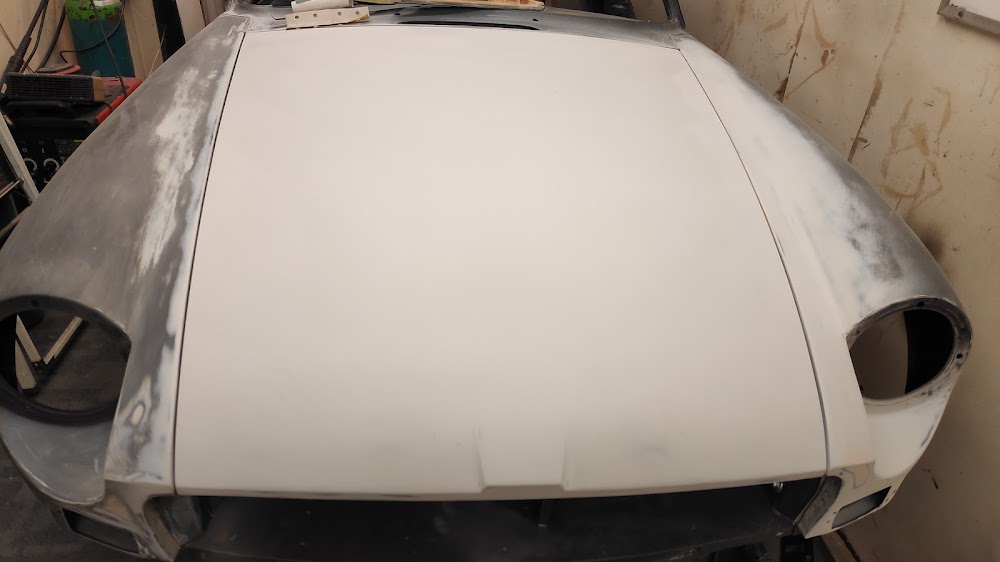
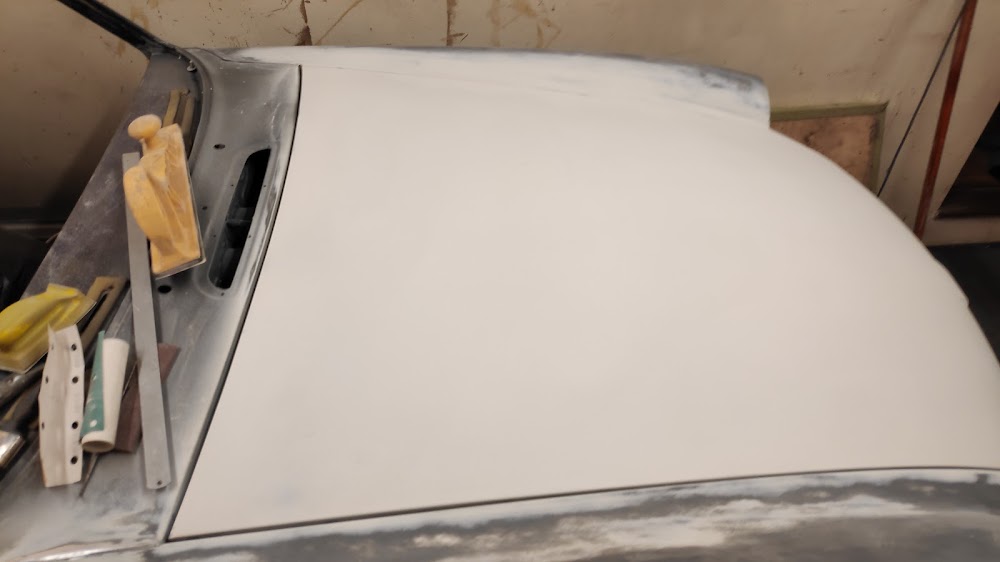
Finally what seemed days I finally got a decent alignment of the wings and doors. The main concentration was on the body moulding line swage profile, this is the bit that stands out the most on the MG’s if not done right, anything else can be sorted but this area is so difficult to get right after.
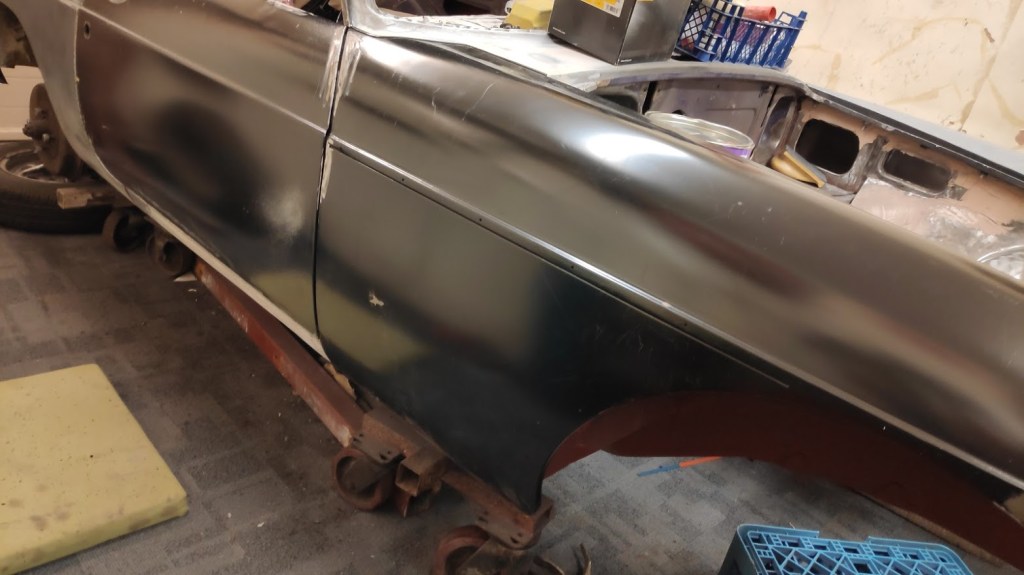
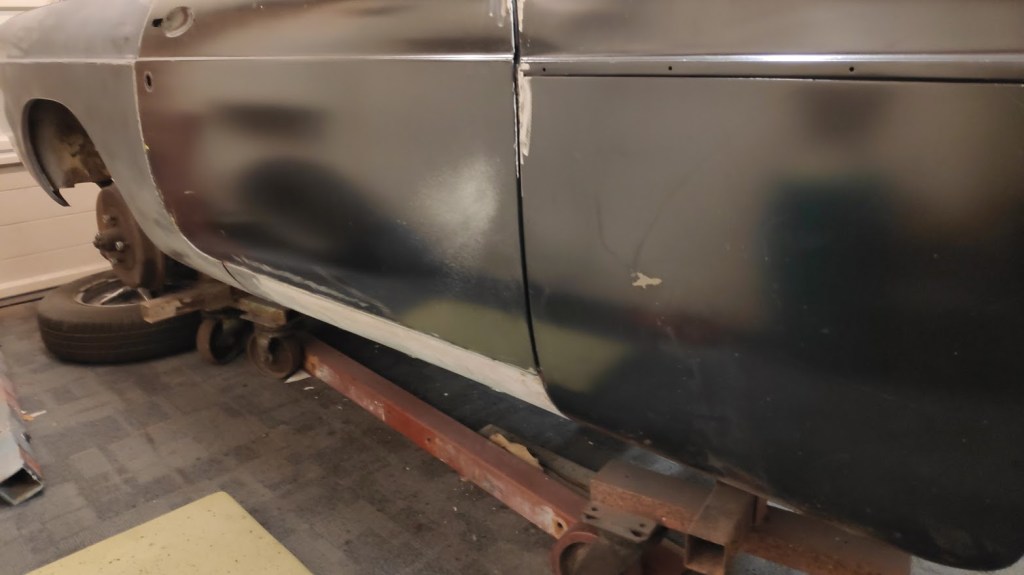
With the metal more or less aligned a thin coat of filler was applied to the areas needing attention, mainly where I had to do some bumping to get the profiles the same, and also in places where the edges had to be ground and in some cases the welding wire trick to extend the door edges to get a respectable and parallel good gap to sills and wings. Also given the standard of paint work the actual metal panels had untold pressing marks, high and low spots and just poor panel finish.

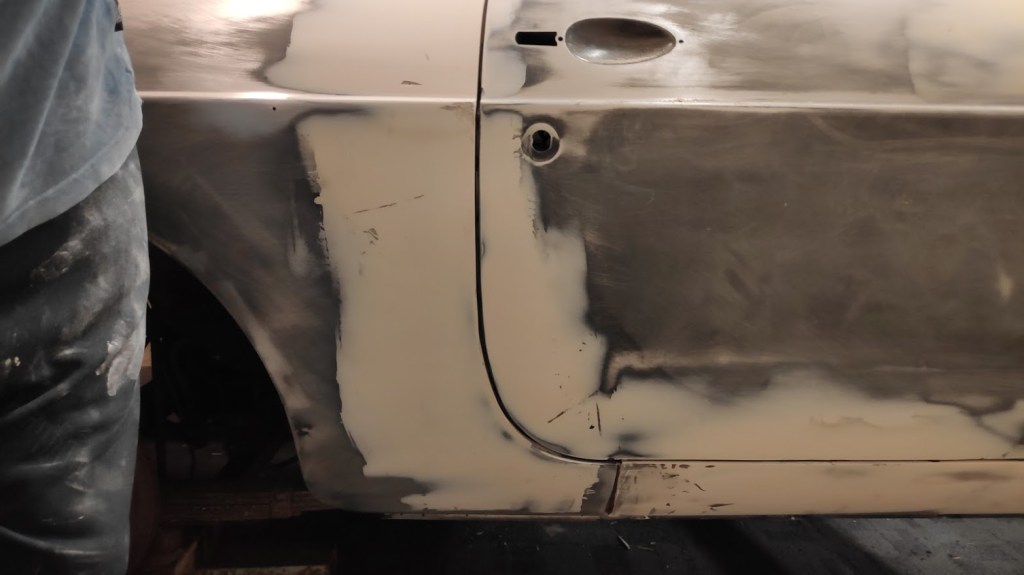
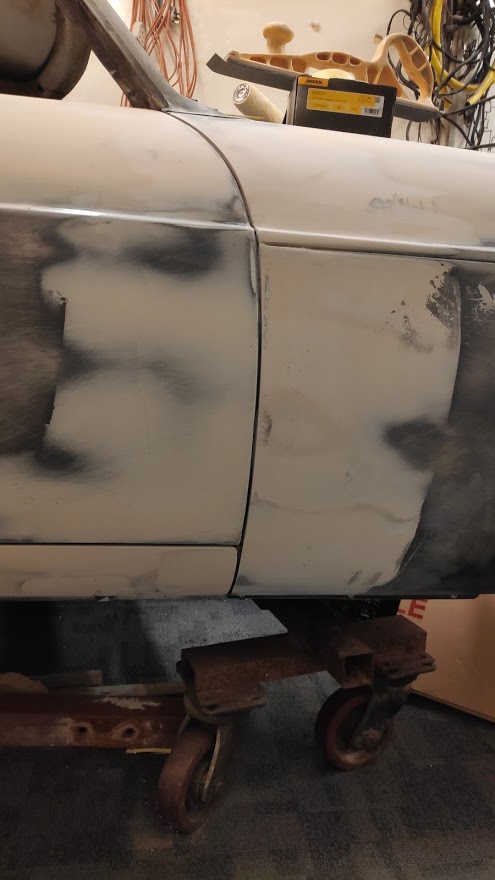

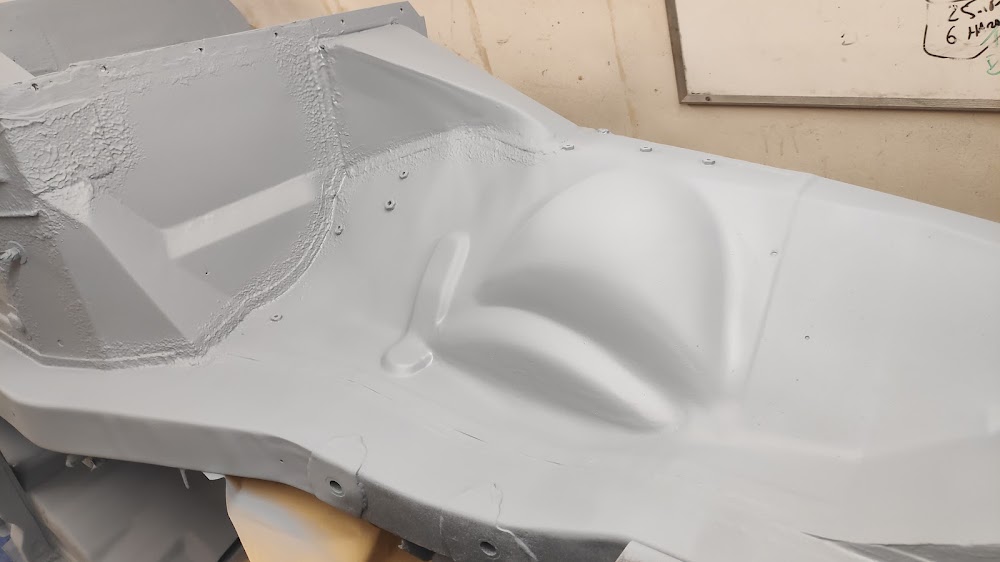
Once the rough filling was done the whole lot was given a coat of epoxy primer, see the n/s pic, and then once more or less all of the body is rough shaped I will move on to dolphin glaze and then polyester primer filler. This I will cover later on. Sorry about the poor pic quality, I didn’t really take a lot of notice at the time, I will try and get some better shots of the progress.
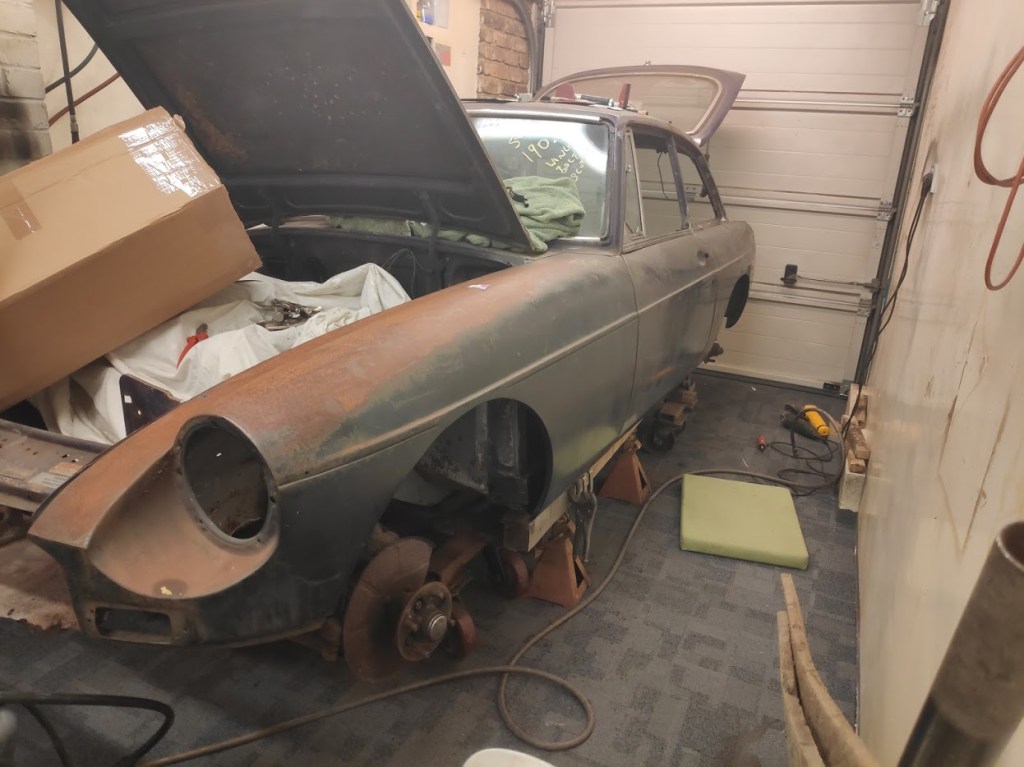
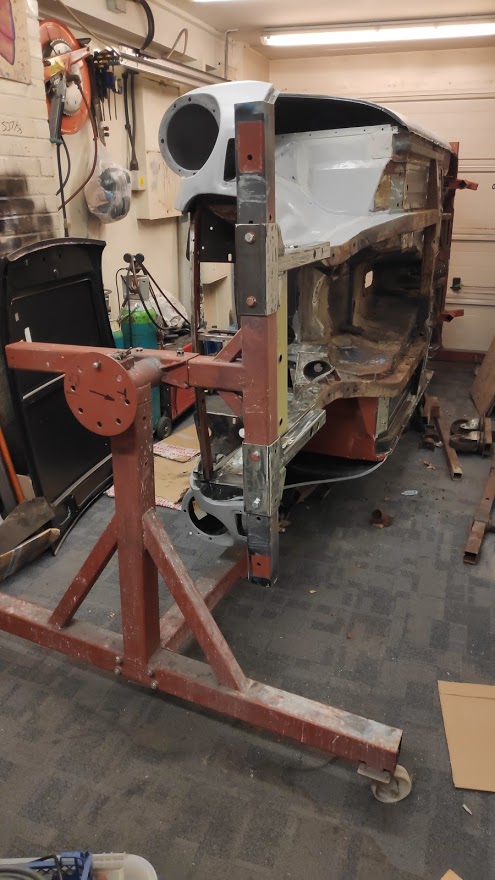
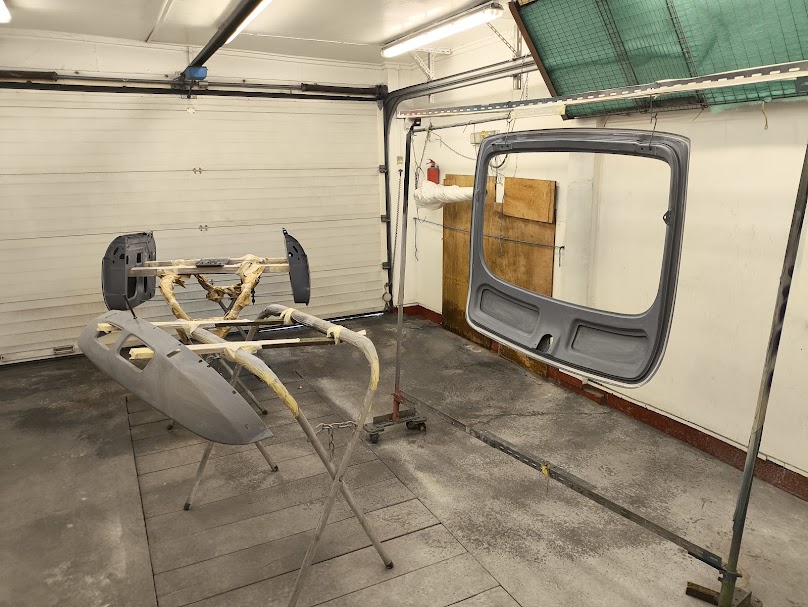
As its a back breaking job getting the sill areas and lower part of the car right, and stripping and finishing the under side it was time to make up some jigs to fit the MG onto the rotissarie.

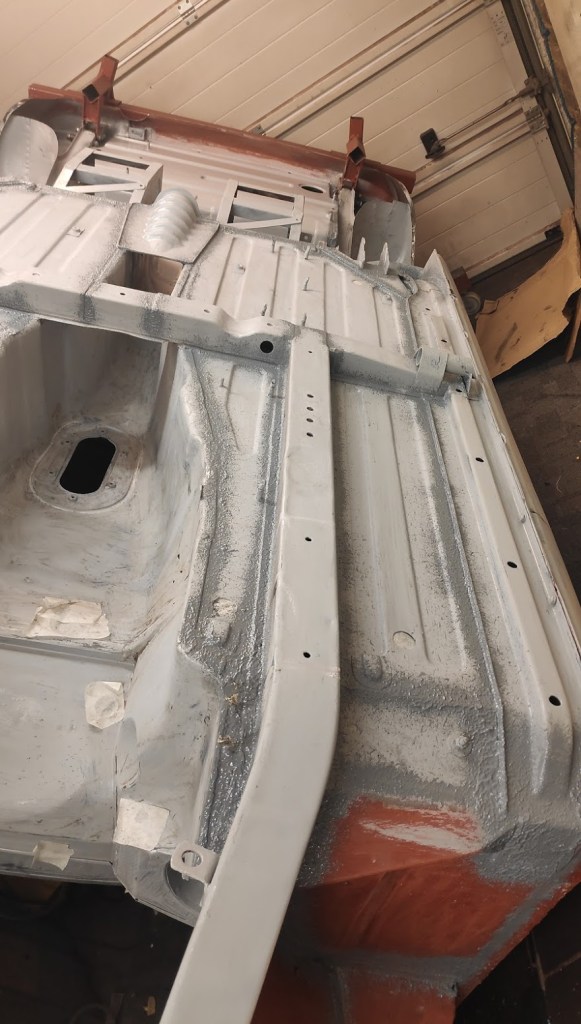
And on to the horrible job of finishing the grinding on the floor, stripping off all of the old underseal and sorting out the old steel ready for treatment. At present the floor has a coat of epoxy primer, all of the joints will be seam sealed and then on the vital overlapping joints I will use the 3M 2k Two Part Sprayable Sealer 08800, its ridiculously expensive at aprox £20 for 250ml, which covers not a lot, prob going to need 5-6 sachets, however its the best stuff in the world I have found, it produces modern factory seam sealer finish and nothing get thru it. Once that lot is done then the whole lot will get a coat of Raptor stone chip finish. Because the floor is in fairly good condition, all the joints and areas tight and in shape I will prob thin it slightly and put it on thru a 2mm needle HVLP gun, so the finish will be more slightly rippled and the normal stone chip finish.


A coat of epoxy primer

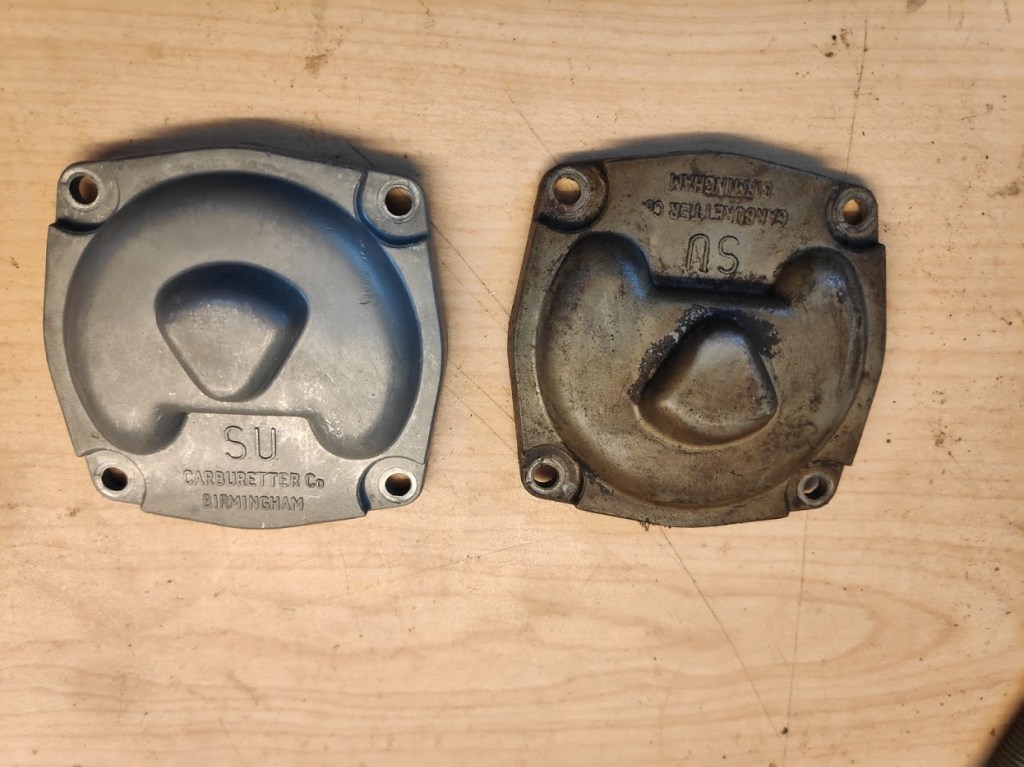
A quick addition, not really in the body work section but worth a mention now. I have always paid to have my allow items vapoured blasted, so having some time at home and not have any spare time it seemed sensible to build my self a vapor blast cabinet. The first attempts have come out ok, just to do the cylinder heads or large alloy items but the smaller ones have come out ok. I may even start offering this service if any seem interested later on in the spring when I have more time.


So not much to add to date apart from the bodywork has started. I thought I would have more time to finish this now I have sort of semi-retired or working for myself now, but it would seem that as so many others are busy I am getting asked to help out everywhere, and as funds are needed then the paid work has to come first.

First job underneath now the epoxy had been applied was to coat all of the flexible joints and seams with the 2k 3M sealer, part No 08800. There are many products out there and everyone has their own favourite, so if it works for you or them then that’s great, however in all the years I haven’t found anything better than this stuff. You can reproduce factory finishes with this, and when its dry it gives a tough flexible sealer that won’t crack or move and more overly will never come off. It is so expensive, I thing 250ml sachet is £28 or so and I used 5 so far, but it’s worth it. It may not have been std like this on MG’s, however the long lasting protection after so much time and money in the rebuild its worth it. Once I’m ready then the complete floor pan will get a coat of Raptor or such like stone chip coating. To avoid the really stippled thick finish I apply mine with a gravity cup gun and 2-3m needle and tip, after taking time to try and keep the spot welds visible and all of the correct flanges and tabs from the panels correct its nice to see them and not cover with stone chip sealer, as such, but that will be in a later write up. Little tip with the 3M sealer is to spray a little in a cup and then brush it in by hand any joints you want, prior to spraying this stuff on, this way all air pockets and cavities can be eliminated.


Difficult to see here but the same 3M sealer was applied under the dash area while the car was on the rotisserie. Most of you that have had the dash out or looked under here will have seen the tar based stuff MG applied over the welds and panels to try and eliminate leaks, spraying the stuff like it was going out of fashion. This time the sealer has been applied to the areas that were done from factory, so once painted it will give a factory finish and look, but with the added benefit of modern products
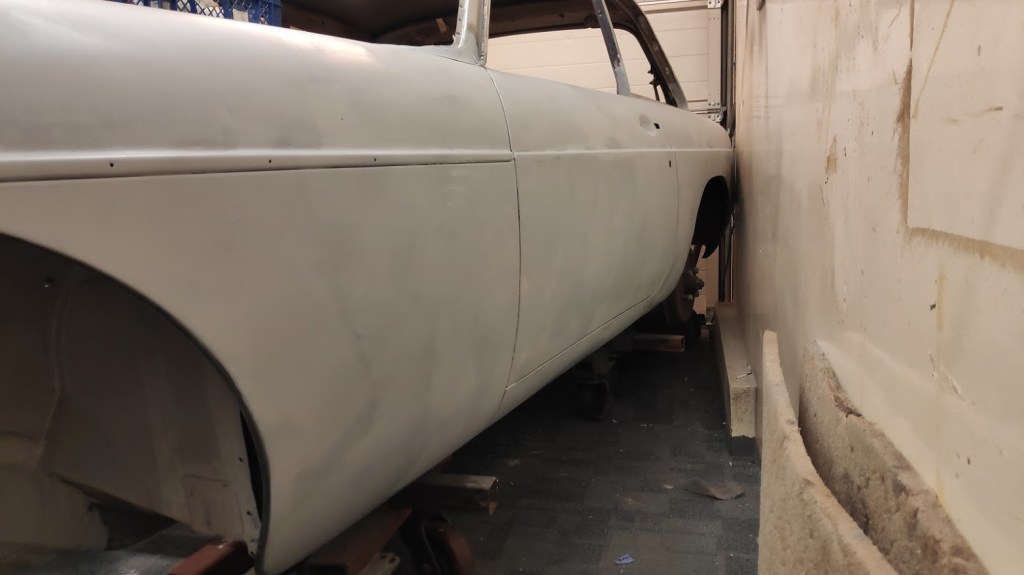
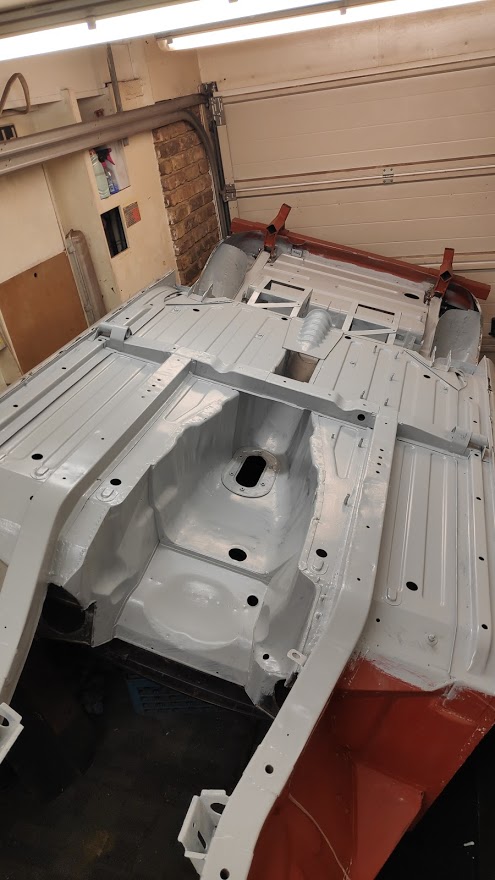
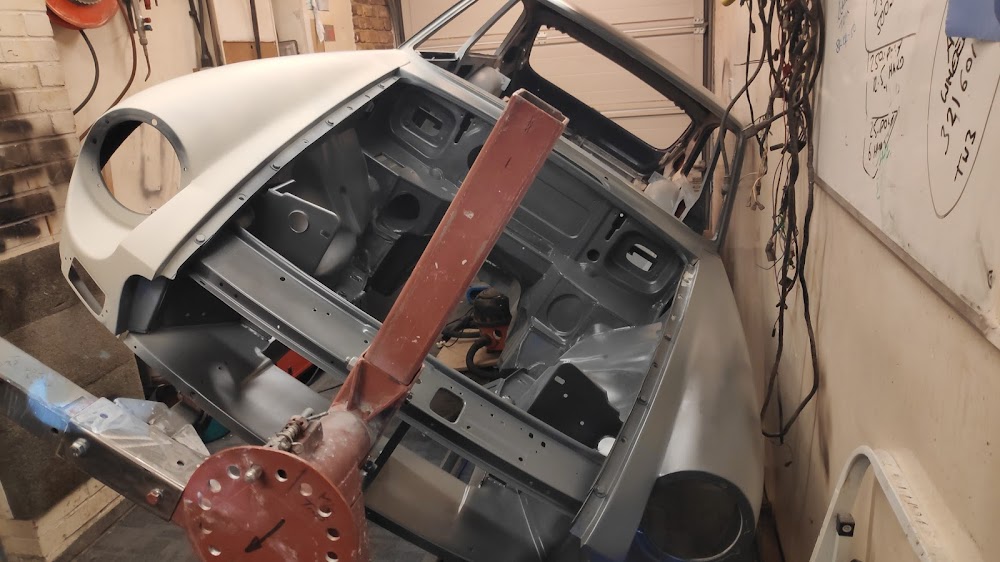
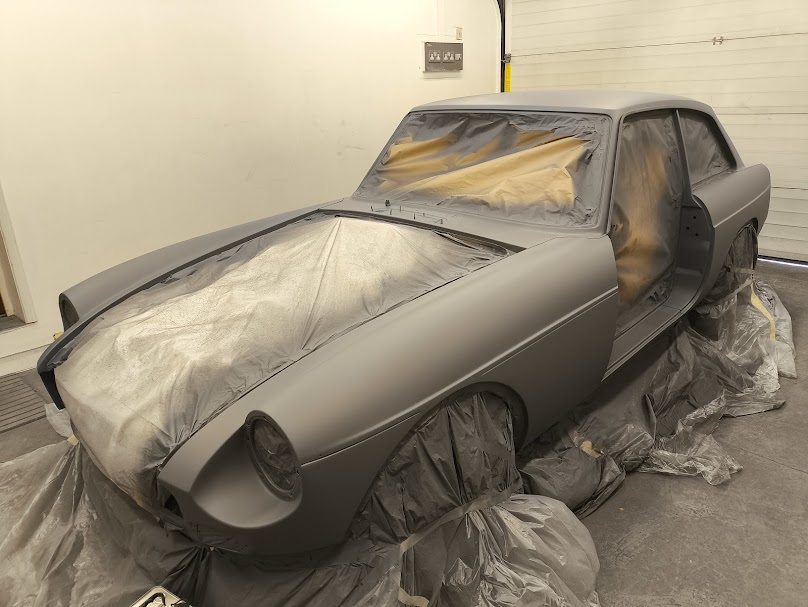
And so to the bodywork. The car had all of the areas required skimmed with a lightweight filler and blocked, and blocked again until right. Given most new panels come rippled and full of pressing marks that could never be removed with high build primers alone the rest was treaded to a skim of Dolphin glaze, most of this blocked off and then the car given several coats of polyester spray filler. The boring task of blocking and reblocking just continues. Pictures of rubbing filler and paint are dull, but I have posted a few so the general process can be seen. The engine bay is more or less to shape and most of the repairs and work completed, ready for another coat of epoxy primer then high build 2K undercoat.


After what seems days finally got something that was respectable for gap and alignment, and ripple free. Polyester being porous and I wasn’t undercoating the car for a while I shot a coat of epoxy over the lot to seal it. The engine bay was just about ok apart from a few areas requiring stopper, so this also got a coat of epoxy. The body had to come off the rotisserie as the brackets I made were just too close and I couldn’t get the bonnet on for alignment, and I didn’t want to chance a good old Heritage bonnet for fit. Lucky I didn’t, fit to the wings was not good, curvature was out, and the alignment with the scuttle was dreadful. Some gentle tweaking saw it more or less right, then all was left was to polyester it twice and block it to get the ripples and dents out of it.
So back onto the rotisserie for perhaps the last time. Wings off, prep the underside and inside. The underside is so good it seems a shame to coat it with a textured stone chip finish so I decided to thin the Raptor coating and apply it with a gravity gun. It will still get the same level of protection but without a textured finish. Ant areas got a coat of epoxy sealer primer again, and now in a dark grey finish.

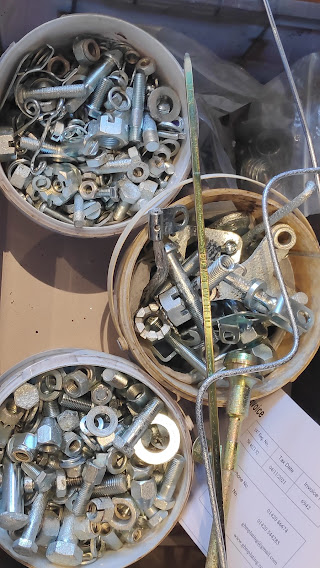
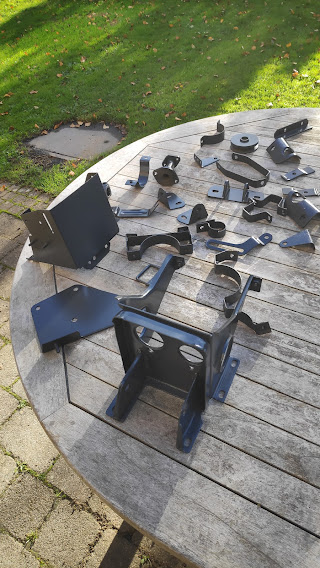
Knowing how busy people seem to be I spent a few days cleaning and prepping everything for zinc plating, silver and gold. Such a shame the old cadmium plating isn’t allowed any more as it was far superior to zinc finish, but I suppose this is better than nothing. All the small bits that are to be painted also got a coat of zinc for extra protection. Just to work out where all the nuts and bolts go now. The bigger painted items getting a coat of epoxy prior to undercoat.

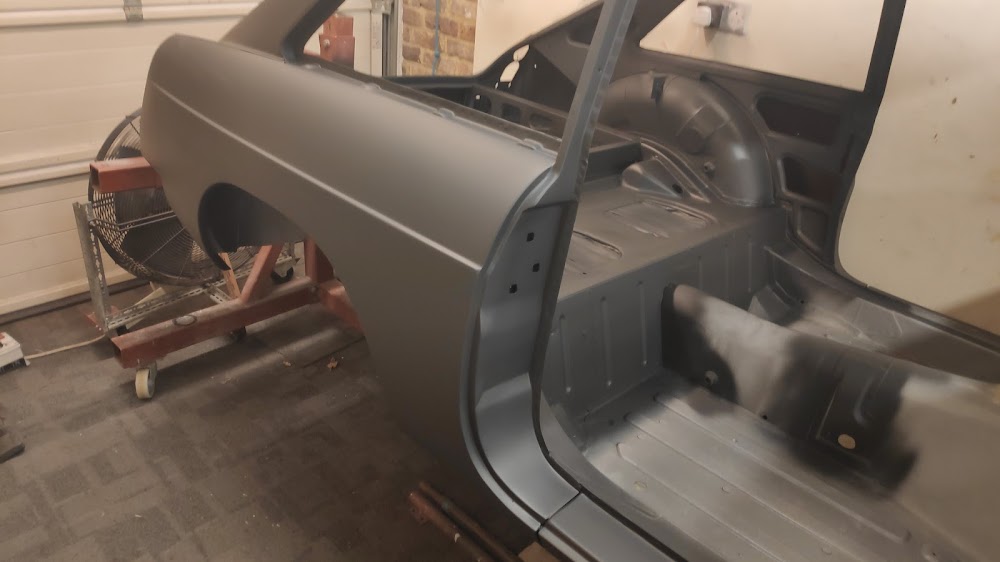
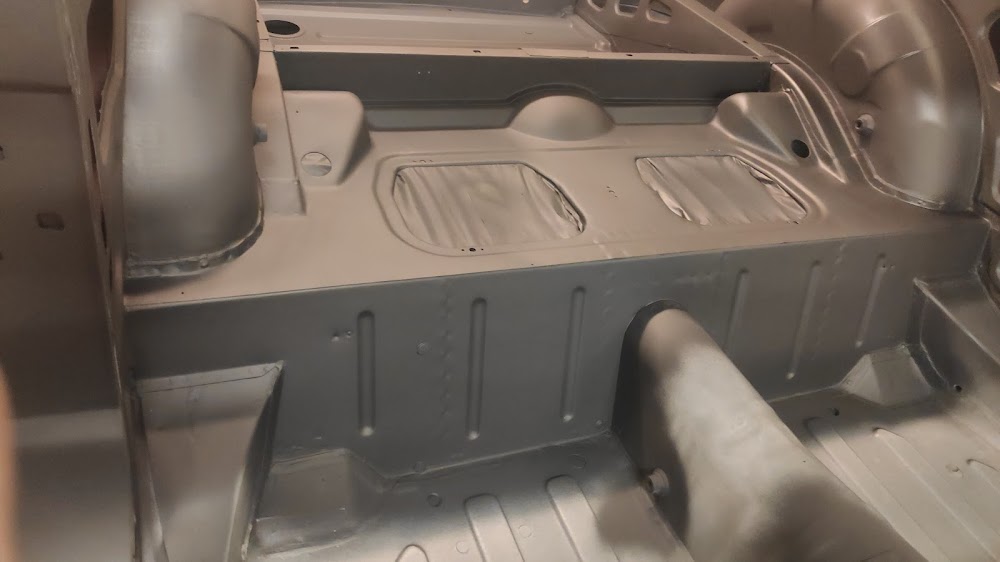
And finally the shell gets a coat of high build undercoat/primer. Any rub thrus were spotted with epoxy first.

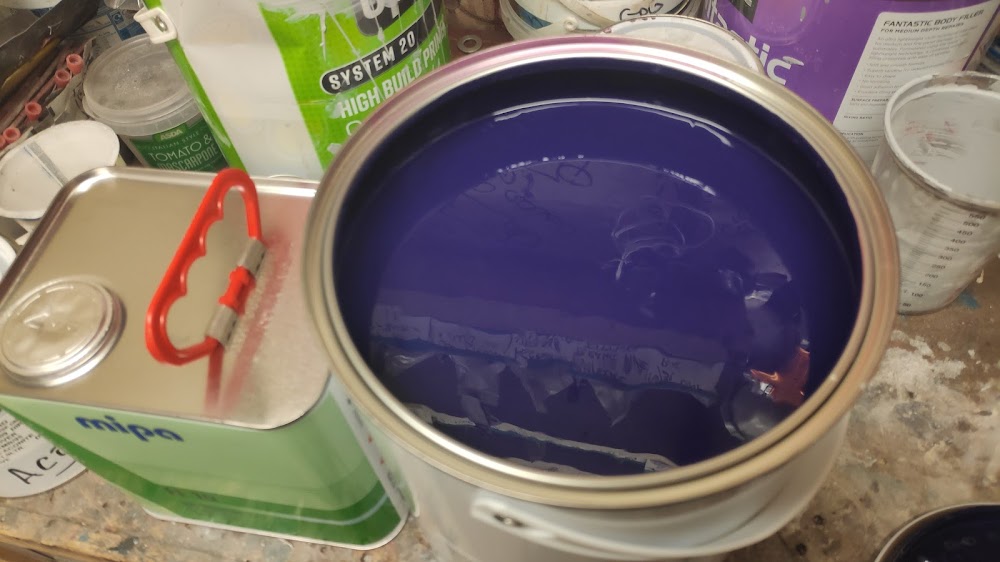
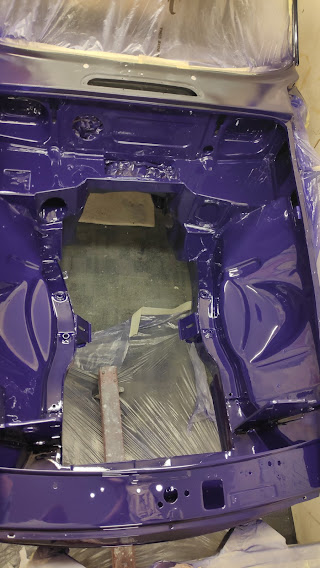
And after months and months and months of deliberation and faffing, and talking to people the car is going back to its roots, as it left the factory, Aconite paint and Autumn Leaf interior.
I’m going to paint the engine bay, underside and interior while it’s on the rotisserie and then fit it up while it’s still on it, going to make it so much easier and neater.

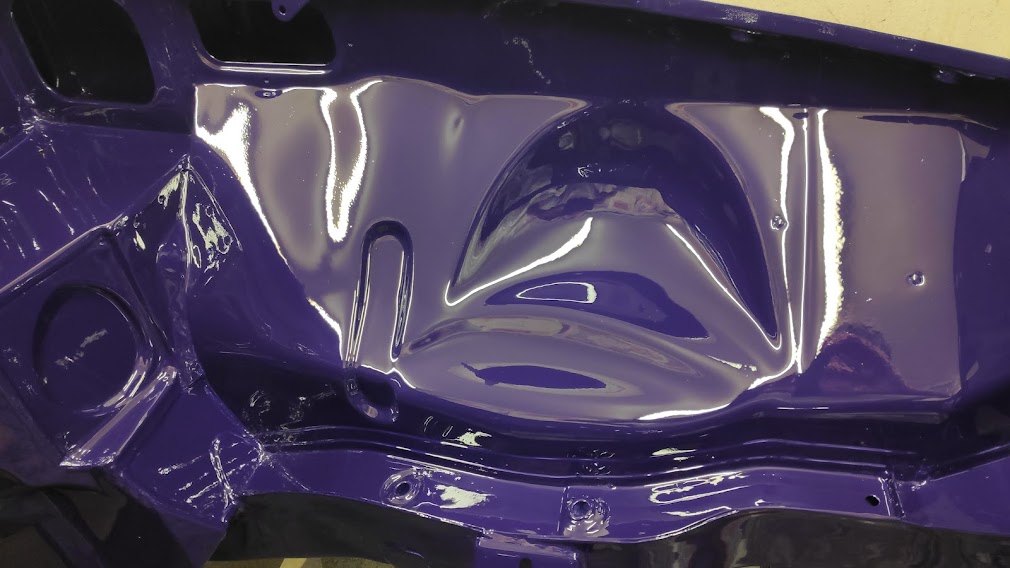
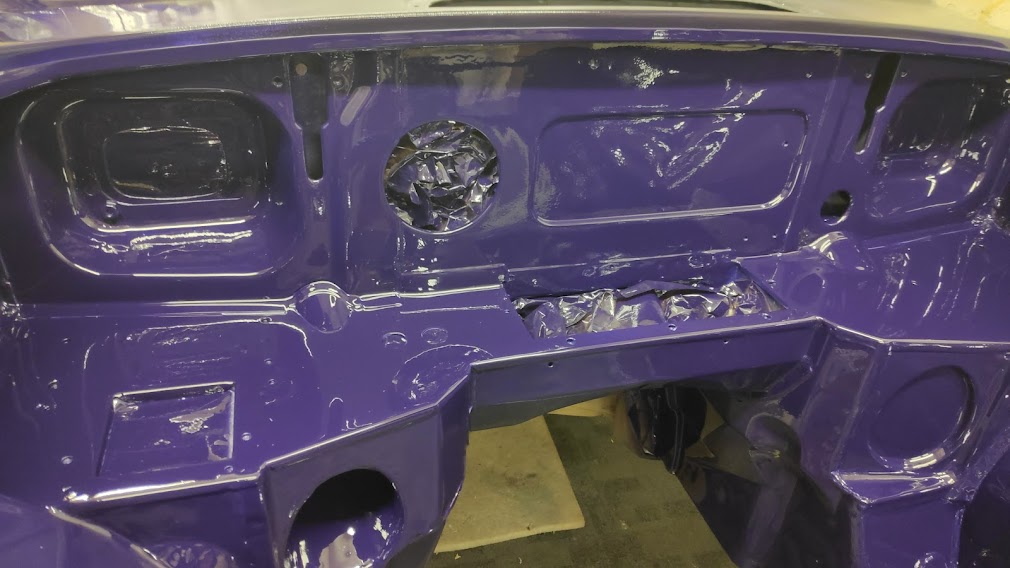
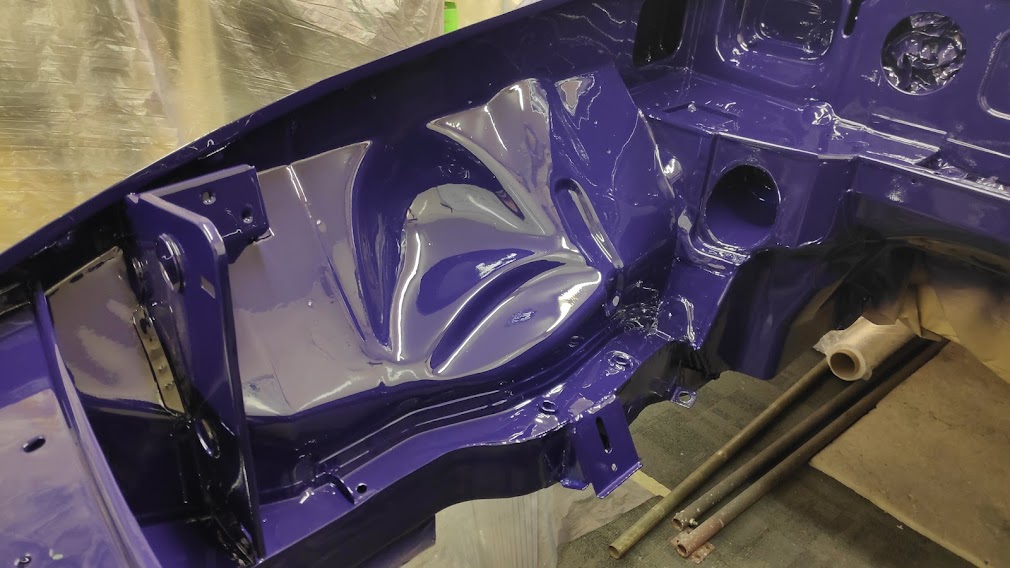
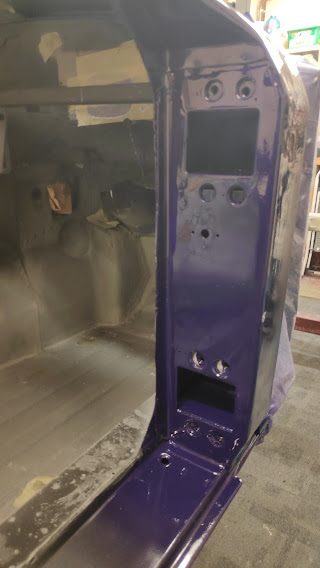
And finally got a coat of paint on the engine bay. It’s always difficult to get into some of the corners as air won’t go into internal right angle corners due to the physics of the matter, and also its difficult to get the gun into engine bays, however a little tip I was shown years ago by an old school painter was to use the lining brush, I have a couple of squirrel hair types, I find them better than horse hair or synthetic, and to line in the corners with the top coat just before spraying, then the spray melds and merges with the lines areas to achieve a nice wet internal corner.

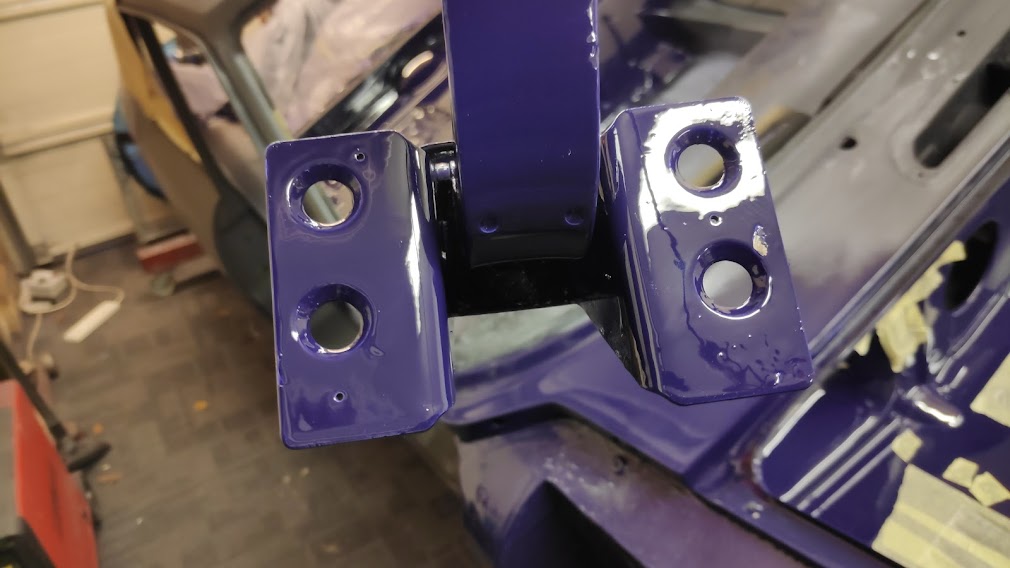

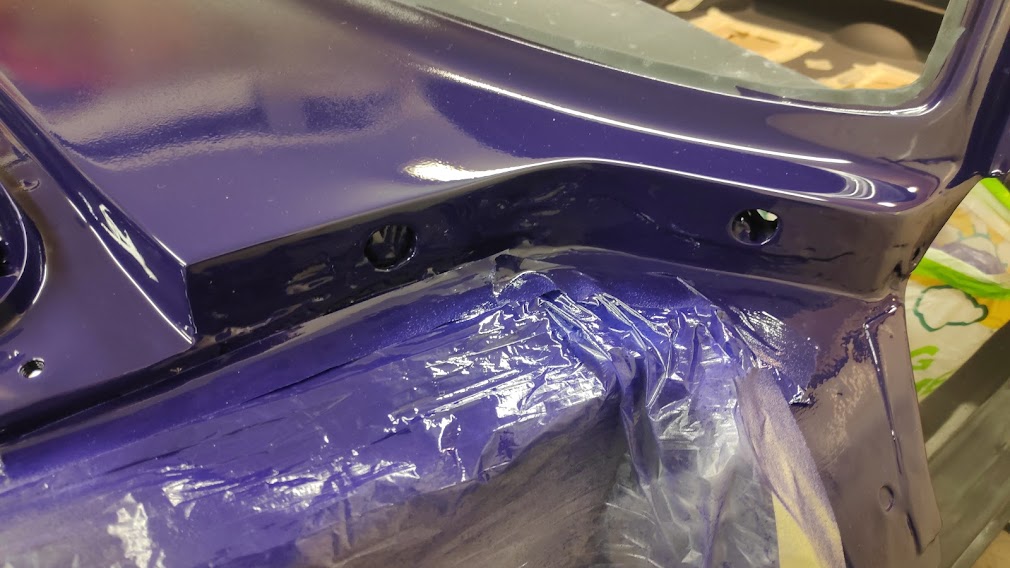
One thing that I see with the MG resto’s is that wings always just get bolted up to the bare primer etc at the scuttle area. These want to rust there almost immediately so any protection is so important. Mine always get a good coat of top coat and the A post area behind the hinges prior to these being bolted on. Additionally the door hinges always get painted before fitting and final mock up and then left in place during the final painting process, as they were.
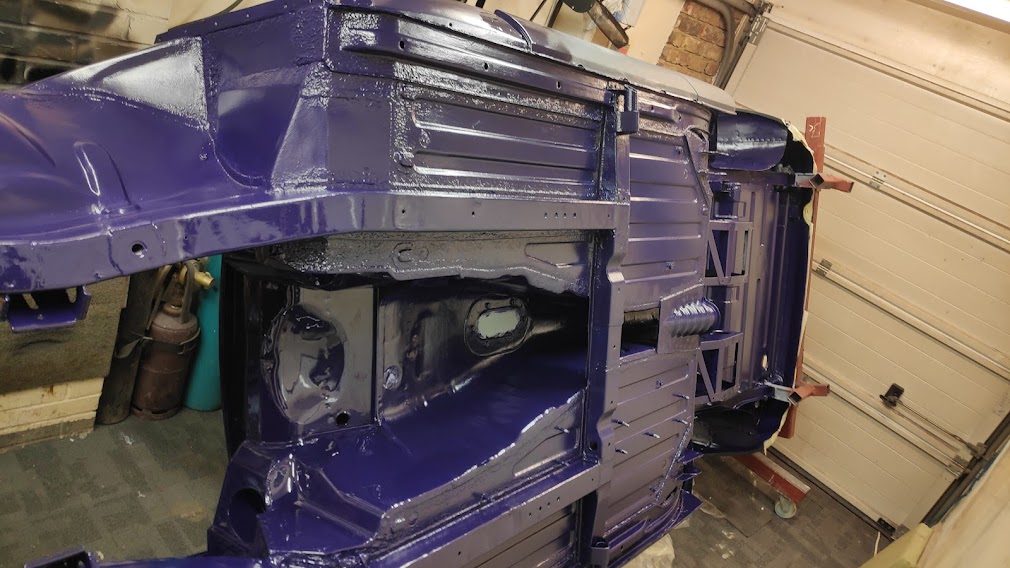


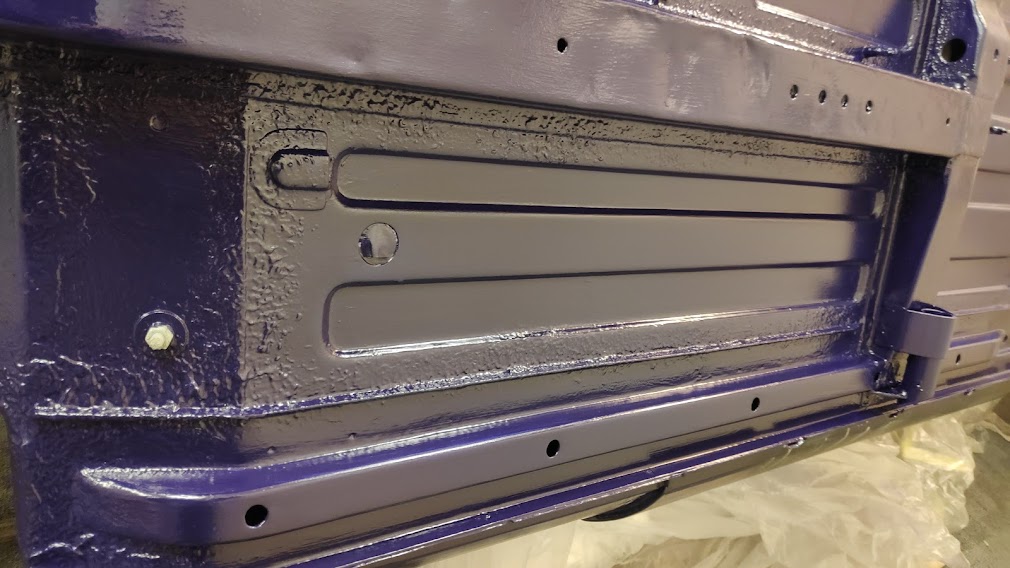
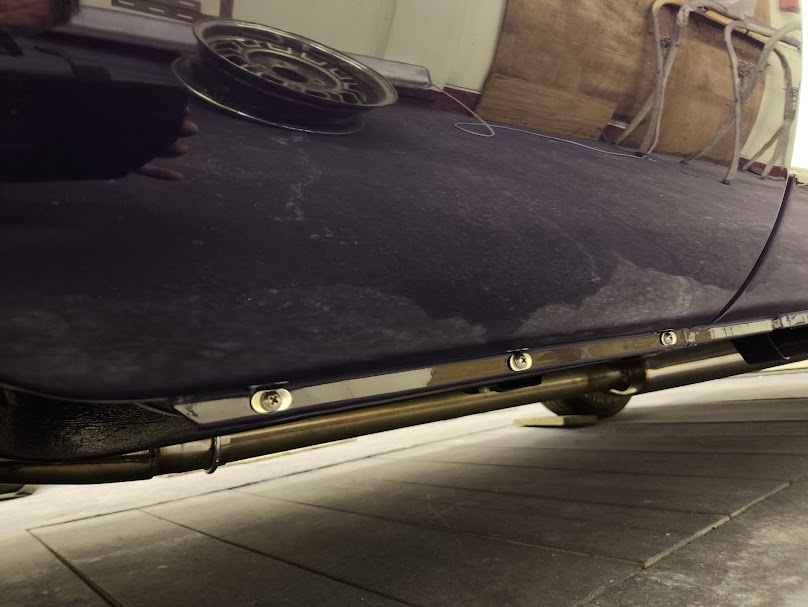
The underside was then treated to several coats of the final colour. The debate was if to have a flat and polished underside, but I’m not a lover of trailer queens and I drive all of my cars, and hopefully the person who buys this will do also, so with the 3M sealer on the joints, stone chip on the flat areas and a good finish will protect the car regardless of the weather its driven in.

The inside was also sprayed where carpet or trim isn’t stuck down, and or where the final finish can be seen. The floor and sills where these have to be scuffed for glue and trim will get a different colour treatment, there isn’t any point spraying these with the cost of paint the way it is now, colour will match.


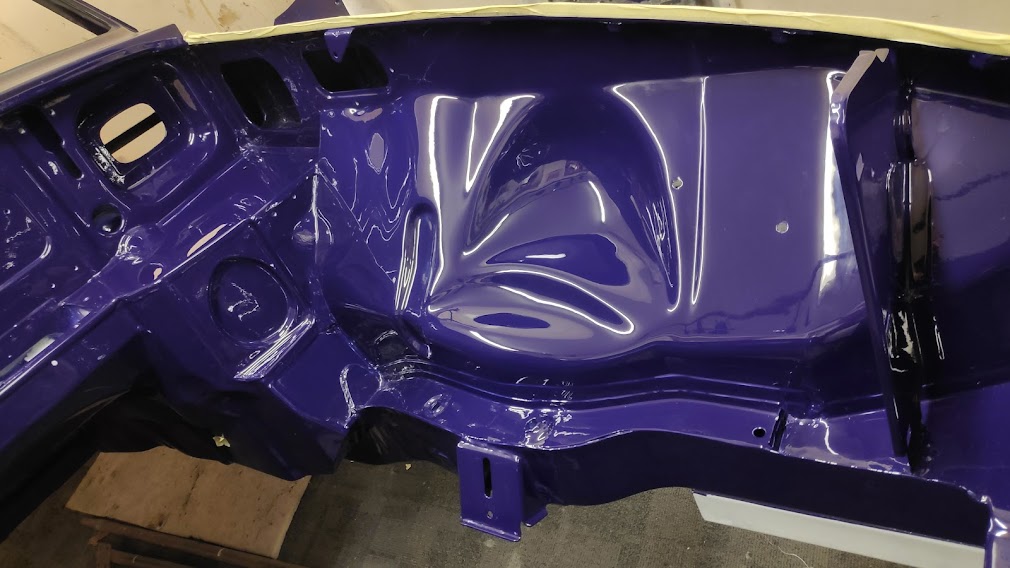

It was now time to start fitting up, another milestone. I kept looking at the engine bay, and although there isn’t going to be much seen once the V8 is in I wasn’t happy with the finish, so a little flat and polish later, well 4 hours’ worth it was suitable for the standard the car is going to be finished to, and anyway regardless of what others think, it’s easier to keep clean and you are at this stage then it’s the only way to go.
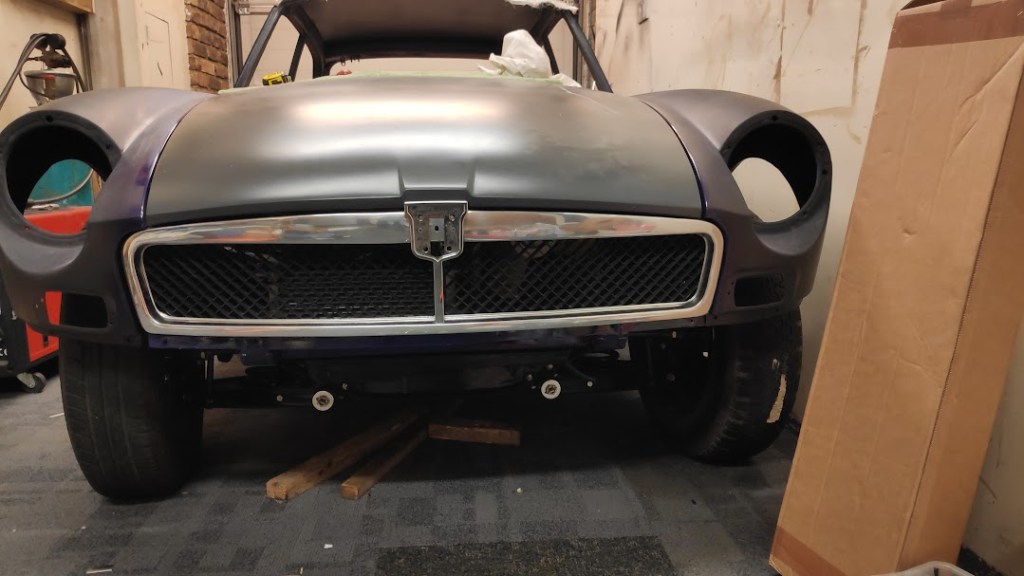

Time to fit the wings for the last time, so these were undersealed and treated to a finish of the final colour. The new grille surround was fitted with the OE black grills as these have the correct angle and alignment on the plastic. This was after many hours of cussing and swearing as nothing new seems to fit correctly.

The existing primer was keyed back to remove any marks and contamination and a final coat of epoxy sealer/primer was applied. There isn’t any real build on this as it wasn’t required at this stage, so a light key with 600/800 w&d ready for the top coat. There is always a discussion on if dry sanding or the old w&d is best. I like w&d blocking and sanding as it keeps dust to a minimum and I feel it gives a nicer finish ready for paint. But no doubt the pros and cons will go on as long as we paint cars and bikes.
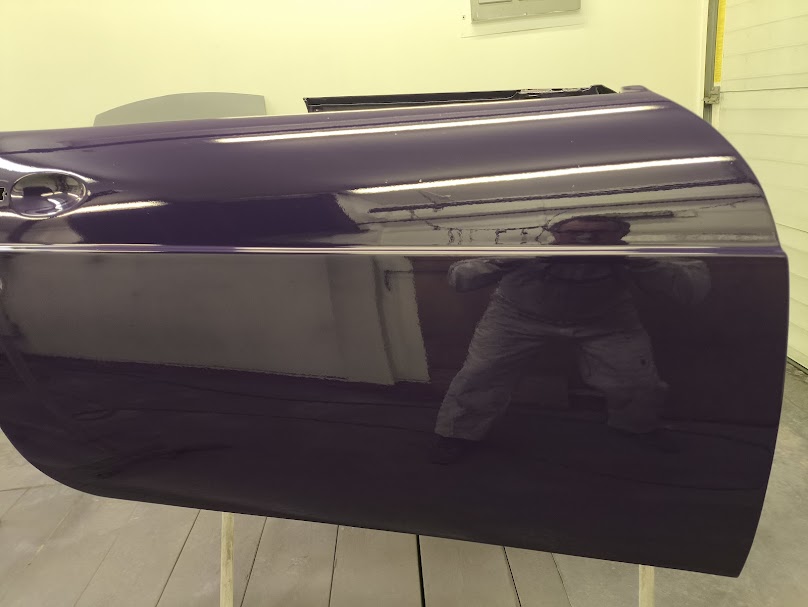
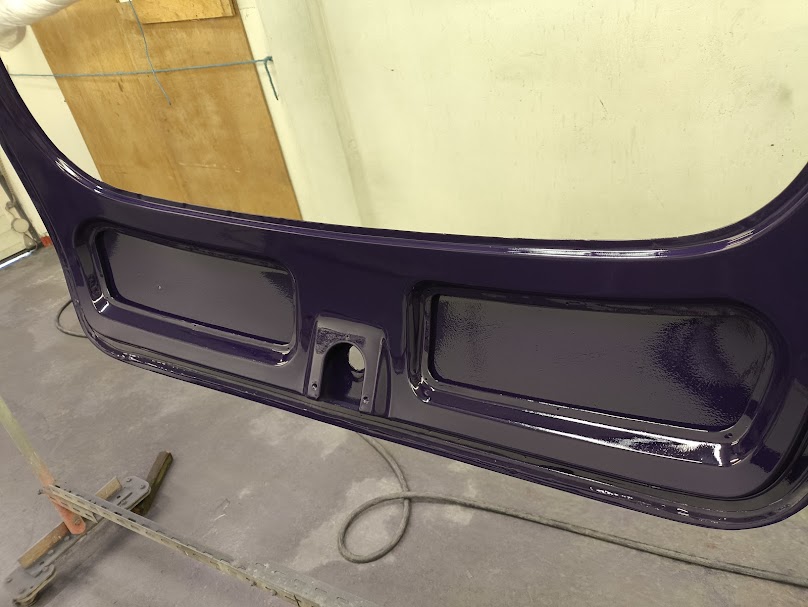
And finally after a long day into colour, this bit will be picture heavy as it’s the best way to describe the final process.
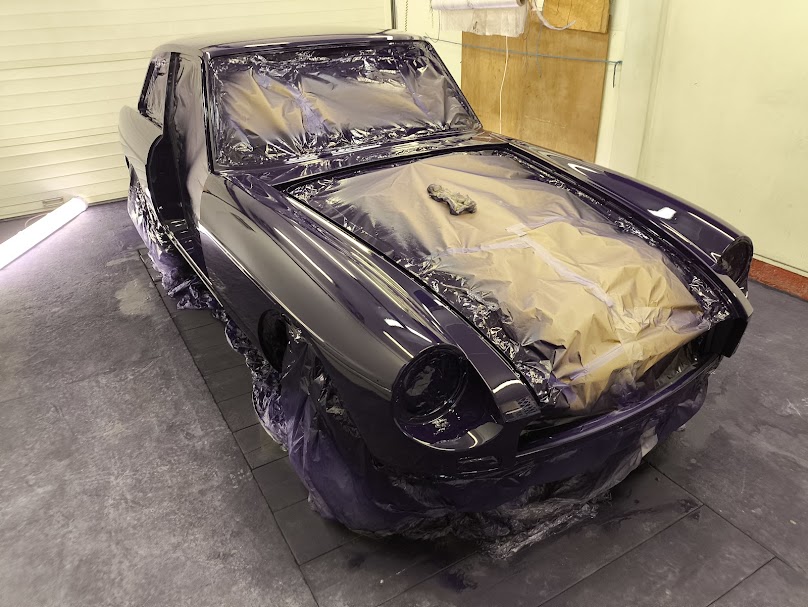

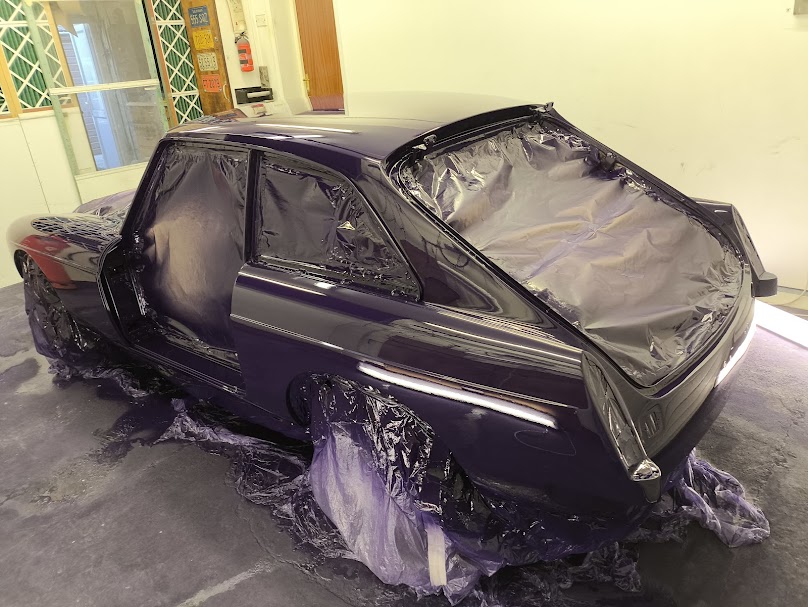
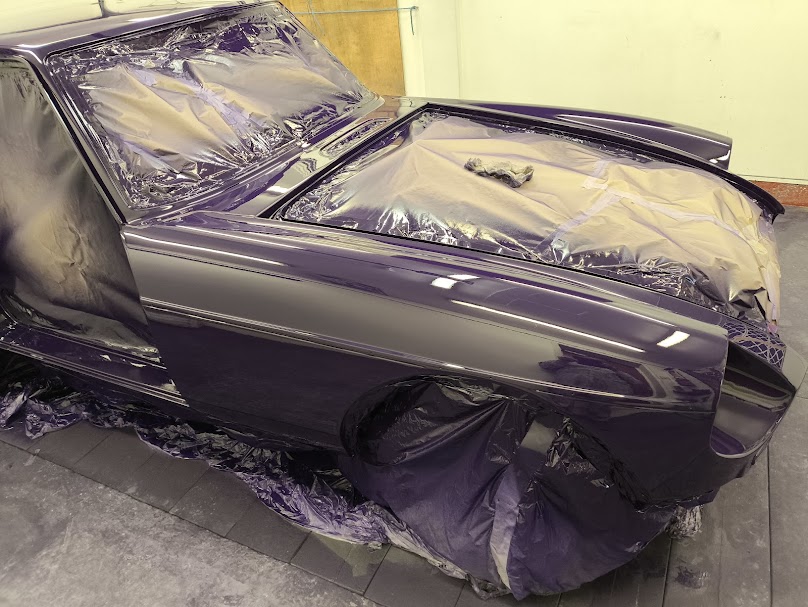
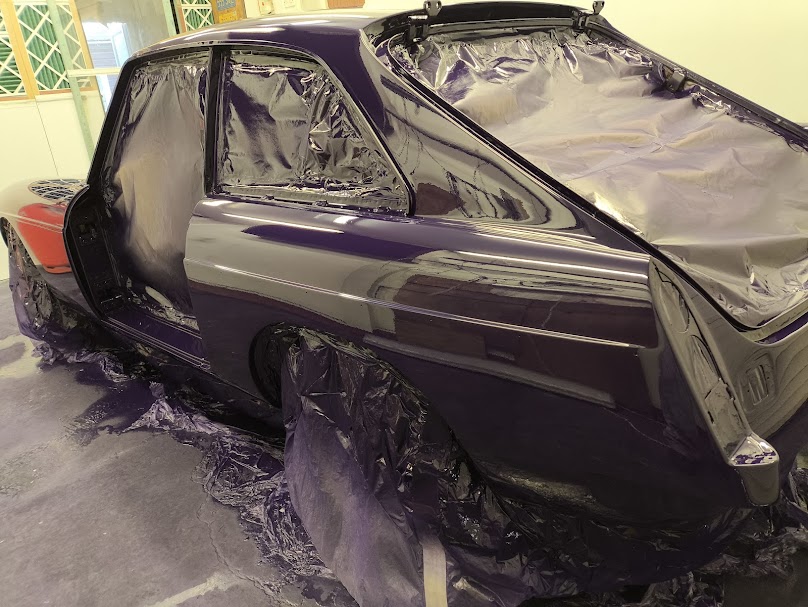


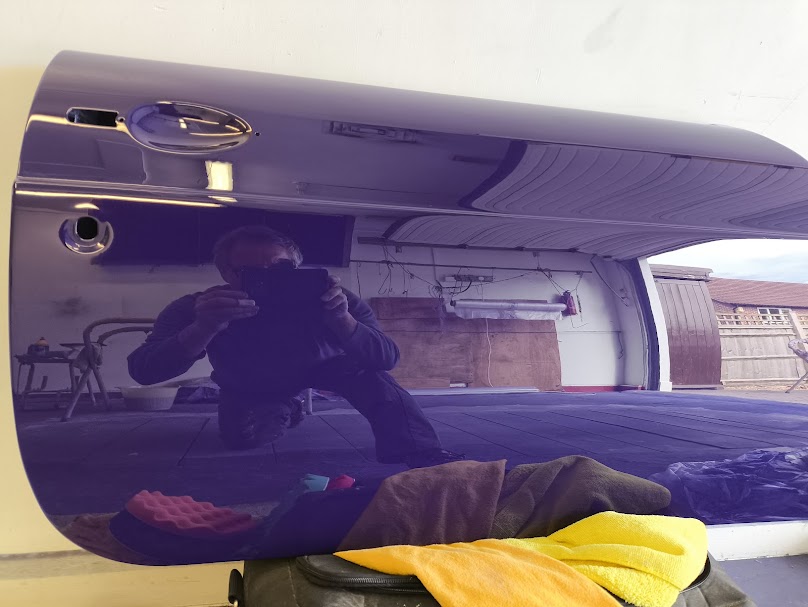

Doors and body given an initial polish.


And finally the bonnet was given a light flat and polish ready to be fitted.